Author: Support Flooring

  • What is Parquet Flooring? Find Out Here

    What is Parquet Flooring? Find Out Here

    Parquet flooring, with its intricate patterns and timeless appeal, has long been a symbol of elegance and sophistication. This decorative flooring option has experienced a resurgence in popularity in recent years, thanks to its ability to seamlessly blend with both classic and modern interiors. Whether you’re looking to enhance a traditional living room or add character to a contemporary space, parquet flooring offers a versatile and stylish solution.

     What is Parquet Flooring?

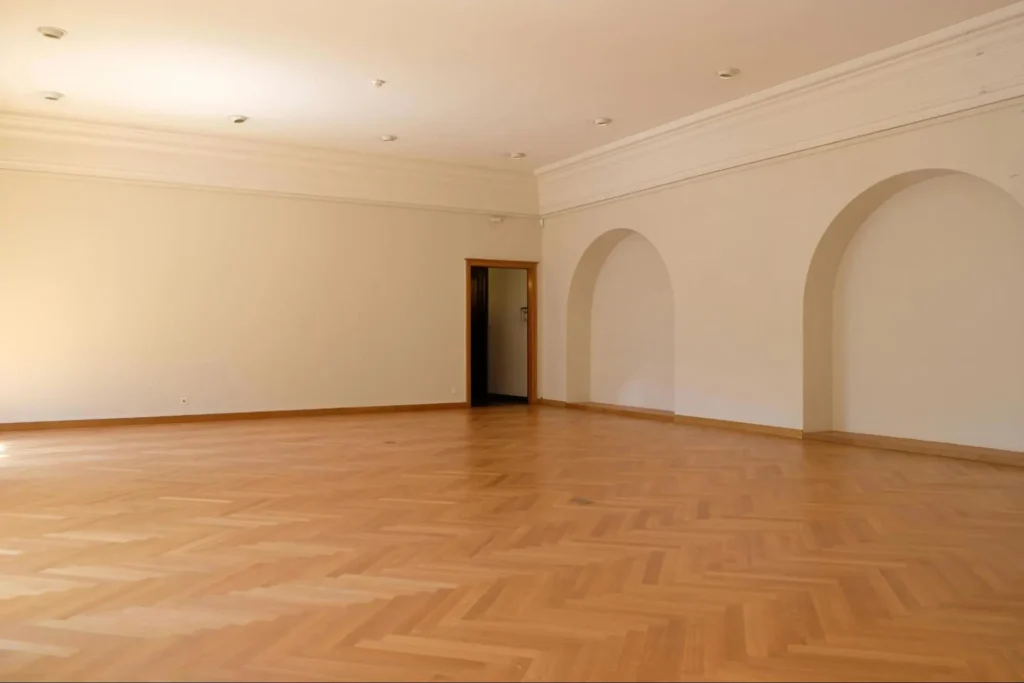
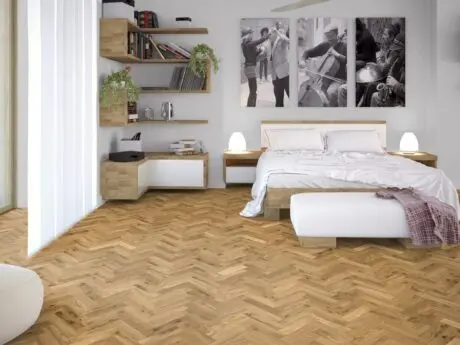
    Parquet flooring consists of small pieces of wood arranged in geometric patterns to create a decorative effect. Popular designs include herringbone, chevron, and basket weave, each bringing its own unique charm to a space. 

    Originally introduced in the 16th century, parquet flooring gained prominence in European palaces and grand homes. Over the years, its design and construction have evolved, making it a sought-after choice for modern interiors.

    Key Features of Parquet Flooring

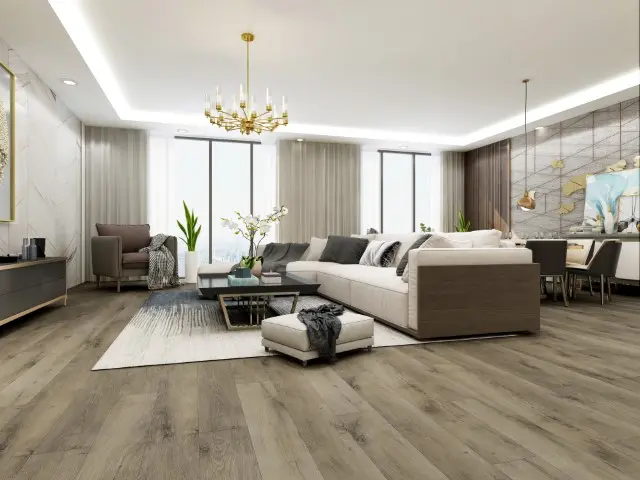
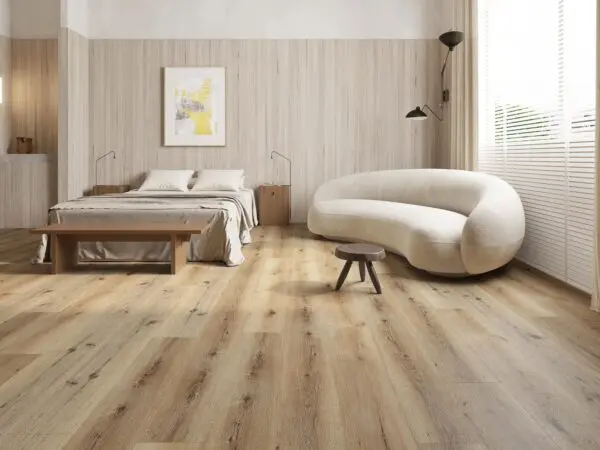
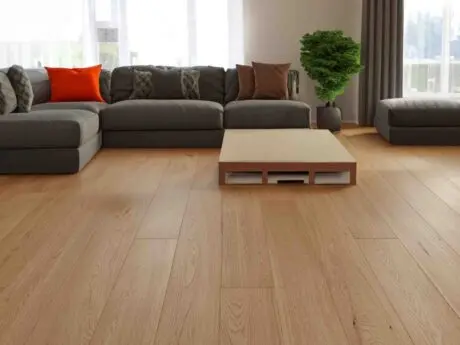
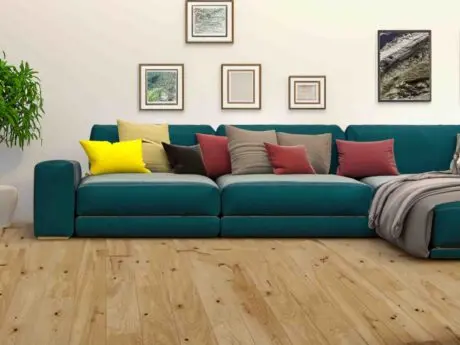
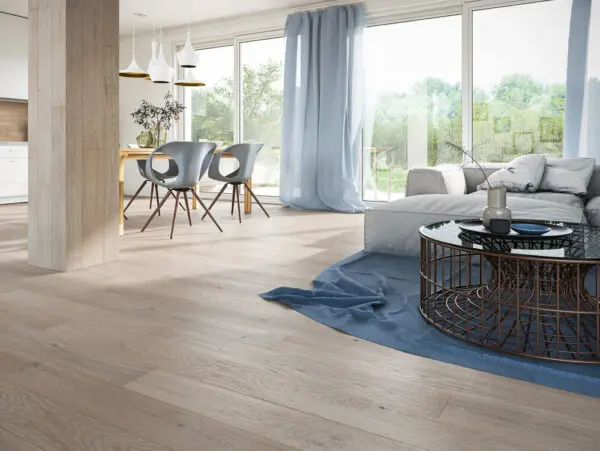
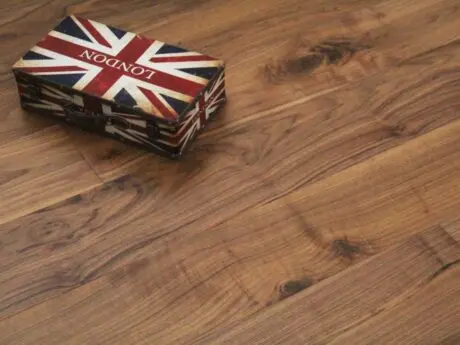
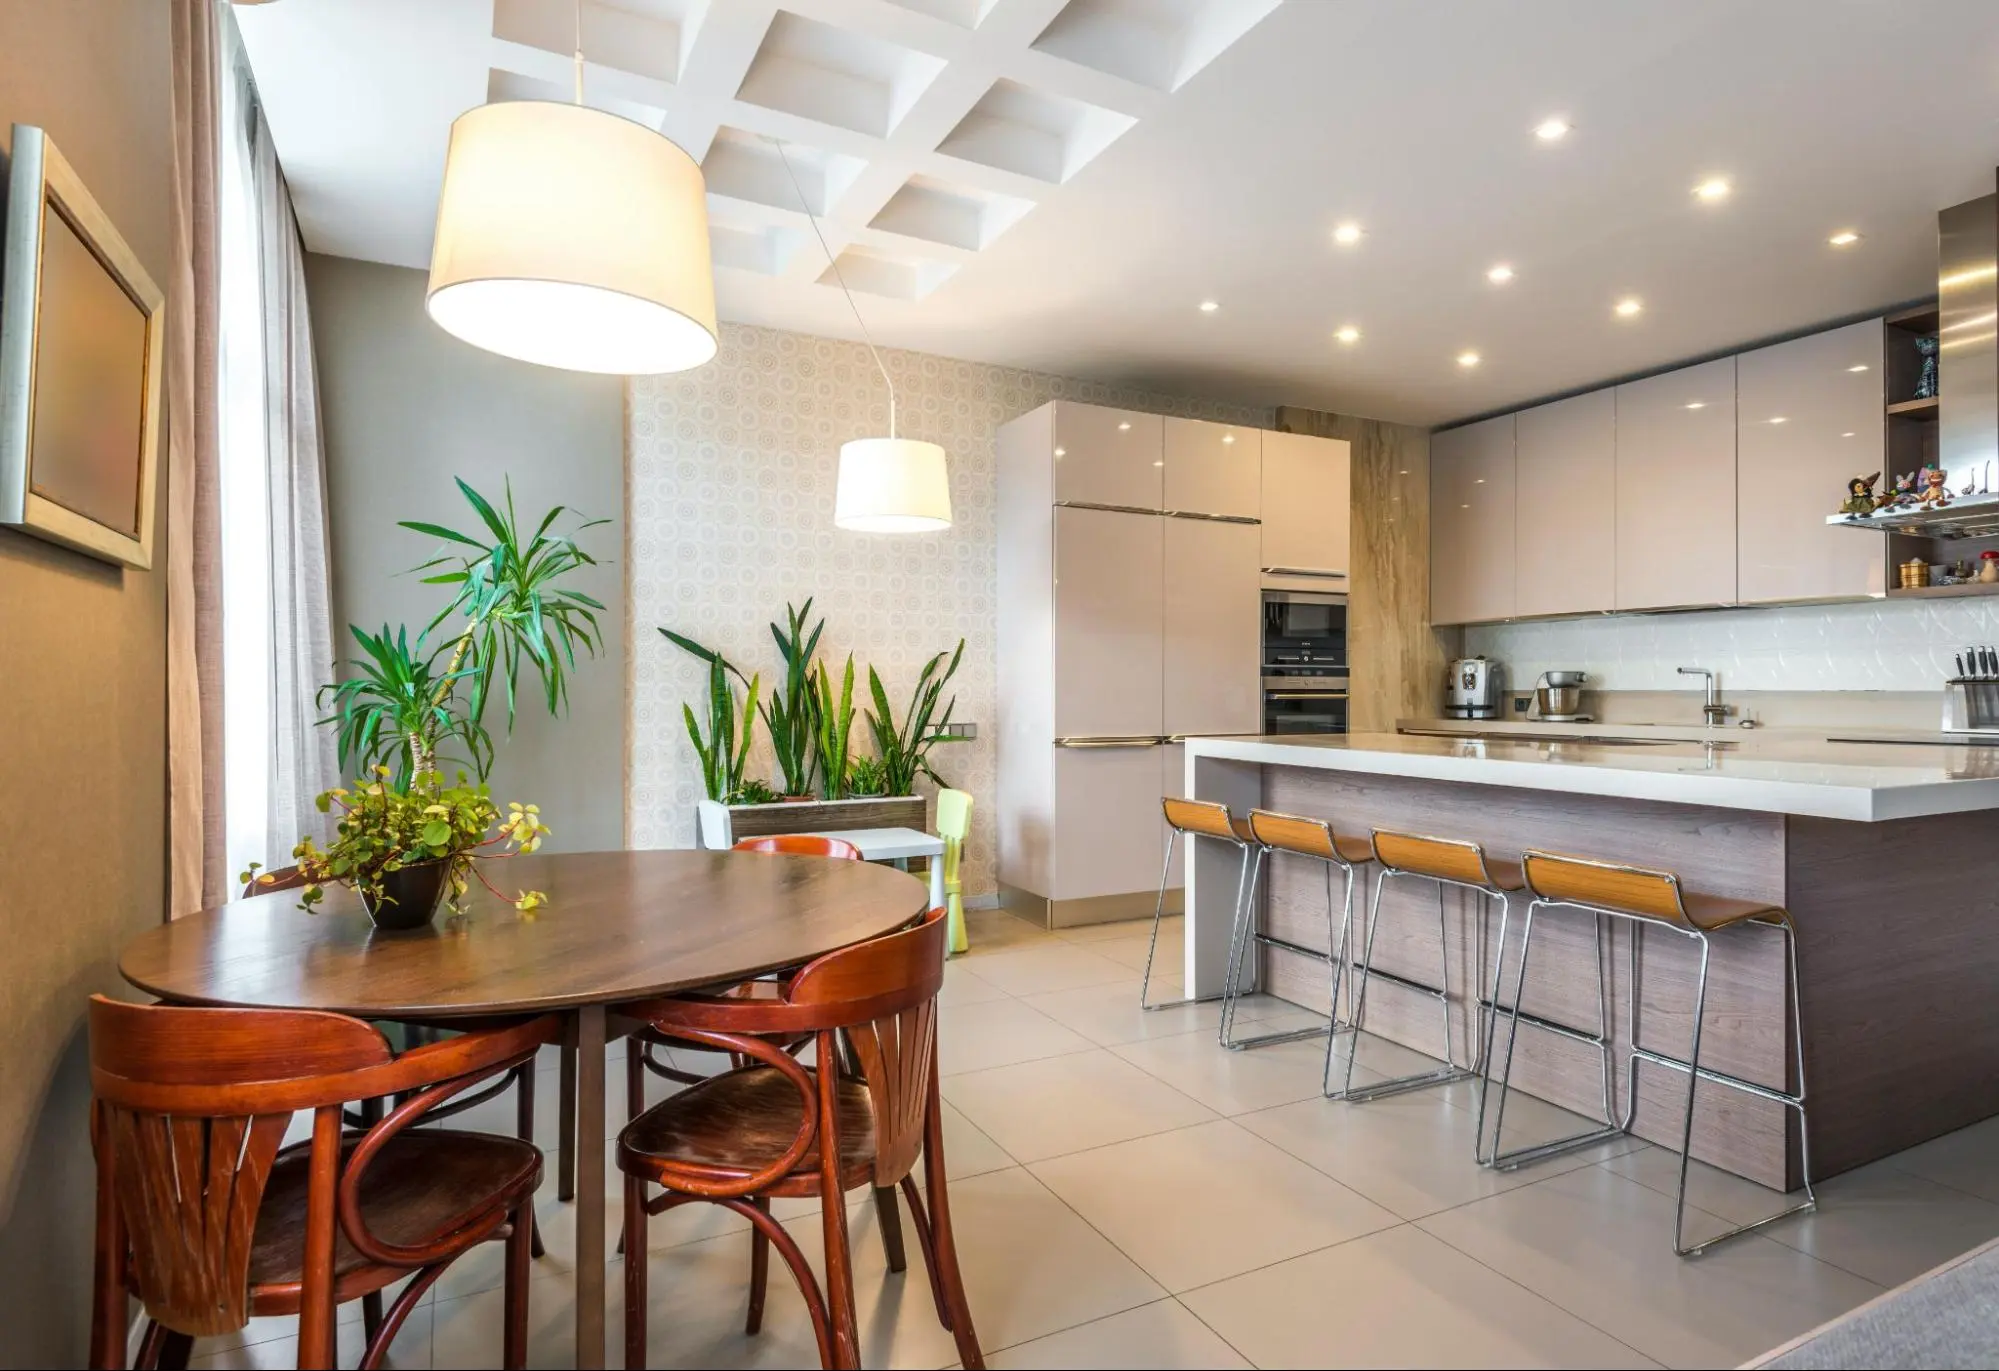
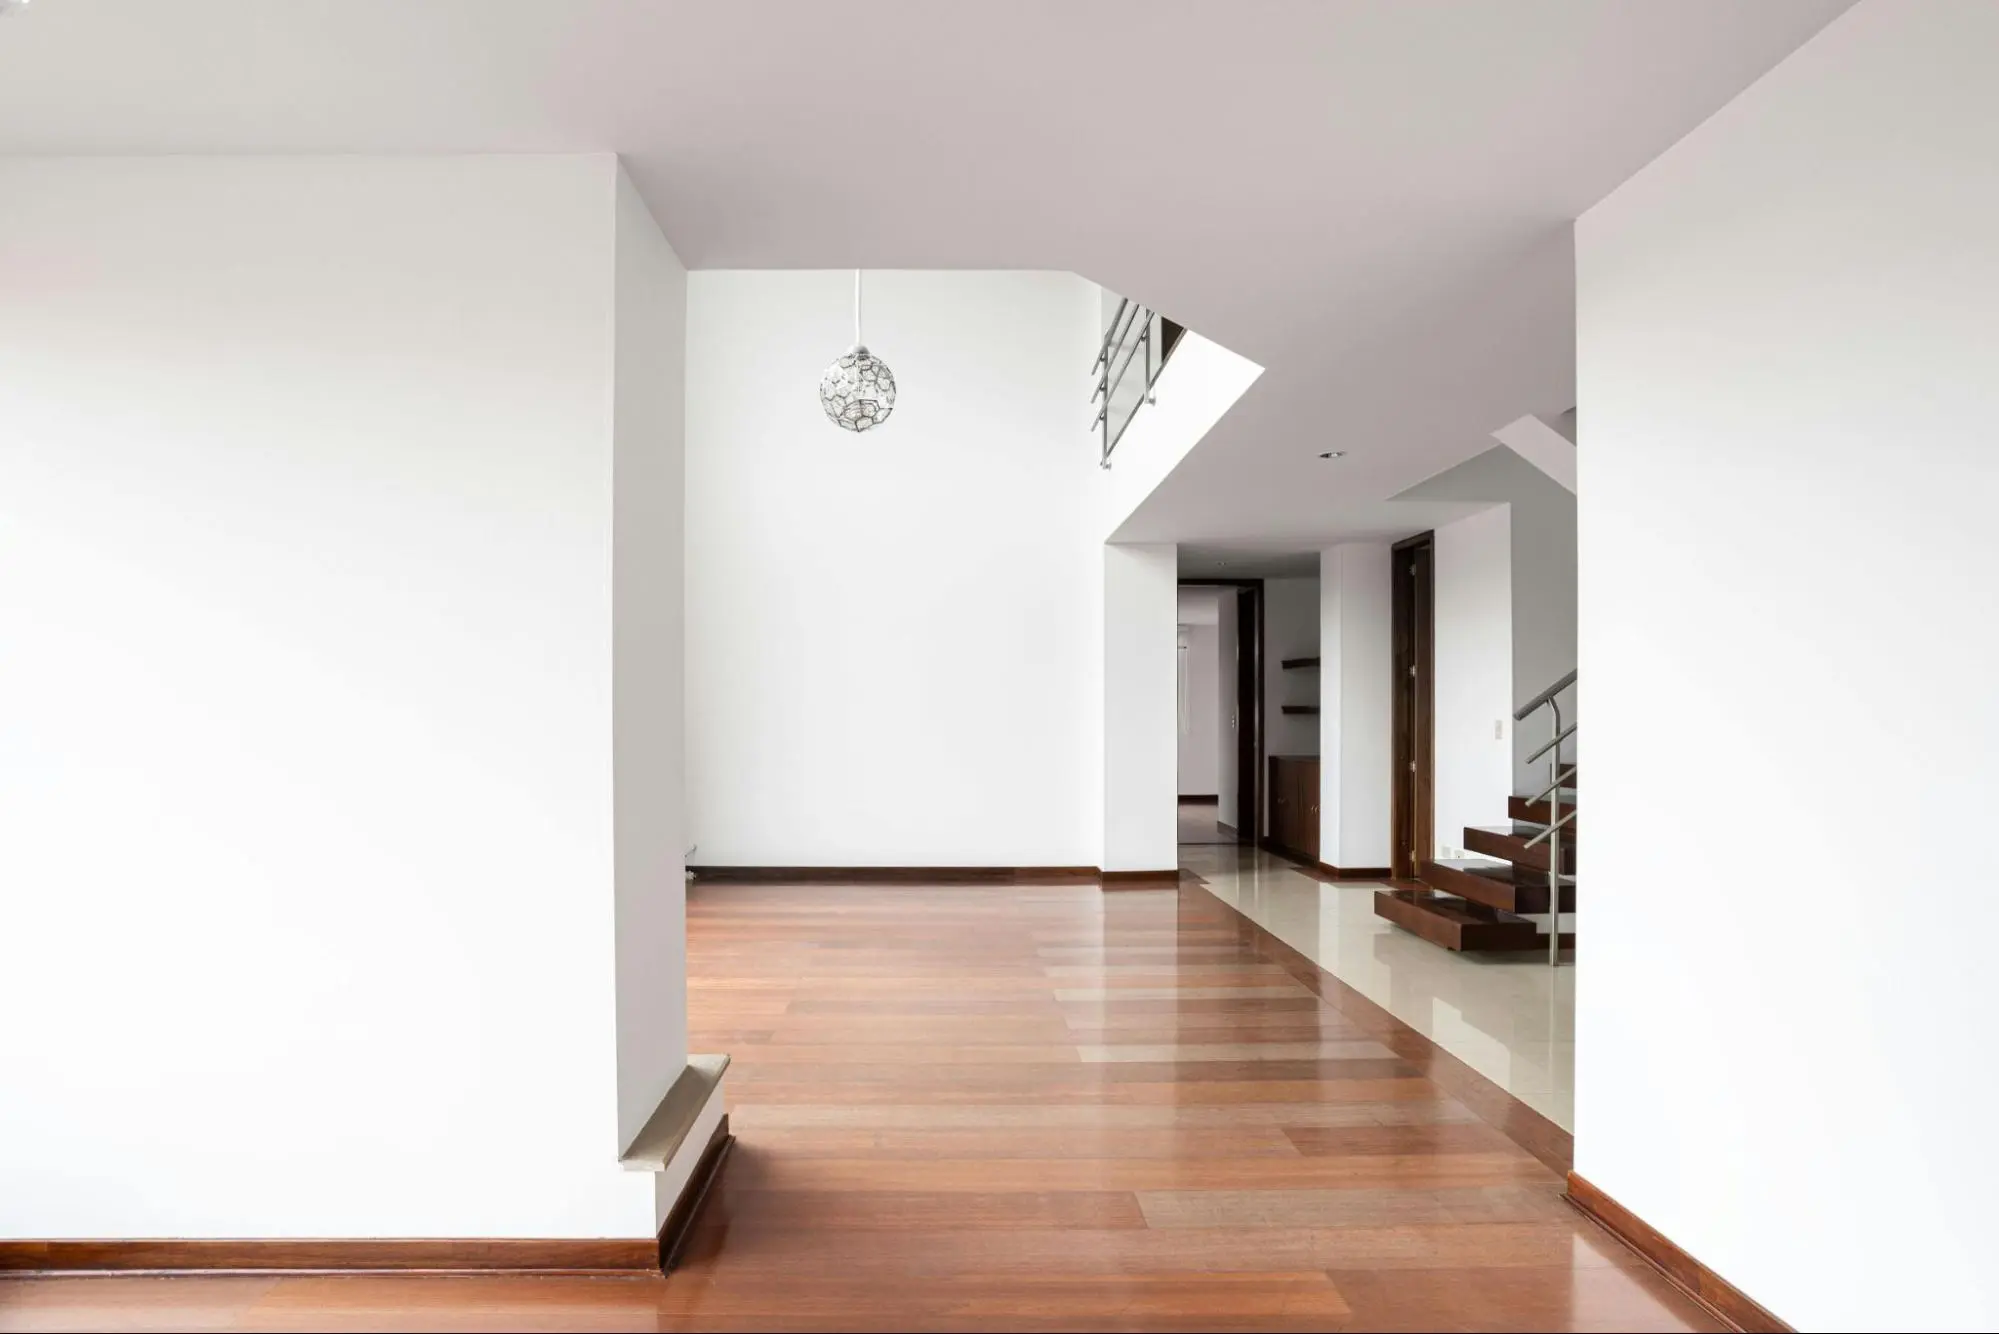
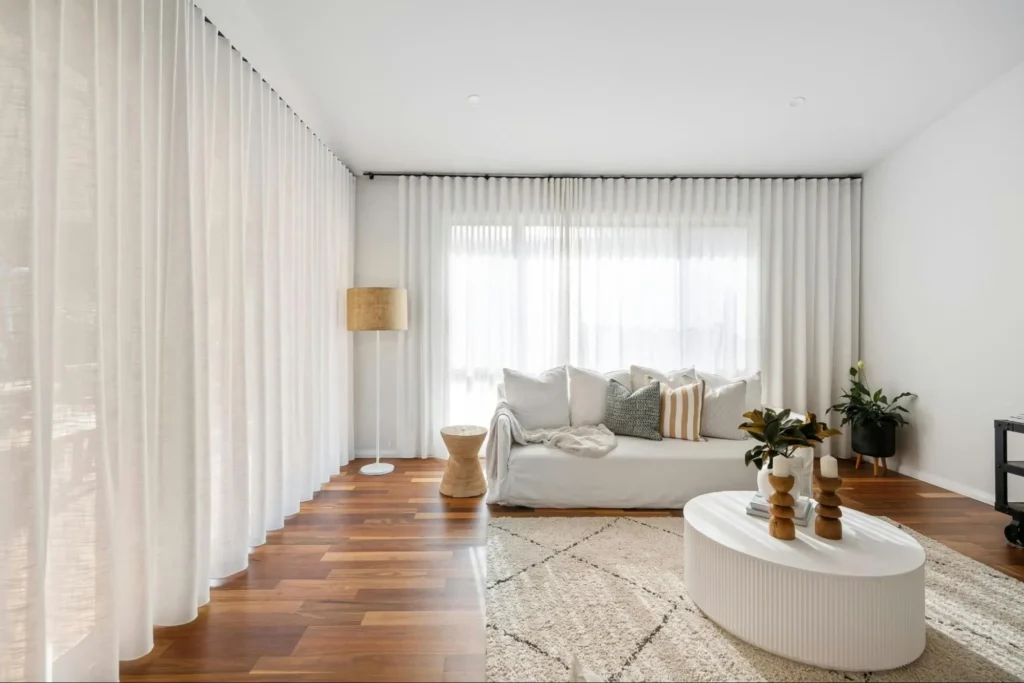
    1. Aesthetic Appeal: Parquet flooring is renowned for its intricate patterns that elevate the look of any room. Its ability to reflect natural light adds warmth and depth, creating a luxurious ambiance.
    2. Durability: With proper maintenance, parquet flooring can last for decades. Its robust construction ensures it withstands daily wear and tear, making it an excellent long-term investment.
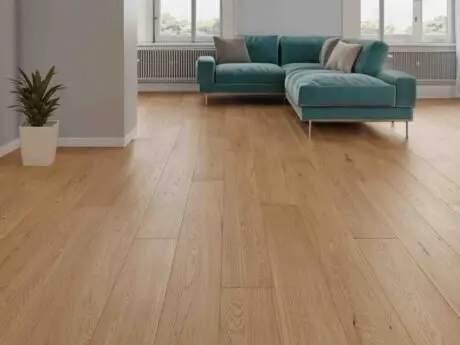
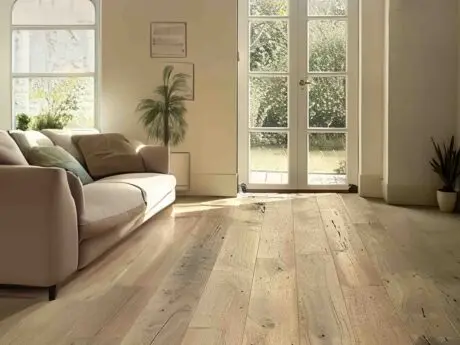
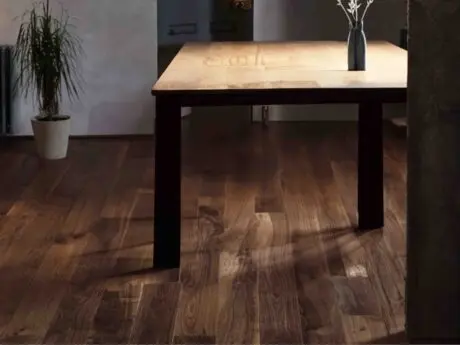
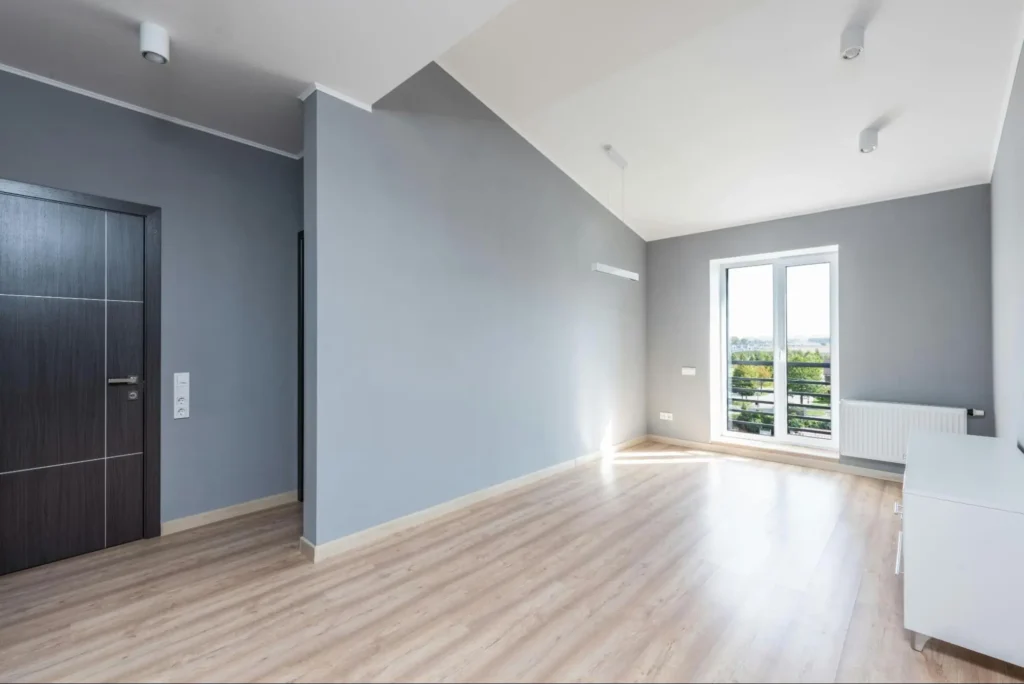
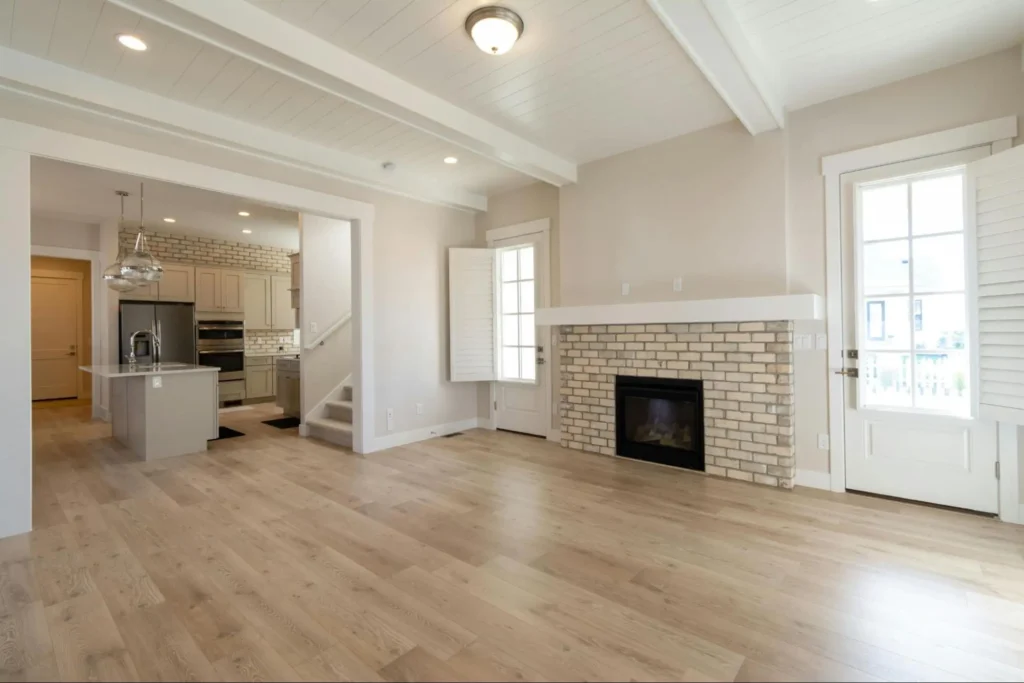
    3. Versatility: Suitable for a wide range of interior styles, parquet flooring is available in various wood types such as oak, walnut, and maple. This versatility allows homeowners to tailor the look to their specific tastes and preferences. 

    Popular Patterns in Parquet Flooring

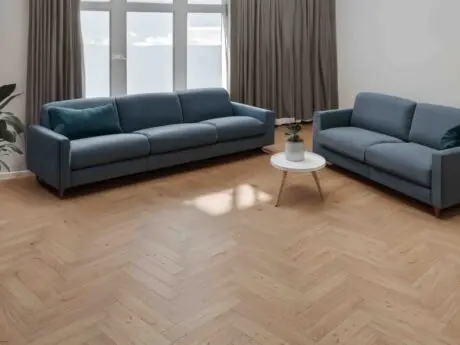
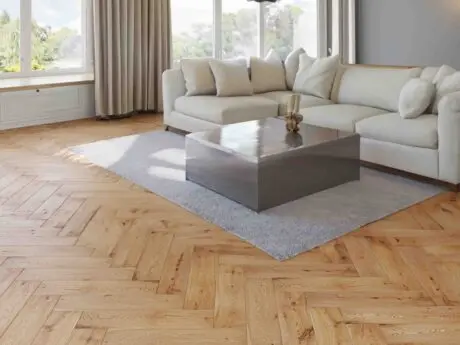
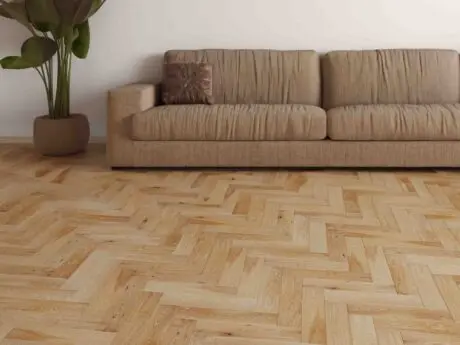
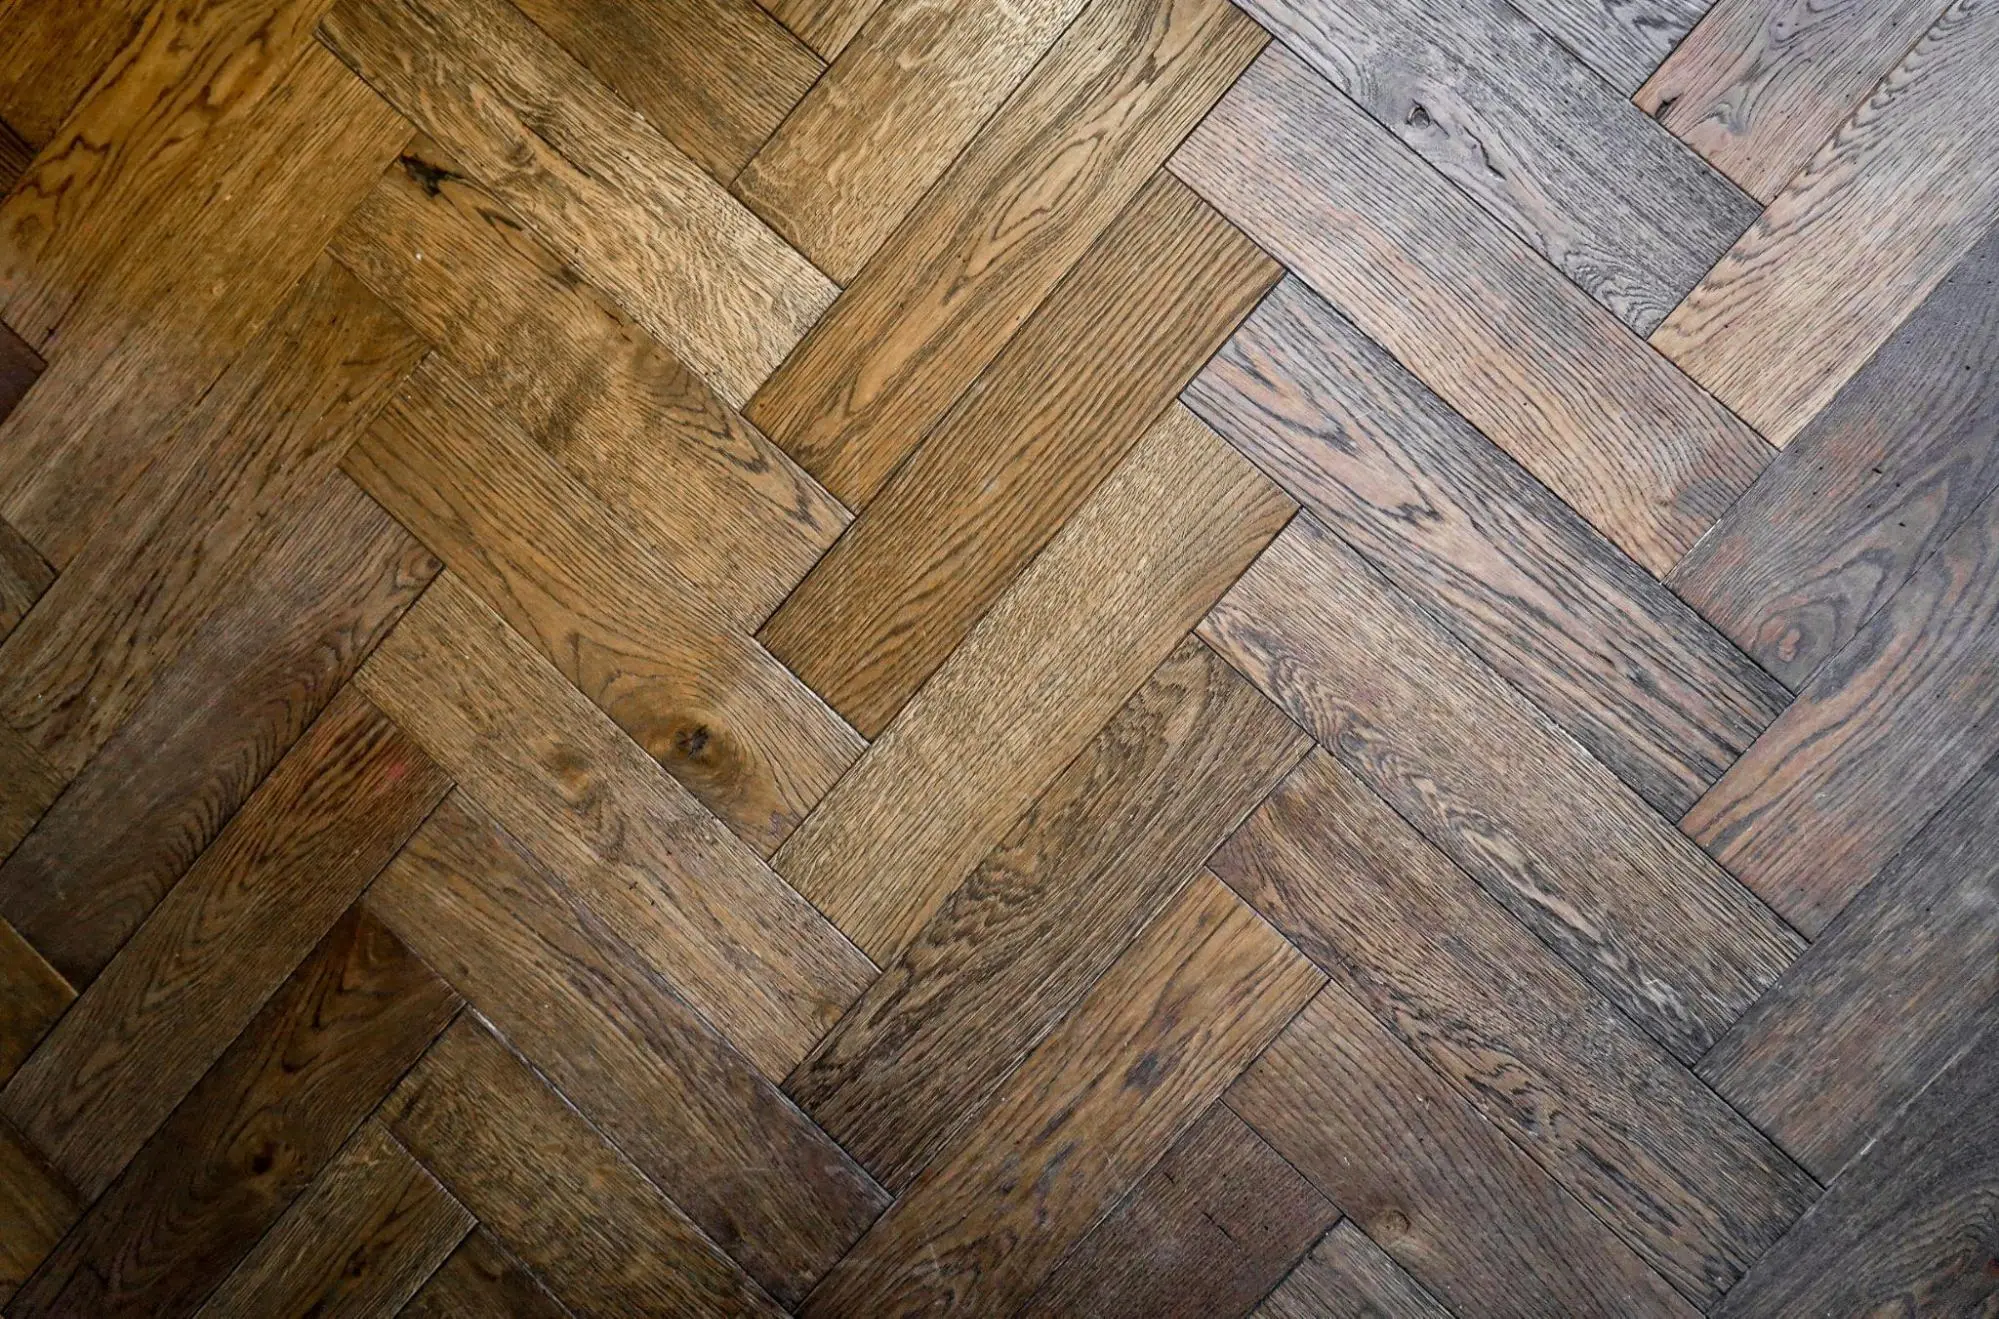
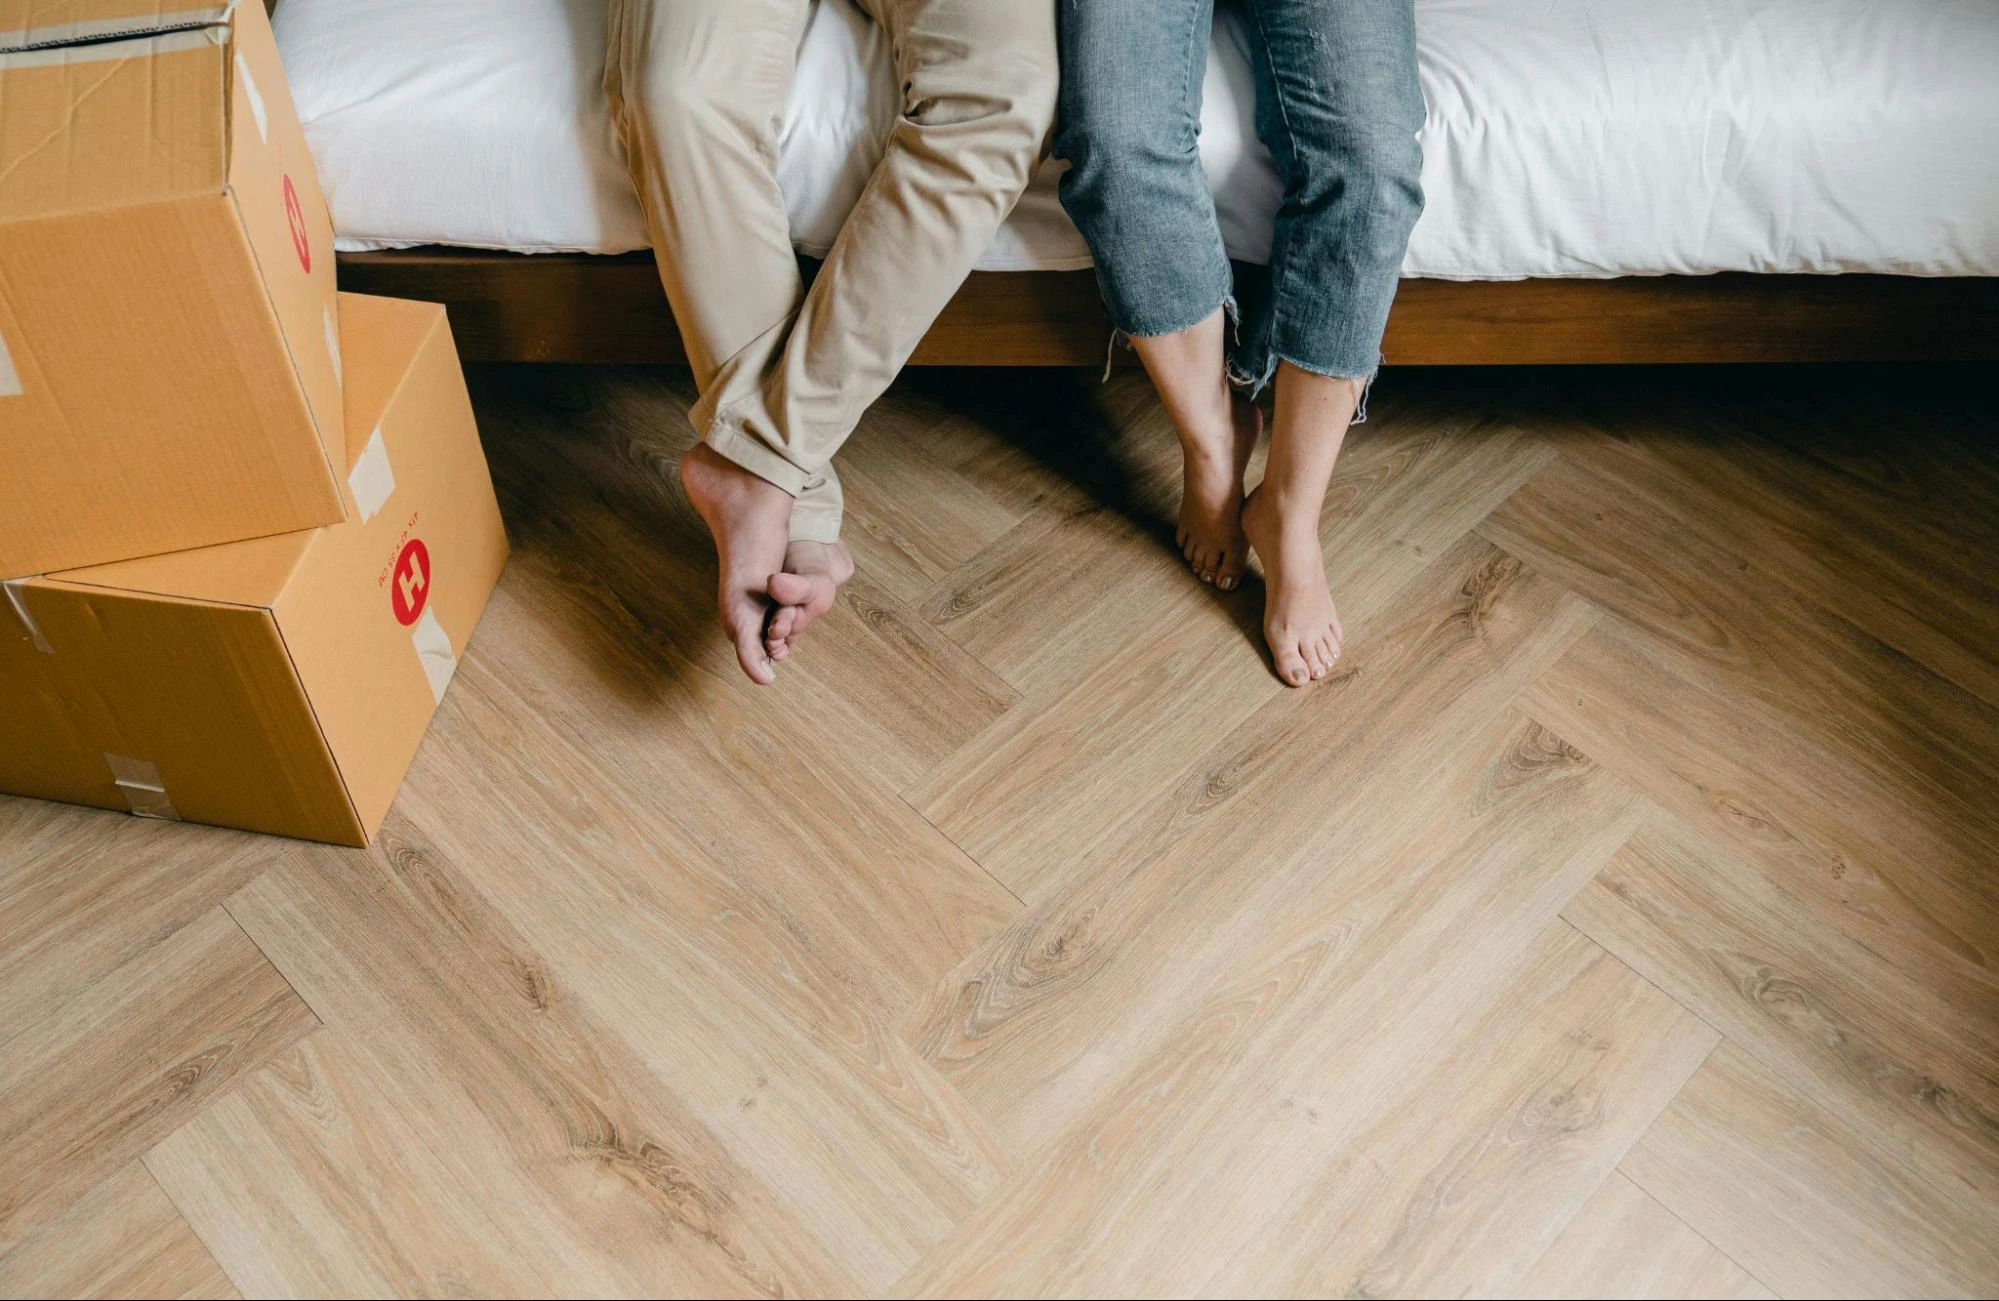
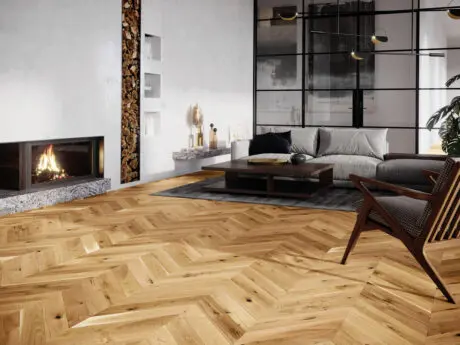
    • Herringbone: One of the most iconic designs, the herringbone pattern features rectangular blocks arranged in a zigzag formation. It’s ideal for creating a sense of movement and elegance.
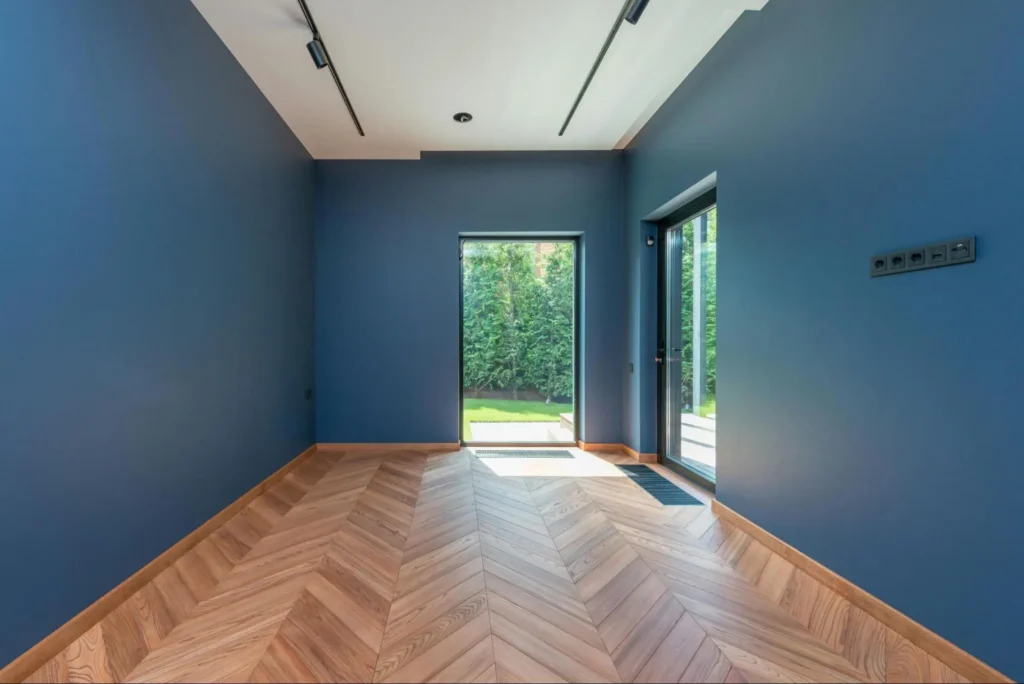
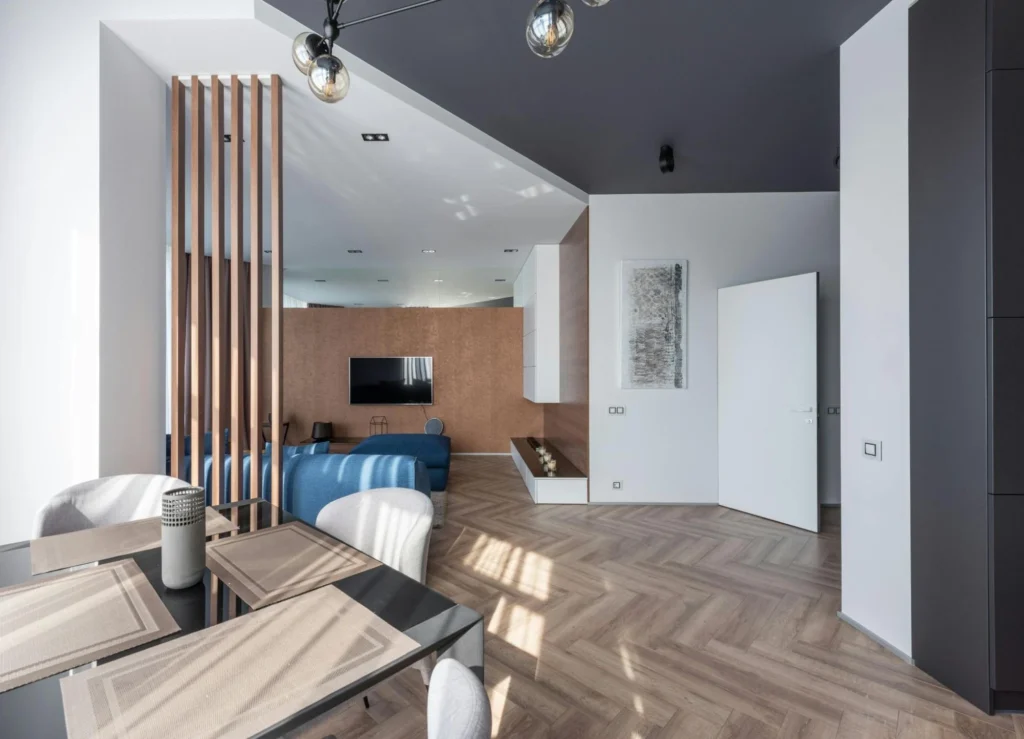
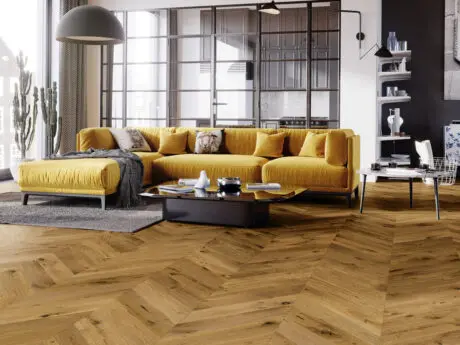
    • Chevron: Similar to herringbone but with angled ends, the chevron pattern produces a clean, arrow-like effect. This design adds a contemporary touch to any room.
    • Basket Weave: The basket weave pattern combines rectangular pieces to mimic the appearance of woven fabric. This classic design adds texture and depth to a space, making it a popular choice for traditional settings.

    Each pattern has a unique impact on the overall look of a room. Herringbone and chevron designs are particularly effective in enhancing smaller spaces, while basket weave patterns work well in larger areas.

     Benefits of Choosing Parquet Flooring

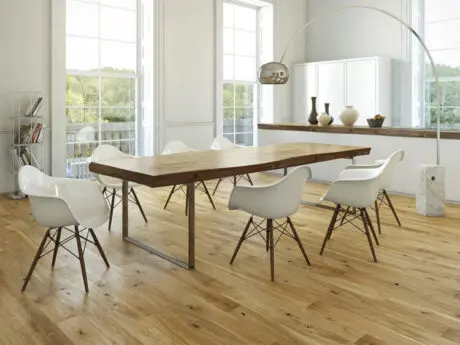
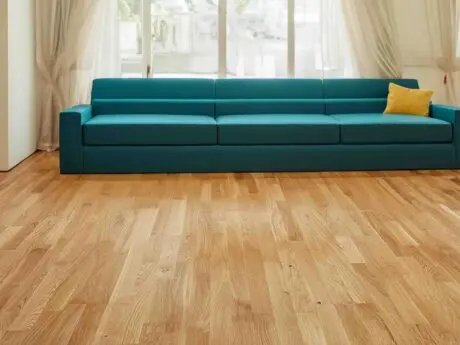
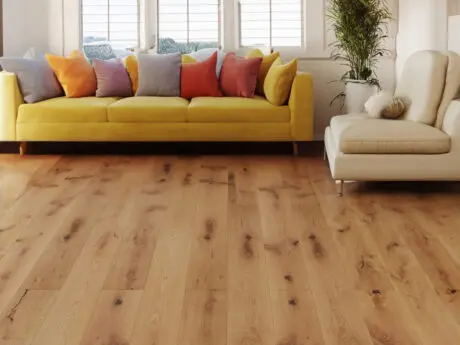
    1. Luxury and Sophistication: Parquet flooring instantly elevates the aesthetic of any space, making it a hallmark of luxury and refined taste.
    2. Customisation Options: The variety of wood types and finishes available ensures that homeowners can create a floor that perfectly complements their interior design.
    3. Timeless Appeal: Unlike trends that come and go, parquet flooring retains its charm, making it a classic choice that remains stylish for years to come.

    Challenges to Consider

    1. Maintenance Requirements: Parquet flooring demands regular cleaning and occasional refinishing to maintain its lustre. Dust and debris should be removed promptly to avoid scratches.
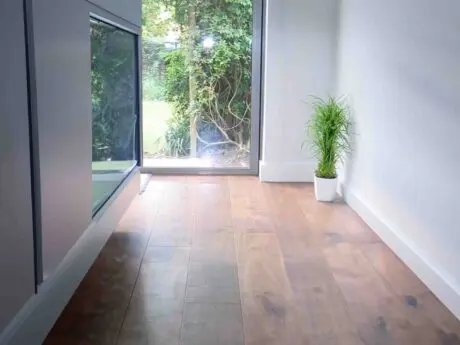
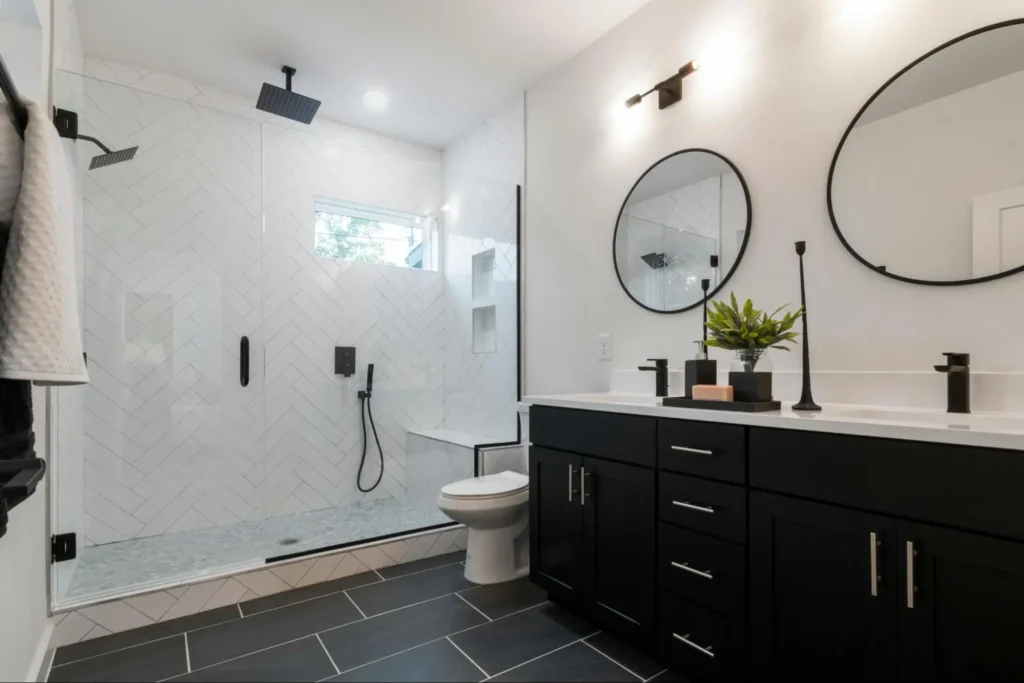
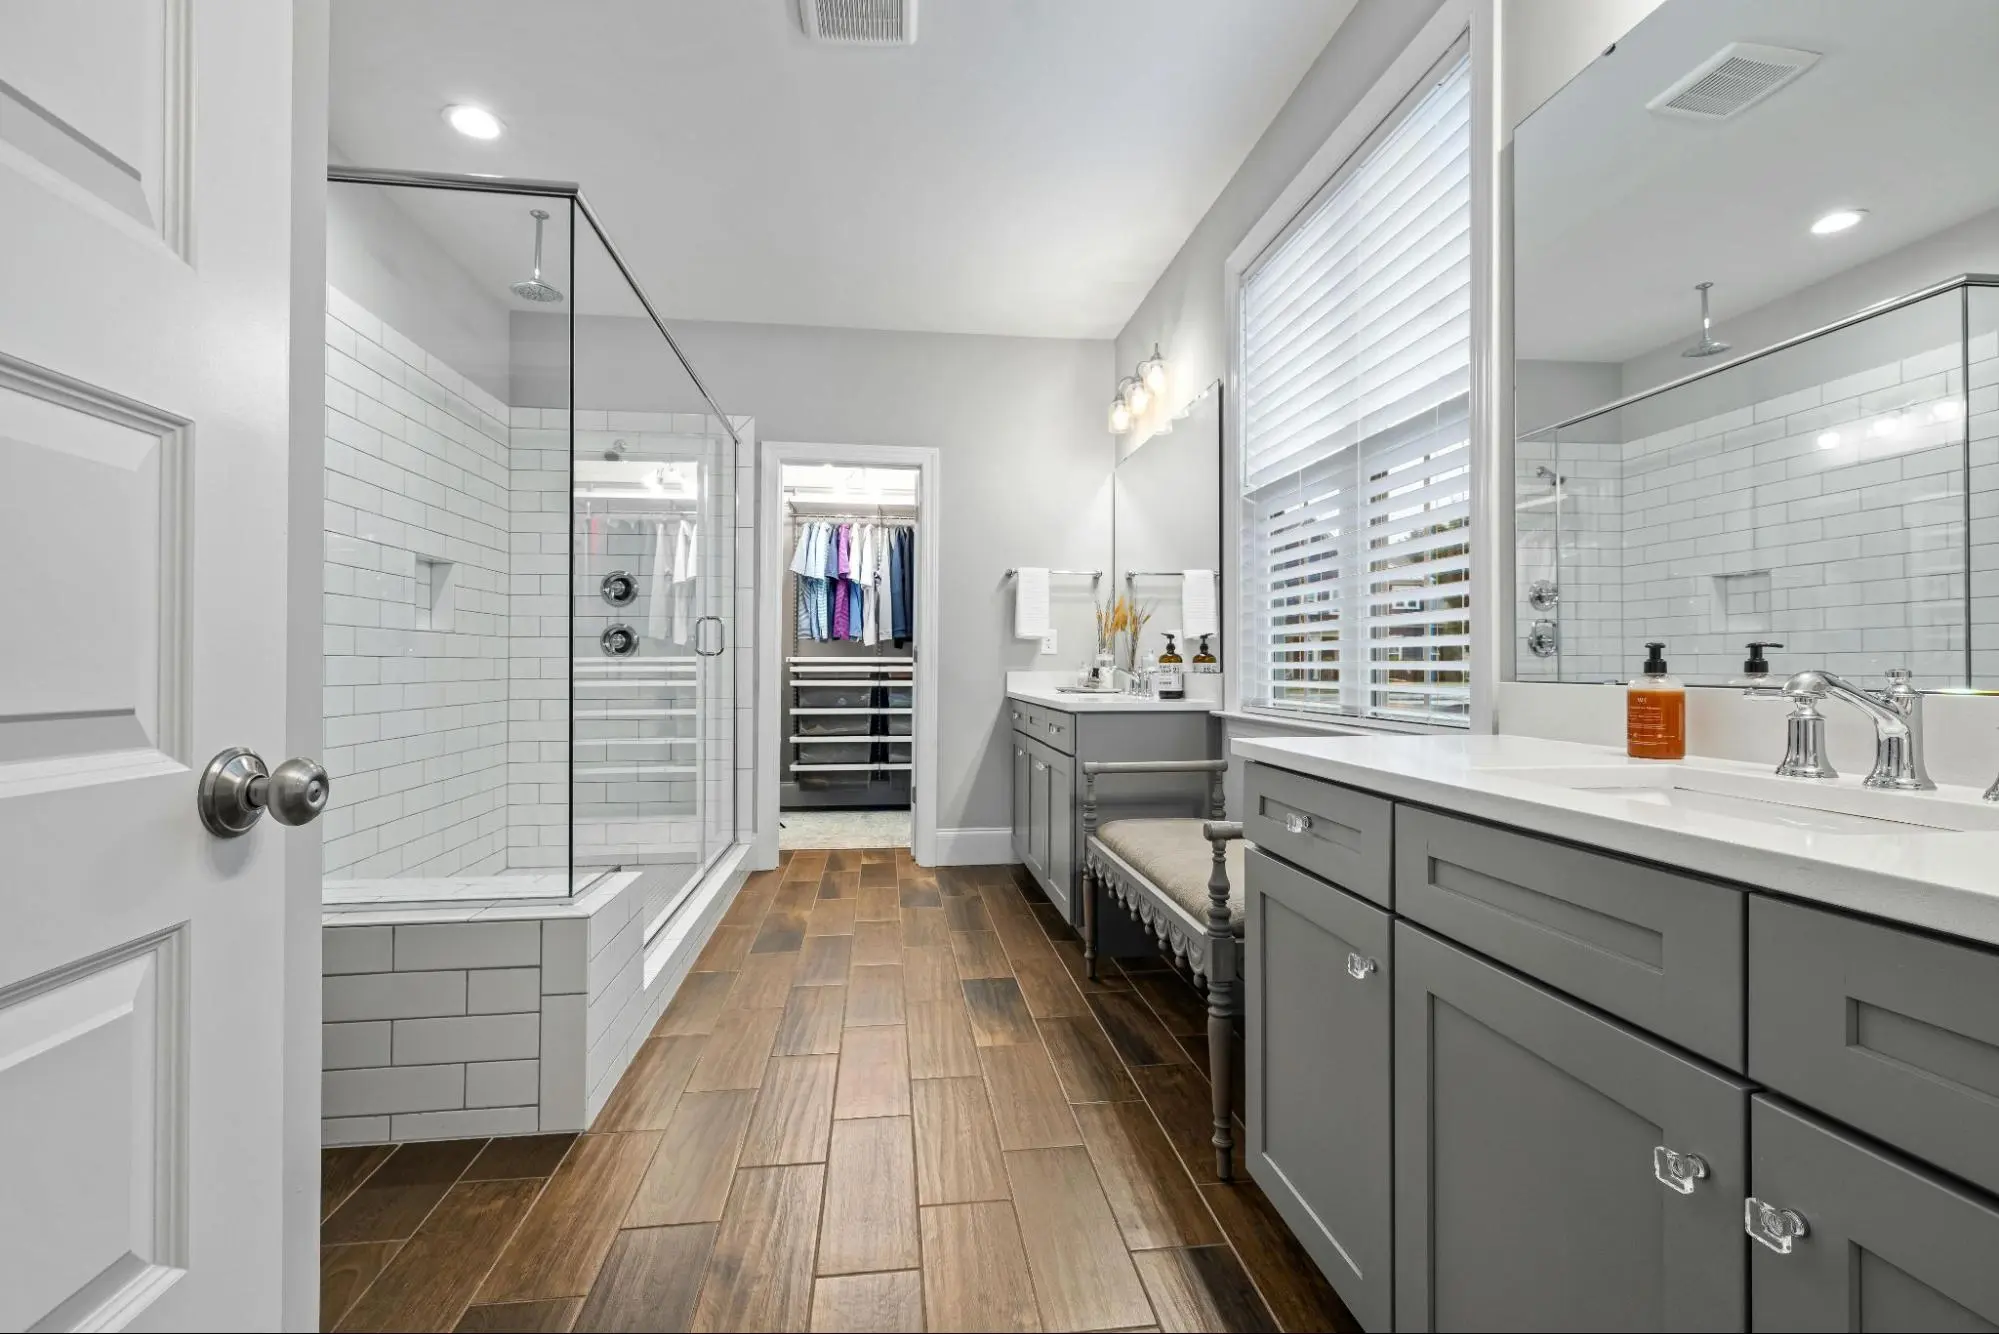
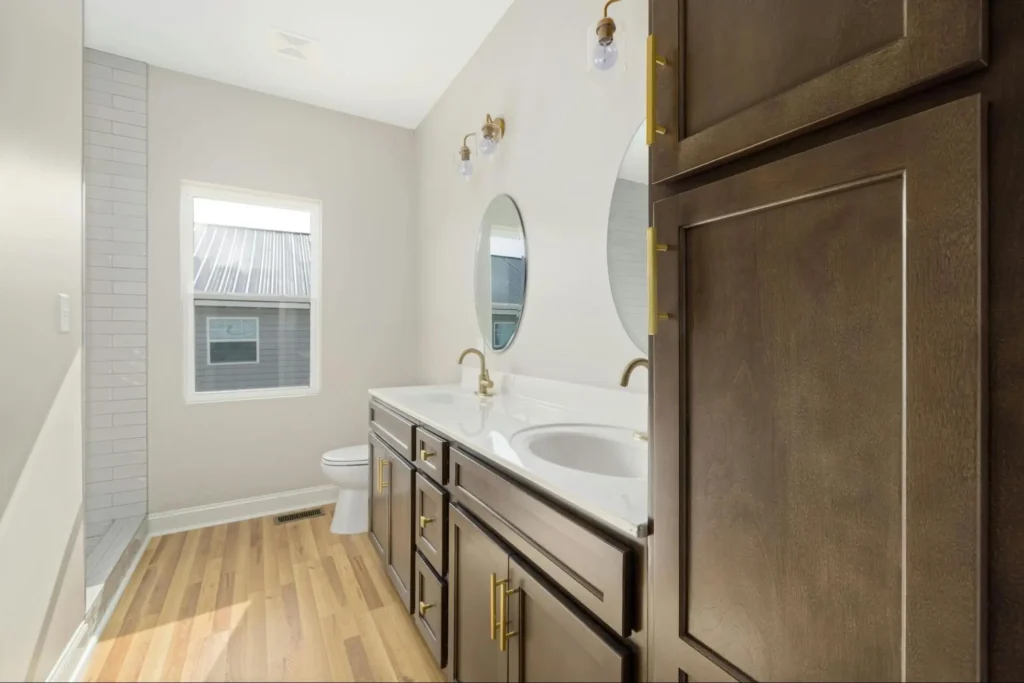
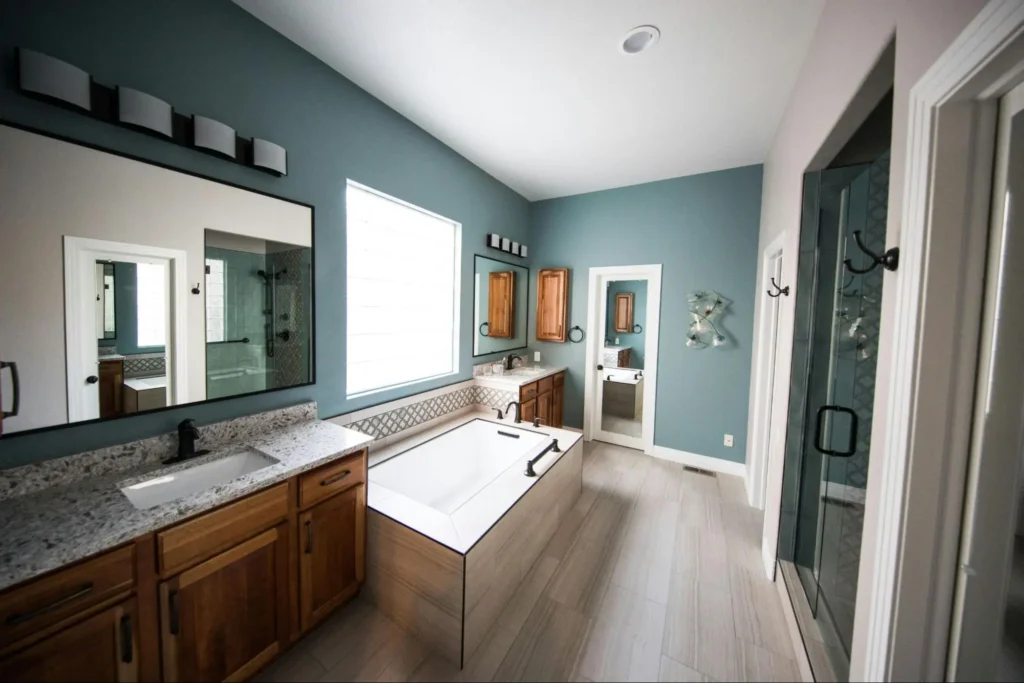
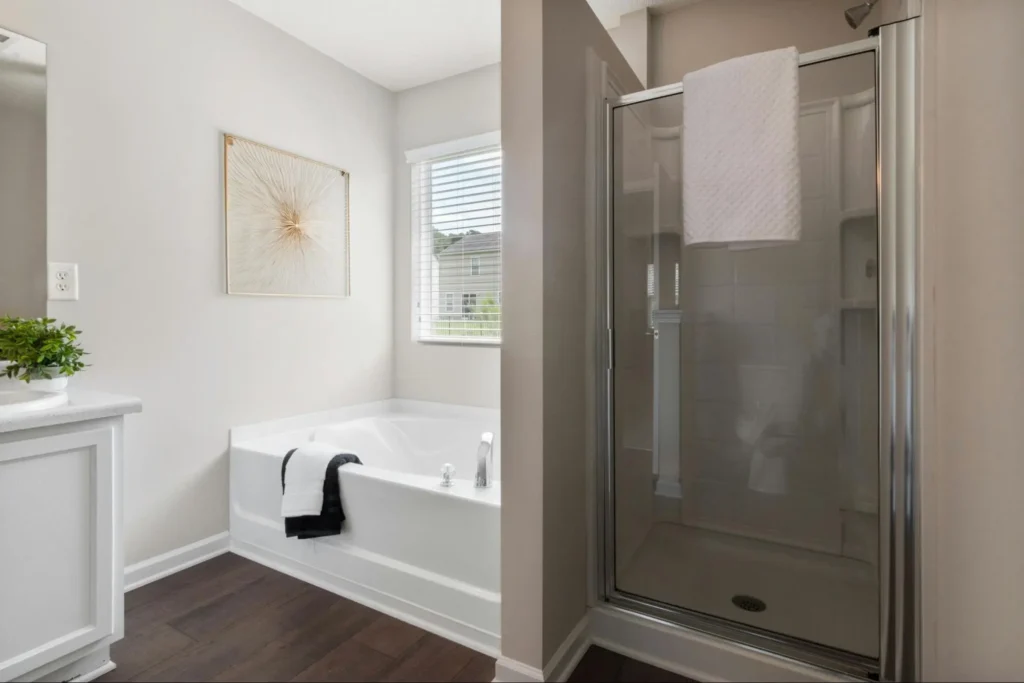
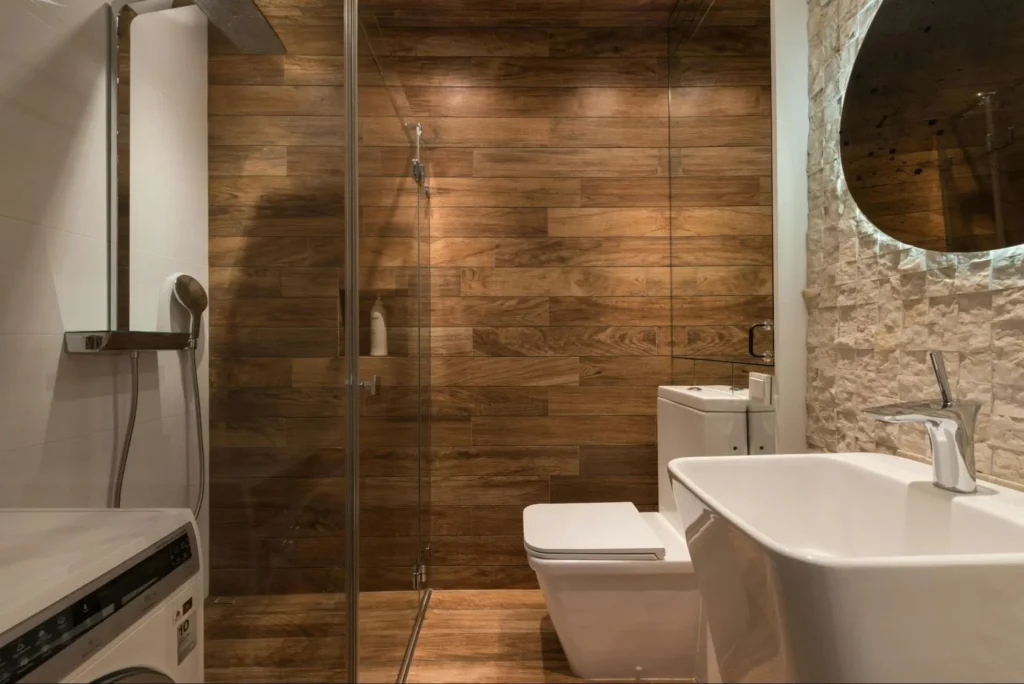
    2. Moisture Sensitivity: As a natural wood product, parquet flooring is not ideal for damp areas such as bathrooms or basements. Excessive moisture can cause warping and damage.
    3. Complex Installation: Installing parquet flooring requires precision and expertise, especially for intricate patterns. Professional installation is often recommended to achieve the desired finish.

    Modern Trends in Parquet Flooring

    1. Revival in Popularity: 

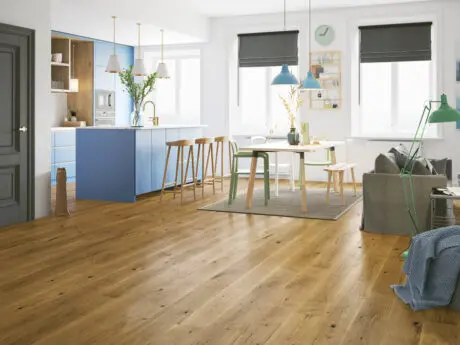
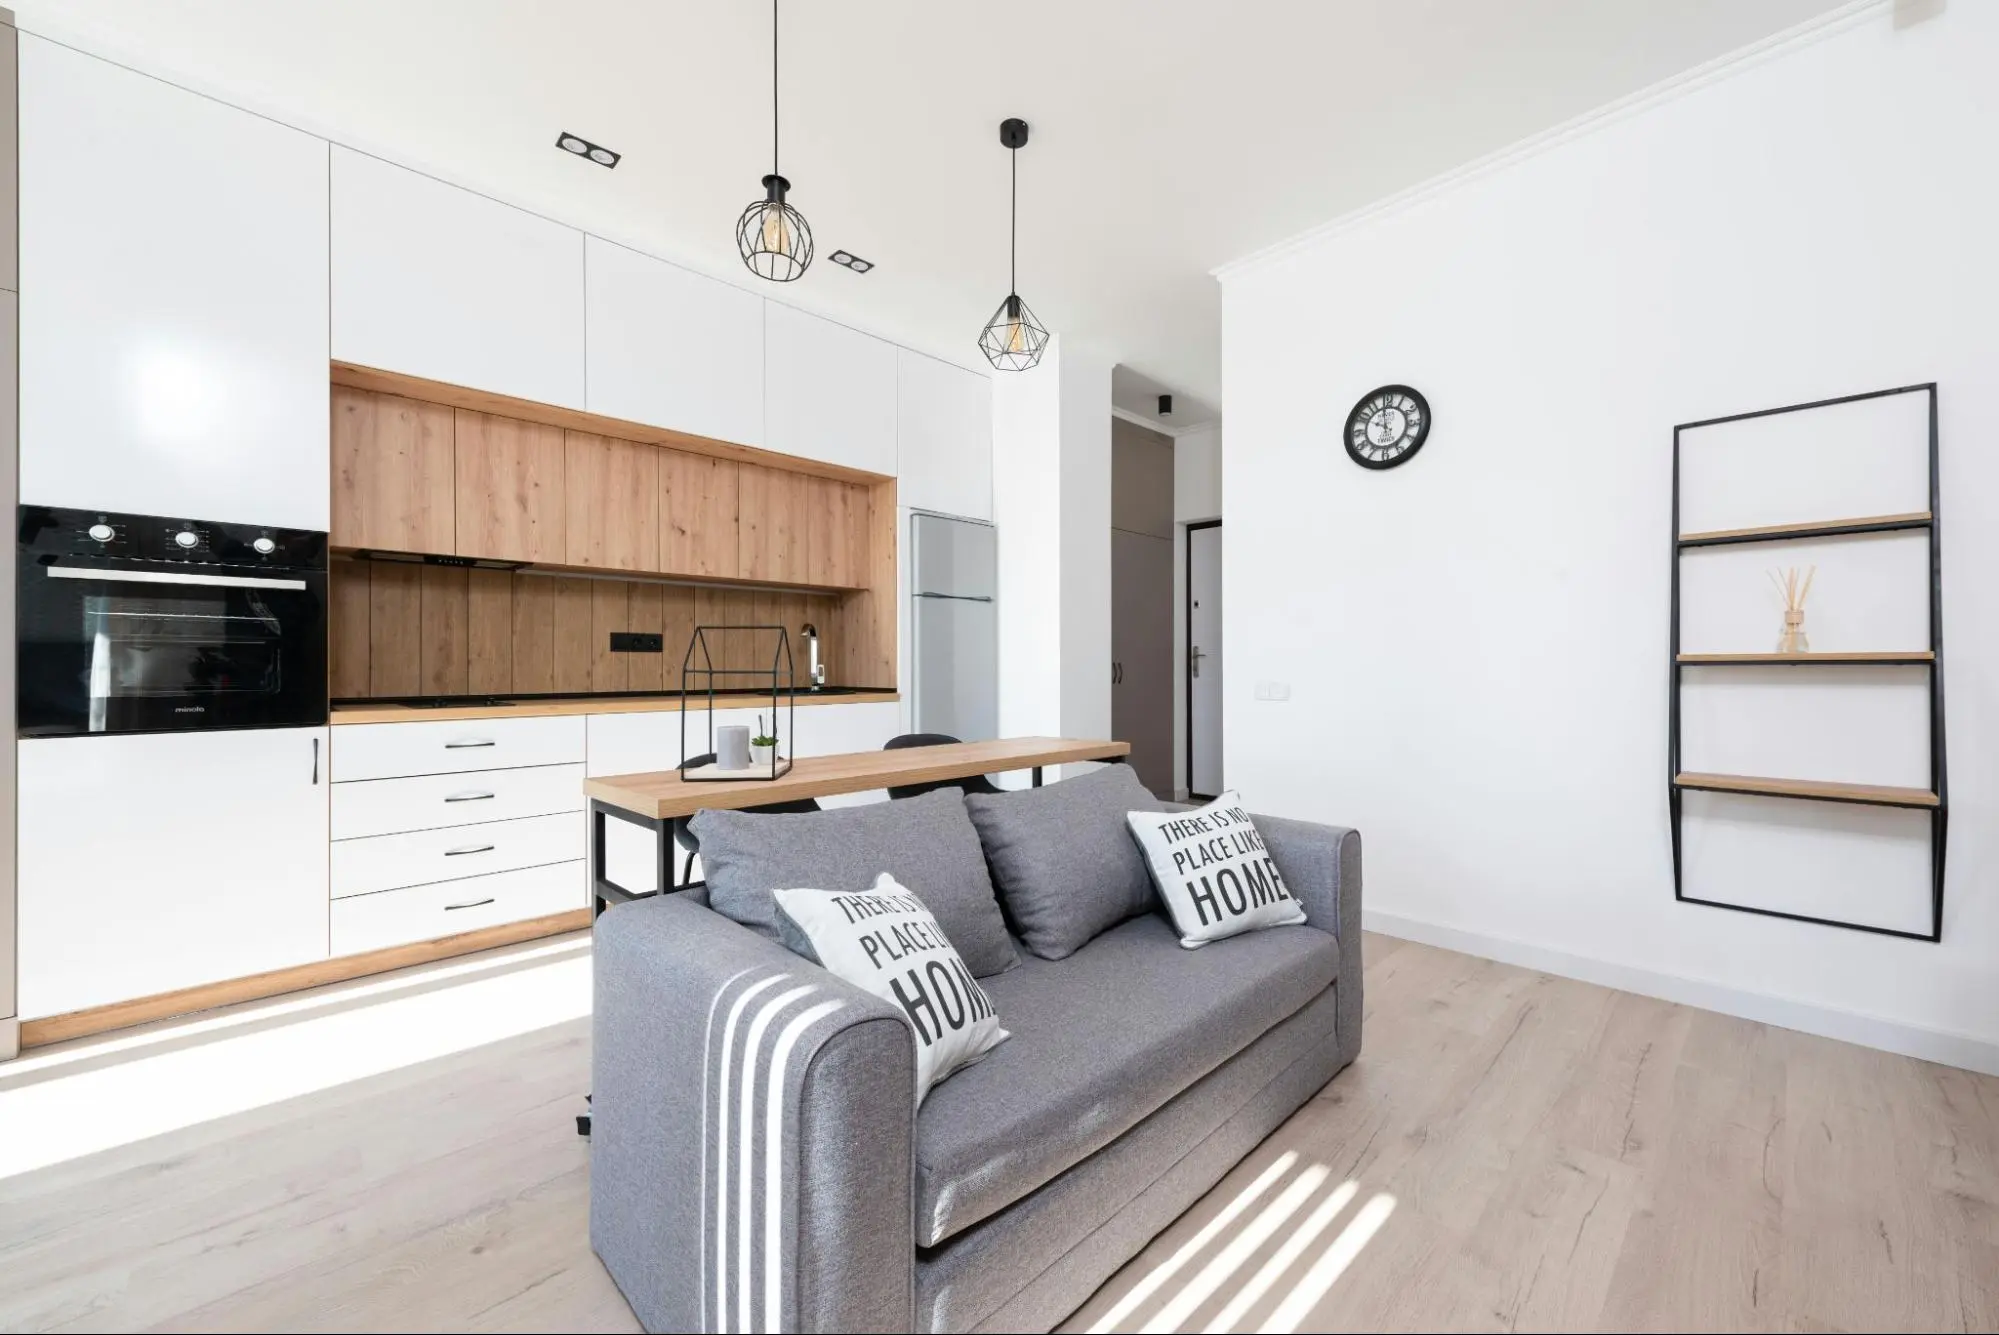
    Parquet flooring has made a strong comeback, finding its place in modern homes and commercial spaces. Its ability to bridge traditional and contemporary styles makes it a versatile choice.

    1. Eco-Conscious Choices: 

    With sustainability becoming a priority, many manufacturers now offer parquet flooring made from responsibly sourced wood. This allows homeowners to make environmentally friendly choices without compromising on style.

    1. DIY Installations: 

    Pre-assembled parquet tiles and comprehensive installation guides have made DIY parquet flooring more accessible. These options are perfect for homeowners looking to combine creativity with cost-saving measures.

    Expert Tips for Maintaining Parquet Flooring

    1. Regular Cleaning: Use a soft broom or vacuum cleaner with a brush attachment to remove dirt and debris. Avoid using excessive water when mopping to protect the wood from moisture damage.
    2. Refinishing Advice: Periodically sanding and refinishing the surface can restore its shine and extend the lifespan of your flooring. Professional assistance is recommended for the best results.
    3. Preventative Measures: Place rugs or mats in high-traffic areas to minimise wear. Use protective pads under furniture legs to prevent scratches, and avoid dragging heavy objects across the floor.

    Is Parquet Flooring Right for You?

    When considering parquet flooring, take the following factors into account:

    • Lifestyle and Maintenance Willingness: Are you prepared to invest time and effort into regular upkeep?
    • Room Suitability: Assess the level of foot traffic and moisture in the intended space.
    • Budget: Factor in the cost of materials and professional installation, if needed.

    Timeless Elegance for Your Home

    Parquet flooring offers a perfect blend of beauty, durability, and versatility. While it requires careful consideration and maintenance, its ability to transform a space makes it a worthwhile investment. 

    If you’re ready to enhance your interiors with the timeless elegance of parquet flooring, explore the premium-quality options of parquet flooring available at The Flooring Masters. Our experts are here to guide you in choosing durable and stylish flooring solutions tailored to your needs.

  • Which Flooring is Cheaper: Tile or Wood? Your Guide to Saving

    Which Flooring is Cheaper: Tile or Wood? Your Guide to Saving

    The flooring decision goes far beyond aesthetics—a financial choice that impacts your immediate budget and long-term costs. Whether you’re renovating a single room or remodelling your entire house, whether to choose tile or wood flooring is a common debate. With its modern, sleek vibe, tile may seem like the obvious choice in some areas of the home, while wood, with its timeless beauty, often steals the show in others. 

    But here’s the thing: the differences aren’t always as clear-cut as you’d think regarding real-world costs. Let’s remove the marketing fluff and focus on the real numbers. By the end of this blog, you’ll be equipped with the knowledge to make a truly informed decision based on your current needs and long-term financial outlook.

    What’s the Real Cost of Tile Flooring?

    1. Material Costs: 

    Regarding the initial purchase, tiles come in a broad price range. Budget tiles start at around £2 per square foot, but if you’re looking at high-end options like natural stone or porcelain, you could pay as much as £8 or more per square foot. For those who appreciate variety, the sky’s the limit on design possibilities. From bold patterns to classic finishes, tile offers excellent versatility.

    2.  Installation Costs: 

    Tile installation isn’t precisely a DIY-friendly project. Unless you’re an experienced tiler, you’ll likely need to hire a professional to ensure the job is done right. Expect to pay between £4 and £12 per square foot for installation, depending on the complexity of the job and the type of tile being used. Remember, proper installation is key—incorrectly laid tiles can lead to costly repairs and replacements.

    3.  Maintenance Costs: 

    One of tile’s most significant selling points is its durability, but that doesn’t mean it’s maintenance-free. Regular cleaning is necessary to maintain its shine, especially in high-traffic areas. Additionally, grout can stain and accumulate dirt, requiring occasional deep cleaning or resealing. Over time, tiles can crack, and the grout can wear down, leading to additional repair costs. In high-traffic or moisture-prone areas, be prepared for the upkeep to add up.

    Cost Breakdown Low-End Tiles High-End Tiles
    Material Costs per sq ft £2 £8+
    Installation Costs per sq ft £4–£7 £7–£12
    Maintenance (annual) £50–£100 £100+

    Explore The Flooring Masters’ comprehensive range of top-tier tile flooring options in different designs and price ranges. Request a free sample today and see the quality for yourself!

    What’s the Actual Cost of Wood Flooring?

    1.  Material Costs: 

    Regarding wood, the material costs can vary just as much. Engineered wood typically falls between £3 and £14 per square foot, while solid wood is more expensive, ranging from £5 to £15 per square foot. The type of wood you choose will impact the cost. For example, oak and maple are popular but have a higher price tag, whereas softer woods like pine are generally more affordable.

    1. Installation Costs: 

    Installing wood flooring is less intensive than tile installation, but you’ll still need professional help if you’re not a DIY enthusiast. Installation costs generally range from £4 to £7 per square foot. Some types of engineered wood come with click-lock installation that makes DIY installation possible, saving you a portion of the costs if you’re up for it.

    2. Maintenance Costs: 

    Wood flooring requires more maintenance than tile, especially if you live in an area with high humidity or foot traffic. Over time, you may need to refinish the floor to maintain its aesthetic appeal. Sanding and refinishing can cost anywhere from £2 to £5 per square foot, depending on the condition of the wood. Additionally, softwoods like pine are more susceptible to wear and tear and may need attention sooner than hardwoods like oak or walnut.

    Cost Breakdown Engineered-Wood Solid Wood
    Material Costs per sq ft £3–£14 £5–£15
    Installation Costs per sq ft £4–£7 £4–£7
    Maintenance (annual) £30–£70 £50–£100

    At The Flooring Masters, we have an extensive selection of premium engineered wood and solid wood flooring, catering to various styles and budgets.

    What Are the Hidden Costs of Tile and Wood Flooring?

    • Installation Complexity: 

    Tile installation requires skill, and hiring an expert is essential unless you’re willing to invest time into learning the ropes. This adds to the overall cost, and poor installation can lead to expensive repairs down the line. Wood floors, while easier to install, still require a certain level of expertise. Pay attention to imperfections in the wood and factor in potential sanding and refinishing costs.

    • Longevity and Long-Term Costs: 

    Tile may seem expensive initially, but it could be more cost-effective in the long run, especially if you stay home for many years. Wood, while beautiful, may need refinishing every 10–15 years, which can be a significant expense. Consider how long you plan to live in your home and weigh the total cost of ownership.

    • Environmental Considerations: 

    If sustainability is a priority, consider the environmental impact of both materials. If sourced responsibly, wood floors are more eco-friendly than tile. Porcelain and ceramic tiles, while durable, are less sustainable to produce

    The Verdict: Tile or Wood? The Final Breakdown

    Cost Breakdown Tile Flooring Wood Flooring
    Material Costs per sq ft £2–£8+ £3–£15
    Installation Costs per sq ft £4–£12 £4–£7
    Maintenance (annual) £50–£100 £30–£100
    Ideal For Kitchens, bathrooms, high-traffic areas Living rooms, bedrooms, aesthetic preference
    Longevity Long-lasting with proper care Long-lasting but needs refinishing every 10-15 years
    Moisture Resistance Highly moisture resistant Susceptible to moisture (needs sealing)
    Durability Very durable, resistant to scratches and wear More prone to scratches and dents

    Which Flooring is Right for Your Budget?

    Every budget is different, and choosing based on your needs and financial situation is essential. Tile may be the cheaper option upfront, but it could cost you more in installation. Wood may cost more initially, but if you’re after timeless beauty, it could offer better long-term value. Don’t just look at initial costs—consider the whole picture.

    The Flooring Masters offers a wide range of high-quality tile, engineered wood, and solid wood flooring, all available at various prices. Request your free sample today!

  • Best Underlay for Engineered Wood Flooring with Underfloor Heating

    Best Underlay for Engineered Wood Flooring with Underfloor Heating

    Imagine stepping onto your engineered wood flooring, warmed perfectly by underfloor heating. The secret to achieving this comfort isn’t just in the flooring or heating system itself—it lies in the often-overlooked underlay. This guide explores how to ensure your flooring and underfloor heating work in perfect harmony, delivering warmth, comfort, and longevity.

    A good underlay isn’t merely a layer beneath your flooring. It’s the foundation that maximises efficiency, ensures even heat distribution, and extends the lifespan of your floor. With the right underlay, you can also improve sound insulation, reduce energy costs, and enhance overall living comfort. Let’s delve into the key considerations and choices to help you select the ideal underlay for your home.

    Understanding the Role of Underlay in Underfloor Heating

    Underlay plays a pivotal role in creating a seamless experience between engineered wood flooring and underfloor heating.

     Thermal Efficiency: 

    A high-quality underlay optimises heat transfer from your heating system to the surface, ensuring minimal energy wastage. This means you get a cosy floor without driving up energy bills, making it both cost-effective and eco-friendly.

    Flooring Protection: 

    It acts as a barrier against moisture, reducing the risk of damage to your engineered wood flooring. This is particularly important in areas prone to humidity, where moisture can seep through and compromise the integrity of the flooring.

    Additional Benefits: 

    Beyond heating, underlay also provides noise reduction and cushioning, enhancing the overall comfort of your home. It’s a silent performer, ensuring that the floors not only feel great underfoot but also contribute to a quieter living environment.

    Key takeaway: A good underlay is the unsung hero of warm and efficient floors, ensuring both comfort and durability. With its multifaceted benefits, it’s a crucial element for creating a home that’s as functional as it is inviting.

    What to Look for in an Underlay for Engineered Wood Flooring

    When selecting an underlay for engineered wood flooring with underfloor heating, focus on these critical factors:

    Thermal Efficiency

    • Low Tog Ratings: Underfloor heating requires underlays with low tog values to allow heat to pass through efficiently. This ensures that the warmth generated by the system isn’t trapped below, maximising its effectiveness.
    • Recommended Values: Look for an underlay with a tog rating below 0.8 for optimal performance. This balance ensures that the underlay supports effective heat transfer without compromising on other benefits like cushioning.

    Material Compatibility

    • Engineered Wood Pairing: Certain materials, like foam or cork, pair exceptionally well with engineered wood flooring due to their thermal properties and resilience. Understanding this compatibility ensures that your flooring remains stable and visually appealing over time.

    • Moisture Resistance: Underlay with built-in moisture barriers can protect your flooring from dampness. This is particularly crucial for maintaining the structural integrity of your engineered wood flooring, especially in homes with varying humidity levels.

    Durability and Longevity

    • Sturdy Materials: Choose an underlay designed to withstand wear and tear without compromising on heating efficiency. Durable underlays not only enhance the lifespan of your flooring but also provide consistent performance over the years.

    Actionable Tip: Prioritise a balance of low tog rating, compatibility, and durability to achieve the best results. Investing in the right underlay now can save you significant time and costs in the future.

    The Best Underlay Options for Warm, Comfortable Floors

    Here are some of the best underlay options for combining underfloor heating with engineered wood flooring:

    1. High-Density Foam Underlays

    • Features: Excellent heat conductivity and cushioning properties. These underlays are lightweight, easy to install, and provide a smooth base for your engineered wood flooring.
    • Why It Works: Balances comfort and efficiency, ensuring even heat distribution without compromising the structural integrity of your flooring. High-density foam also offers good sound insulation, making it a versatile choice for various spaces.

    2. Cork Underlays

    • Features: Eco-friendly, durable, and thermally efficient. Cork underlays are naturally resistant to mould and mildew, making them ideal for homes with underfloor heating systems.
    • Why It Works: A sustainable option that provides excellent insulation while maintaining compatibility with underfloor heating systems. Cork is also hypoallergenic, adding to its appeal for health-conscious homeowners.

    3. Specialised Heating System Underlays

    • Features: Products like Duralay Heatflow are specifically designed for underfloor heating. These underlays are engineered to provide maximum heat transfer while protecting your flooring from moisture.

    Why It Works: Offers optimised heat transfer, moisture control, and additional support for engineered wood floors. Their specialised design ensures long-lasting performance tailored to modern heating systems.

    Eco-Friendly Underlays: Combining Sustainability and Performance

    Sustainability is becoming increasingly important in home improvement. Eco-friendly underlays offer a great balance between performance and environmental impact.

    • Popular Choices: Cork, recycled foam, and natural fibre underlays are excellent eco-friendly options. These materials not only reduce your carbon footprint but also deliver reliable performance.
    • Performance Comparison: Many sustainable underlays now match or even surpass synthetic options in terms of durability and thermal efficiency. For instance, cork underlays provide excellent insulation without compromising on heat conductivity.
    • Environmental Impact: By choosing eco-friendly materials, you contribute to reducing waste and promoting sustainable practices in the flooring industry.

    Takeaway: Choosing an eco-friendly underlay doesn’t mean sacrificing quality. It’s a win-win for your home and the environment, offering warmth, comfort, and peace of mind.

    Avoiding Common Mistakes When Choosing an Underlay

    Even the best underlays can fall short if chosen incorrectly. Here are some pitfalls to avoid:

    • Over-Prioritising One Factor: Focusing solely on tog ratings without considering material compatibility or durability can lead to inefficiencies. A well-rounded selection ensures you don’t compromise on any key aspect.
    • Ignoring Manufacturer Recommendations: Always consult the flooring manufacturer’s guidelines to ensure compatibility with your engineered wood flooring and heating system. This simple step can prevent costly mistakes.
    • Using Inappropriate Underlays: Not all underlays are suitable for underfloor heating—select options specifically designed for this purpose. Generic underlays may restrict heat transfer or cause long-term damage to your flooring.

    Expert Advice: Consult with professionals to make an informed decision and avoid costly mistakes. Make use of the expert advice centre at The Flooring Masters. The insights can help you navigate the variety of options available and select the best fit for your home.

    Wrapping Up: Build Your Foundation for Comfort and Warmth

    Selecting the right underlay for your engineered wood flooring and underfloor heating is an investment in comfort, efficiency, and longevity. By understanding the role of underlay, knowing what to look for, and avoiding common mistakes, you can create a warm and inviting space for years to come.

    The right underlay transforms your flooring and heating system into a harmonious duo. It’s more than a layer—it’s the foundation of a cosy and efficient home.

    Trust The Flooring Masters to guide you in making the best choice for your home. Explore our range today and take the first step towards lasting warmth and comfort.

  • Can Engineered Wood Flooring Work with Underfloor Heating? Find Out

    Can Engineered Wood Flooring Work with Underfloor Heating? Find Out

    Engineered wood flooring may seem the perfect match for underfloor heating, but let’s not jump to conclusions just yet. While it’s widely recommended, we must consider if this combination is optimal for every situation. It’s time to challenge the assumptions and look beyond the surface.

    The objective here isn’t to dissuade you from choosing engineered wood for your home. Instead, it’s to offer a more balanced, data-driven perspective. After all, flooring and heating are significant investments, and making an informed choice could save you time, money, and frustration in the long run.

    Is Engineered Wood Flooring the Best Option for Underfloor Heating?

    The truth about engineered wood:

    Engineered wood flooring is often touted as a compatible option for underfloor heating, and for a good reason—it can work well in many cases. However, it’s essential to be aware that wood, as a natural material, doesn’t transfer heat as efficiently as alternatives like tile or stone. This could impact the overall heating performance, especially in rooms where you need the warmth to be consistent and efficient.

    Overhyped benefits: 

    The belief that engineered wood is universally suitable for underfloor heating may be overstated. While compatible, it may not always be the most energy-efficient choice regarding heat transfer. It’s essential to weigh the benefits against alternatives to see if engineered wood truly offers the best performance for your needs.

    The myth of “stability”:

    Engineered wood is often marketed for its stability, especially in fluctuating temperatures. While it is generally more stable than solid wood, it’s still susceptible to minor expansion and contraction under fluctuating heat. These temperature changes can sometimes affect the floor over time, but proper installation and maintenance can manage these effects.

    Key Factors to Consider Before Installing Engineered Wood with Underfloor Heating

    Floorboard thickness: The Goldilocks Zone? 

    Industry standards often recommend a 14mm to 16mm thickness for engineered wood flooring. While this is a standard guideline, it’s worth considering whether this thickness is essential for your installation. In some cases, this thickness may be more about aligning with industry practices than a requirement for optimal performance. It’s critical to assess whether this thickness enhances the floor’s ability to handle heat or is more about standardised expectations.

    You can make a more informed choice by understanding these factors and considering your individual heating system and room setup.

    The hidden costs of underfloor heating: 

    Running underfloor heating isn’t free. It’s energy-intensive, and when combined with engineered wood, it might reduce overall heat efficiency. The costs of maintaining a comfortable temperature could be higher than anticipated. If you opt for electric heating, consider whether it is truly the most cost-effective system for your home. Hydronic (water-based) systems are another option, but not all are suitable for engineered wood flooring use.

     Temperature limits – Myth vs Reality: 

    The industry often claims 27°C (81°F) is the ideal temperature for underfloor heating with engineered wood. But is this genuinely safe for the long term? There’s a risk that consistent exposure to high temperatures can cause thermal shock, which might impact the longevity of your flooring. It’s essential to consider what happens when temperatures exceed these limits carefully.

    The Unspoken Truth About Installation Best Practices

    The glue-down method: 

    A double-edged sword: While the glue-down method is often touted as the best approach, it’s not foolproof. Even the best glue can fail over time, especially if the surface isn’t properly prepared or the heating system isn’t installed correctly. If the glue fails, it could ruin your engineered wood floor and heating system, creating an expensive and frustrating problem.

    Subfloor prep: 

    The unseen nightmare: The quality of your subfloor is often the most overlooked aspect of installation. Poor subfloor preparation can lead to uneven surfaces, causing the flooring to warp or buckle. Ensuring your subfloor is perfectly level and clean is crucial for a successful installation. Cutting corners here could mean you’ll be dealing with significant headaches in the future.

    Performance and Maintenance: Why You Should Rethink Your Expectations

    The “slower to heat” reality: 

    One downside of engineered wood with underfloor heating is that the floor takes longer to heat up than alternatives like tile or stone. This can be inconvenient if you rely on your underfloor heating to maintain a comfortable temperature quickly.

    Does your heating system need to work harder?

    If you’re using underfloor heating with engineered wood, your heating system might have to work harder to achieve the same warmth levels that tile or stone could provide. This could increase energy consumption, pushing your heating bills higher than expected. The trade-off between energy efficiency and aesthetic appeal may not always be worth it.

    Cleaning and care: 

    Not as simple as it sounds: Engineered wood floors can look stunning, but how do they fare under the constant heating and cooling of underfloor systems? The regular expansion and contraction of the floor can increase wear and tear, making it more prone to damage. Maintenance costs could rise, so consider whether you’re willing to put in the effort for long-term upkeep.

    Avoid These Common Mistakes (They Might Be Costing You More Than You Think)

    The installation myth: 

    Even with the glue-down method, there are risks involved. Many people assume that simply using the recommended installation method guarantees success. However, issues such as improper glue choice or subpar technique can lead to problems. Are you overestimating your DIY skills? Hiring a professional installer may be worth the extra cost to ensure the job is done right.

    The acclimatisation problem: 

    Many guides emphasise the importance of acclimating your engineered wood before installation, but it’s surprising how often this step is skipped. Not allowing the wood to adjust to room temperature before laying it down can lead to cracks, warping, or gaps as the material expands or contracts. Don’t underestimate the need for proper acclimatisation – it’s a critical step in ensuring the longevity of your floor.

    Is Engineered Wood Flooring the Ultimate Choice for Underfloor Heating?

    It’s time to acknowledge that engineered wood flooring is not always the best for underfloor heating. If you’re prioritising efficiency and energy savings, better alternatives are available. Materials like tile, stone, or even carpet with underfloor heating can outperform engineered wood in heat transfer. These alternatives can provide more effective and efficient heating, reducing energy costs and improving the overall performance of your system.

    At The Flooring Masters, we pride ourselves on offering high-quality engineered wood flooring, but we won’t mislead you. We have some of the best options available if you’re set on engineered wood. However, if you’re looking for the most energy-efficient solution, we’ll be honest and help you explore alternatives that could better fit underfloor heating.

  • A Beginner’s Guide to Laying Engineered Wood Flooring Over Concrete

    A Beginner’s Guide to Laying Engineered Wood Flooring Over Concrete

    Engineered wood flooring is an excellent choice for those looking to combine style, durability, and warmth in their homes. Its timeless appeal and practicality make it a popular option. However, laying it on a concrete subfloor can feel daunting. 

    The good news? With the proper steps and preparation, it can be a straightforward process. This guide will walk you through everything you need to know to achieve professional-looking results.

    Essential Tools and Materials Checklist

    Before you begin, it’s crucial to have the right tools and materials at hand. Here’s what you’ll need:

    Tools:

    • Adhesive trowel
    • Moisture meter
    • Saw (manual or electric)
    • Measuring tape
    • Spirit level
    • Rubber mallet

     Materials:

    • Moisture barrier
    • Flooring adhesive
    • Engineered wood planks
    • Spacers

    Tip: Having all your tools and materials ready before starting ensures a smoother process with fewer interruptions.

    Step 1: Preparing the Concrete Subfloor

    The key to a successful installation lies in the preparation of the subfloor. Follow these steps to ensure a solid foundation:

    1. Cleaning the Surface: Begin by thoroughly cleaning the concrete subfloor. Remove any dirt, dust, or debris to create a smooth surface for the flooring.
    2. Levelling the Floor: Check for any uneven spots using a spirit level. If you find any dips or bumps, use a self-levelling compound to even them out.
    3. Moisture Control: Concrete can retain moisture, which may damage your flooring. Use a moisture meter to test the subfloor and ensure it is dry. If necessary, let it dry out or use a damp-proof membrane.

    Step 2: Getting the Flooring Ready

    Proper preparation of the flooring is just as necessary as preparing the subfloor:

    1. Acclimation: Allow the engineered wood planks to acclimate to the room’s environment for at least 48 hours. This helps them adjust to the temperature and humidity, reducing the risk of warping.
    2. Storage Tips: Store the planks flat in the room where they will be installed to maintain optimal conditions. 

    Step 3: Installing a Moisture Barrier

    A moisture barrier is essential to protect your flooring from moisture seepage. Here’s how to do it:

    1. Roll out the moisture barrier across the entire subfloor, ensuring it overlaps at the seams.
    2. Secure it in place using adhesive or tape, ensuring no gaps.

    This layer acts as a shield, safeguarding your investment against potential damage.

    Step 4: Choosing the Right Installation Method

    Regarding engineered wood flooring, there are three main installation methods: glue-down, floating, and nail-down. For concrete subfloors, the glue-down method is often the best choice.

    1. Applying Adhesive: Spread flooring adhesive evenly using a notched trowel. Work in small sections to prevent drying before laying the planks.
    2. Laying the Planks: Start with the first row, ensuring it is straight. Use spacers to maintain an expansion gap along the edges.
    3. Staggering the Planks: Stagger the joints of the planks for a natural and aesthetically pleasing look. Press each plank firmly into the adhesive and use a rubber mallet to secure them.

    Step 5: Adding the Finishing Touches

    With the central installation complete, it’s time to polish the overall look:

    1. Trims and Skirting Boards: Install trims or skirting boards to cover the expansion gaps and give your flooring a finished appearance.
    2. Final Checks: Inspect the flooring to ensure all planks are aligned correctly in place. 

    Caring for Your New Floor

    To keep your engineered wood flooring looking its best:

    • Cleaning Tips: Use a soft broom or vacuum cleaner to remove dirt and dust. Avoid excessive water and opt for a damp mop when necessary.
    • Protecting Against Wear and Tear: Place felt pads under furniture and use rugs in high-traffic areas to prevent scratches.

    Common Mistakes to Watch Out For

    Even the most careful DIYers can encounter challenges. Here are some common pitfalls and how to avoid them:

    • Skipping Moisture Tests: Always test the subfloor for moisture to prevent long-term damage.
    • Improper Adhesive Application: Apply adhesive evenly to ensure planks stick correctly.
    • Rushing the Process: Take time to align each plank for a flawless finish.

    Quick Fixes: If you make a mistake, such as misaligning a plank, act quickly before the adhesive sets.

    Conclusion: Your Path to Beautiful Floors

    Concrete doesn’t have to be a hurdle; it can be the foundation for stunning engineered wood flooring that adds character and charm to your space. With the proper preparation and a careful, step-by-step approach, you can achieve a professional finish lasting for years.

    If you’re unsure about any step or need help selecting the best materials, don’t hesitate to get expert advice. Visit The Flooring Masters for premium flooring options, tailored recommendations, and guidance to ensure your project is successful.

  • Choosing the Right Floor for Your Living Room: Top Picks and Tips

    Choosing the Right Floor for Your Living Room: Top Picks and Tips

    We’ve all been there: standing in a flooring showroom, staring at endless options, wondering how on earth to pick the right one. The floor you choose for your living room isn’t just about how it looks—it’s a choice that impacts your daily life, your wallet, and even your home’s future value. 

    Imagine hosting guests on a beautiful floor that makes them feel at home, or stepping into a room where the floor perfectly complements your lifestyle—comfortable, practical, and stylish. 

    Choosing the right flooring is about more than just appearances; it’s about finding the perfect balance between form, function, and long-term value. So, before you make that decision, let’s talk about what truly matters when picking the best floor for your living room—and why it’s a lot more important than you might think.

    Why Your Living Room Flooring Choice Really Matters

    The Hidden Costs:

    The decision you make about your living room flooring is more than just a style choice; it can affect your pocket in the long run. Poor flooring choices can lead to costly repairs, cleaning bills, and unnecessary discomfort. 

    For instance, that cheap carpet might seem like a good deal, but after a few spills, it could become a maintenance nightmare. Investing in flooring that suits your lifestyle can help you avoid these hidden costs.

    First Impressions Matter:

    Your living room is the heart of your home and often the first impression visitors get of your style. The flooring in this space can influence how your guests feel, setting the tone for the entire house. 

    It also impacts how comfortable your family feels day-to-day. A carefully chosen floor can enhance the room’s aesthetics while offering comfort underfoot.

     Longevity & ROI:

    Your flooring choice can significantly affect the long-term value of your home. The right flooring not only improves the aesthetic appeal but also boosts the resale value of your property. 

    Floors with longevity—such as quality hardwood—are a smart investment, increasing your home’s overall worth. Opting for durable, high-quality flooring means you won’t need to replace it in a few years, saving you money in the future.

    which floor is best for living room

    What You Should REALLY Consider When Choosing Living Room Flooring

    1. Traffic and Usage Patterns

    Floors aren’t just for looks; they endure the wear and tear of daily life. Will kids, pets, and guests ruin your choice in six months? You need to consider how much traffic the living room gets and the activities that occur there. 

    Flooring that withstands heavy foot traffic, spills, and the occasional clumsy moment is essential. Choose wisely based on your lifestyle.

    2. Aesthetics vs. Practicality

    While your living room should look great, it also needs to be functional. A room that doubles as a family space, a study, or an entertainment zone needs a floor that supports those activities. 

    You may have your eye on a gorgeous, sleek material, but if it’s not practical for your daily routine, it could cause more frustration than it’s worth. Striking the right balance between style and practicality is key.

    3. Budget Myths and Realities

    Cheap doesn’t always mean cost-effective. You might save money upfront with cheaper options, but you could end up spending more in the long term on repairs and replacements. 

    Understanding the true cost of your flooring over its entire lifespan—considering its durability, maintenance, and potential repairs—helps you make an informed choice that saves you more in the future.

    4. Maintenance Nightmares

    Maintenance is a hidden cost people often neglect when choosing flooring. If you choose a floor that requires constant care, the time and money spent on upkeep can quickly add up. 

    Think about the long-term cleaning requirements and how much effort you’re willing to invest. Some floors, like carpet, need frequent vacuuming and professional cleaning, while others, like vinyl, are easier to maintain.

    Top Flooring Options for Your Living Room

    1. Hardwood Flooring:

    • The Pros: There’s no denying that hardwood flooring exudes timeless beauty. It adds elegance and warmth to your living room. If well-maintained, it can last for decades and even increase the value of your home.
    • The Cons: Hardwood is susceptible to scratches, especially in high-traffic areas. It can expand in humid conditions, and the price is steep, making it a significant investment.
    • Who Should Choose This: If you’re looking for a long-term investment and don’t mind the occasional maintenance task, hardwood might be your go-to. However, be prepared to pay for quality and upkeep.

    2. Laminate Flooring: 

    • The Pros: Laminate flooring mimics the look of hardwood without the high price tag. It’s a cost-effective option that’s easy to install and maintain.
    • The Cons: While it can look like hardwood, it lacks the luxury feel. It’s more prone to fading over time and isn’t as durable in high-traffic areas.
    • Who Should Choose This: Laminate is ideal for budget-conscious homeowners who want the aesthetic of hardwood without the hefty price.

    3. Vinyl Flooring: 

    • The Pros: Vinyl flooring is incredibly durable, waterproof, and affordable. It’s ideal for families with kids and pets as it can withstand spills, stains, and heavy foot traffic.
    • The Cons: While it’s practical, vinyl often lacks the stylish appeal of hardwood or stone. Some types can feel cheap or plasticky.
    • Who Should Choose This: Families or anyone looking for a practical, long-lasting option without breaking the bank.

    4.  Carpet Flooring:

    • The Pros: Carpets offer comfort underfoot and help reduce noise, making them a popular choice for those who want a cosy living room. They are also relatively inexpensive.
    • The Cons: Carpets are prone to staining and wear out quickly in high-traffic areas. They can be challenging to clean and often require professional cleaning services.
    • Who Should Choose This: Carpet is suitable for those who prioritise comfort over practicality and don’t mind putting in the effort to maintain it.

    Emerging Flooring Trends You Need to Know About

    1. Water-Resistant is Non-Negotiable

    Studies show that water-resistant flooring, such as luxury vinyl, is becoming a must-have for high-traffic areas due to increasing concerns about spills, humidity, and moisture. Whether it’s accidental spills or kids playing, water-resistant flooring protects your home from long-term damage. This is no longer optional.

    2.  Eco-Friendly Flooring: It’s Not a Trend, It’s the Future

    Bamboo, cork, and other eco-friendly flooring options are gaining popularity. These materials not only offer sustainability but also durability and practicality. If you care about the environment, incorporating eco-friendly flooring is a responsible choice that also adds a unique touch to your living room.

    3.  Seamless Designs: The Open-Plan Revolution

    Open-plan living is here to stay, and your flooring needs to flow with the entire space. Seamless designs, where flooring transitions naturally between rooms, are becoming a must for modern homes. Consider how your choice will affect the flow and cohesion of the entire area.

    Common Flooring Mistakes: Avoid These at All Costs

    Choosing Carpet for High-Traffic Areas

    Carpet in a living room with kids or pets? It’s a recipe for disaster. The reality is that carpets absorb spills, dirt, and wear out quickly under heavy use. Opt for more durable materials in these spaces.

     Ignoring Long-Term Maintenance Needs

    Some floors look fantastic upfront but require constant upkeep. While hardwood or tile may look amazing initially, they can be costly to maintain. Consider the long-term care involved with each flooring type to avoid hidden costs.

     Focusing Too Much on Aesthetics

    Looks aren’t everything. Practicality should always come first. If your flooring looks stunning but doesn’t hold up to your lifestyle needs, you’ll regret your decision. Always weigh the functional aspects against the visual appeal.

    Conclusion

    Choosing the right flooring for your living room isn’t just a design decision—it’s an investment in comfort, functionality, and long-term savings. Whether you’re after the timeless elegance of hardwood, the practicality of vinyl, or the budget-friendly appeal of laminate, it’s important to consider the long-term costs, maintenance needs, and how well each option suits your lifestyle.

    Ready to get your living room flooring right? Start by exploring top-quality options at The Flooring Masters. Order a free sample from us today and find out whether the flooring is the right fit for your living room or not. 

  • How to Measure a Room for Tiles: A Step-by-Step Guide

    How to Measure a Room for Tiles: A Step-by-Step Guide

    When it comes to tiling a room, accurate measurement is the foundation of a successful project. Incorrect calculations can lead to buying too many or too few tiles, wasting money and time. 

    This guide is here to help you get it right the first time, even if you’re new to DIY. With a few simple tools and steps, you can confidently measure your room for tiles and avoid costly mistakes.  

    Tools You’ll Need

    Before you start, gather these tools for a smooth measurement process:  

    1. Measuring tape  
    2. Calculator  
    3. Pen/pencil  
    4. Paper or an online sketch tool  
    • Optional but helpful: Laser measuring tool for enhanced precision.

    With these essentials in hand, you’re ready to start measuring.  

    Step-by-Step Guide to Measuring Your Room

    Step 1: Measure the Length and Width 

    Begin by measuring the longest sides of the room. Choose one unit of measurement (metres or feet) and stick to it throughout. Write down the measurements clearly to avoid confusion later.  

    Step 2: Calculate the Area

    • Use the basic formula for area:  Length × Width = Area
    • For example, if your room is 5 metres long and 4 metres wide, the area is: 5m × 4m = 20m²  

    how to measure a room for tiles

    Step 3: Handle Irregular Shapes 

    If your room isn’t a perfect rectangle, break it into smaller shapes such as rectangles or triangles. Measure each section separately and then add the areas together to get the total.  

    Step 4: Subtract Fixed Obstacles 

    Some parts of your room may not require tiling, such as built-in furniture or fixtures. Deduct the areas of these obstacles from your total. For instance, if there’s a fireplace taking up 2m² in a 20m² room, the adjusted area is: 20m² – 2m² = 18m²

    Step 5: Add Extra for Overage

    Always account for waste, cutting errors, and spares by adding 10-15% to your total area. For example: 18m² + 2m² (10%) = 20m²

    This ensures you’ll have enough tiles to complete the job without last-minute trips to the store.  

    Measuring Walls and Special Layouts

     Measuring Walls

    For wall tiles, measure the height and width of the wall. Multiply these figures to calculate the area. For example: Height: 2m × Width: 0.5m = 1m²

    Complex Layouts

    Patterned layouts, such as herringbone or diagonal designs, require more tiles due to additional cuts and waste. Add 20% to your total instead of the usual 10%. This precaution ensures you won’t run out mid-project. 

    how to measure a room for tiles

    Common Mistakes to Avoid

    Avoid these pitfalls to ensure smooth tiling:  

    • Neglecting waste: Always add extra tiles to account for cutting and mistakes.  
    • Mixing units: Stick to either metres or feet to maintain consistency.  
    • Skipping obstacles: Deduct areas for fixtures like kitchen islands. 
    • Guesswork: Always rely on precise measurements instead of estimates. 

    Need Help? Use Tile Calculators or Seek Expert Advice

    If calculations feel overwhelming, there are plenty of free online tools to make the process simpler. Use a tile calculator to input your room’s dimensions and get instant results. For personalised advice, our team at The Flooring Masters is always here to help.  

    : how to measure a room for tiles

    Simplify Your Tile Journey

    Accurate measurements are the cornerstone of a flawless tiling project. By following this guide, you can confidently measure your room, calculate the right amount of tiles, and avoid unnecessary costs. Ready to start your project?  

    Start your tiling journey with confidence—get expert help and order a free sample to test out quality tiles from The Flooring Masters today. 

  • No More Stress: Choose Flooring Perfect for Cats Who Pee

    No More Stress: Choose Flooring Perfect for Cats Who Pee

    When it comes to choosing flooring for cat owners, most advice ignores a critical detail: the long-term damage caused by cat accidents. It’s not enough for floors to be waterproof; they need to be odour-proof, scratch-resistant, and durable. Too often, pet owners end up with flooring that fails to meet these demands, resulting in costly replacements and endless cleaning.

    This guide is different. Drawing from insights provided by actual pet owners and flooring professionals, we’ll explore the options that truly work and why they matter in the long run. Say goodbye to temporary fixes and hello to a real solution.

    Flooring Myths That Are Destroying Your Home (And Your Wallet)

    Myth #1: “Waterproof floors can handle anything.”

    Reality: Waterproof doesn’t mean odour-proof. While waterproof flooring can prevent liquids from penetrating, cat urine can still seep into seams and corners, leaving behind persistent smells.

    Myth #2: “Just avoid carpets, they’re a lost cause.”

    Reality: Carpet tiles can be managed effectively if treated and placed strategically. With proper maintenance, even carpets can work in specific situations. Success stories from pet owners reveal that innovative solutions like moisture-proof underlays can make a difference.

    best flooring for cats that pee

    The Best Flooring Options for Cats Who Pee

    H3: Luxury Vinyl Plank (LVP) & Tile (LVT)

    • Why It Works: LVP and LVT are highly water-resistant and easy to clean. These materials ensure that urine doesn’t seep into the subfloor, maintaining durability and hygiene. They’re also available in a variety of designs, offering style without sacrificing functionality.
    • Best For: Homeowners seeking a stylish, durable, and pet-friendly flooring solution that offers long-term value and minimal upkeep.

    Sheet Vinyl

    • The Secret Weapon: Seamless installation prevents cracks where urine might seep through. It’s low-maintenance and easy to clean, making it a practical option for pet owners. Its affordability also makes it a great choice for budget-conscious households without sacrificing functionality.
    • Best For: Those looking for an affordable, hassle-free flooring option that combines practicality with ease of maintenance.

     Porcelain & Ceramic Tiles

    • Why They Win: These tiles resist water and scratches, making them a top choice for pet-friendly homes. Their non-porous surfaces prevent odours and stains from lingering, ensuring a fresh and clean environment. They are also easy to pair with various interior styles.
    • Caveat: Tiles can feel cold underfoot, so consider adding rugs or underfloor heating for added comfort. Regular grout sealing may also be required to prevent moisture penetration.
    • Best For: People willing to invest in a long-lasting, easy-to-maintain flooring solution that prioritises hygiene and durability

    Laminate Flooring

    • Upside: A budget-friendly option with moderate resistance to spills. Its variety of designs allows homeowners to achieve a wood-like look without the high cost. Laminate is also relatively easy to install and replace when needed
    • Downside: If accidents aren’t cleaned quickly, laminate can degrade over time. Its resistance to water is limited compared to vinyl or tile.
    • Best For: Budget-conscious homeowners who are diligent about maintenance and prefer a flooring option that balances cost and aesthetics.

    The Flooring You Should Absolutely Avoid

    Hardwood Floors

    Why It’s A Disaster: Even with sealants, cat urine can seep into natural materials, causing irreversible damage. Refinishing hardwood can be costly and may not always eliminate deep-seated odours.

    Carpeting

    • Why It’s Risky: Traditional carpets absorb urine, leading to lingering odours and stains. Cleaning is often challenging, and repeated accidents can render carpeting unsalvageable.

    Pro Tip: Carpet tiles with moisture-proof underlays can simplify clean-ups, but they’re best used in low-risk areas.

    The Underestimated Cat-Proof Flooring Options

    Concrete & Rubber Flooring:

    • Underrated but Effective: These materials are tough, water-resistant, and easy to clean, making them excellent choices for high-traffic areas. Concrete can be polished or stained to enhance aesthetics, while rubber provides a cushioned surface that’s gentle on paws.
    • Real-World Insight: Many pet owners have switched to concrete or rubber tiles and reported significant savings on maintenance. Rubber flooring, in particular, absorbs sound, reducing noise in multi-pet households.
    • Why No One Talks About This: These options are often overlooked due to style preferences, but they’re practical and durable solutions that can be customised to match modern design trends.

    Protect Your Flooring Investment – The Complete Cat-Proofing Plan

     Flooring Is Only Half the Battle:

    • Use washable rugs and litter mats to protect high-risk areas. Layering rugs adds extra protection while enhancing your home’s décor.
    • Opt for enzyme-based cleaners to neutralise odours effectively. Keep a portable carpet extractor handy for emergencies.

    The Ultimate Maintenance Strategy:

    • Preventive measures: Clean up accidents immediately to minimise damage. Consider setting up multiple litter boxes to reduce the chances of mishaps.
    • Tech tools: Invest in pet odour neutralisers and automatic litter box mats for added convenience. Smart cleaning devices like robot vacuums can also help maintain hygiene effortlessly.

    Conclusion: Protect Your Floors and Your Sanity

    Your flooring choice can make or break your home’s durability when living with cats who pee. Luxury Vinyl Plank, porcelain tiles, and even overlooked options like concrete are excellent choices for pet owners seeking practical, long-term solutions.

    Don’t settle for less. Protect your investment and simplify your life by choosing flooring that’s built to withstand the unique challenges of cat ownership.

    Take the first step today—order free samples from The Flooring Masters and discover the difference for yourself.

  • What is Herringbone Engineered Wood Flooring?

    What is Herringbone Engineered Wood Flooring?

    You’ve probably seen the striking, zigzag pattern of herringbone engineered wood flooring and admired its timeless elegance. But before committing to this bold design for your home, it’s important to weigh both its aesthetic appeal and practicality. While herringbone floors can transform a space, there are several factors to consider when deciding if this style is right for your needs.

    In this guide, we’ll break down the essential details you need to know about herringbone engineered wood flooring—from its unique visual impact to its long-term durability. By the end, you’ll be able to determine whether this sophisticated flooring choice is the perfect match for your home’s style, functionality, and lifestyle. Let’s explore the pros and cons so you can make an informed, confident decision.

    What Is Herringbone Engineered Wood Flooring?

    •  Herringbone Pattern
      The herringbone pattern is a classic design where wooden planks are laid in a distinctive zigzag formation. This visually striking pattern adds sophistication and a sense of elegance to any room, making it a popular choice for homeowners who want a statement floor.
    •  Engineered Wood Explained
      Engineered wood flooring is made of several layers of real wood, with a hardwood veneer on top. This construction offers the beauty of hardwood but with added stability and resistance to temperature and humidity changes—ideal for homes with fluctuating conditions.

    engineered wood flooring herringbone pattern

    Why Choose Herringbone Engineered Wood Flooring?

    Aesthetic Appeal

    If you’re looking to make your flooring the focal point of a room, herringbone engineered wood delivers. The pattern adds depth, texture, and timeless charm, making it an excellent choice for a variety of spaces.

     Versatility in Design

    Herringbone engineered wood comes in a range of finishes, making it suitable for both modern and traditional interiors. Whether you’re looking to update your living room or enhance a classic dining area, herringbone complements a wide array of styles.

    The Benefits You’ll Actually Notice

    1. Durability

    Engineered wood is more durable than solid wood, especially in rooms with fluctuating humidity or temperature. Its layered construction helps prevent warping or shrinking, making it a great choice for spaces like kitchens, bathrooms, or basements.

    2.  Low Maintenance

    One of the standout features of engineered wood is its low maintenance. Unlike solid wood, it requires less upkeep. A simple cleaning routine and occasional refinishing are all that’s needed to keep your herringbone floors looking fresh.

    herringbone pattern engineered wood flooring

    3. Cost-Effective in the Long Run

    While herringbone engineered wood can be more expensive than traditional planks, it offers a higher-end look that may increase your home’s value. The durability and aesthetic appeal make it a worthwhile investment for homeowners who want to add a touch of luxury to their spaces.

    Potential Drawbacks of Herringbone Engineered Wood Flooring

    1. Installation Complexity

    Herringbone engineered wood isn’t the easiest to install, especially when compared to traditional planks. The unique pattern requires precision and attention to detail, which is why many people opt for professional installation to ensure a flawless finish.

    2.  Cost Factor

    Yes, herringbone engineered wood can be more expensive. However, it’s important to remember that the cost reflects the quality, design, and long-term value it adds to your home. Think of it as an investment in both aesthetic appeal and durability.

    Flooring Type Price per Square Meter Factors Affecting Price
    Standard Herringbone Engineered Wood £30 – £50 Basic designs, fewer premium features
    Premium Herringbone Engineered Wood £50 – £75 Higher quality wood, intricate patterns, and enhanced finishes
    Luxury Herringbone Engineered Wood £75 – £100 Premium finishes, exotic wood types, custom designs

    Additional Considerations:

    • Installation Costs: These can range from £15 to £30 per square meter, depending on complexity and location.
    • Maintenance: Engineered wood flooring is relatively low-maintenance, but refinishing may be needed every 5-10 years, depending on wear.

    This cost breakdown gives you a general idea of what to expect when investing in herringbone engineered wood flooring for your home.

    herringbone engineered wood flooring

    How to Choose the Best Herringbone Engineered Wood Flooring

    1.  Match Your Home’s Style

    When selecting your flooring, ensure that the wood finish complements the existing décor in your home. Whether your space is contemporary or traditional, there is a herringbone style that will suit your needs.

    2. Focus on Quality

    Investing in quality is crucial. Don’t compromise on quality to save money, as high-quality engineered wood will last longer and retain its beauty over time. Cheaper options may wear down faster and require more maintenance, costing you more in the long run. Always choose a reputable supplier for the best durability and finish.

    3.  Consider Installation Option

    If you plan to install the flooring yourself, ensure you have the proper tools and the time to do it properly. If not, hiring a professional can save you from the hassle and guarantee a smooth installation process.

    Take your time to make the right decision

    Herringbone engineered wood flooring isn’t just a passing trend—it’s a timeless design choice that can elevate the style and value of your home. With its distinctive pattern and durable construction, it offers both beauty and practicality.

    The Flooring Masters offers a wide selection of herringbone engineered wood flooring. Order a free sample today to see how this elegant flooring can enhance your home. Take your time in choosing the right style and design for your space, and make a lasting impression with your flooring.

  • Say Yes or No to Engineered Wood in Bathrooms? Find Out

    Say Yes or No to Engineered Wood in Bathrooms? Find Out

    You dream of a bathroom with the warmth and charm of wood but worry about moisture damage. Is there a way to have both beauty and practicality? Enter engineered wood flooring — an option that promises the aesthetic appeal of wood while addressing the unique challenges of bathroom environments.

    Engineered wood flooring is designed with layers that make it more durable and moisture-resistant than traditional hardwood, making it a great option for areas exposed to humidity. For more information on engineered wood flooring, check out our blog, which provides an overview of this type of flooring.

    Whether you’re upgrading your current bathroom or building a new one, this guide will help you determine if engineered wood flooring is the right choice for your bathroom.

    Why Engineered Wood Is a Contender for Bathrooms

    1. Moisture-Resistance

    Thanks to its layered construction, engineered wood handles moisture far better than solid wood. Its design prevents warping, allowing it to perform well in controlled bathroom conditions. While it’s not entirely waterproof, its enhanced stability makes it a suitable choice for areas with occasional dampness. Pairing it with a quality sealant can further protect it from moisture damage..

    2.Versatility in Design

    Engineered wood is available in a wide array of finishes and styles, making it easy to complement any bathroom decor. Whether you’re after a rustic vibe or a sleek, modern look, engineered wood fits the bill while maintaining its natural appeal. Its ability to mimic exotic wood species at a fraction of the cost makes it a favourite for design-conscious homeowners.

    engineered wood flooring for bathrooms

    3.  Durability in Controlled Environments

    With proper care and maintenance, engineered wood can withstand moderate humidity. Its resilience makes it a strong candidate for bathrooms with excellent ventilation and minimal water exposure. Regularly wiping up spills and using bath mats can help preserve its longevity, ensuring it stays looking great for years to come.

    The Key Challenges You Need to Address

    No flooring is without its challenges, but engineered wood’s issues can be managed with the right precautions:

     Humidity and Moisture

    Bathrooms are inherently damp, but proper sealing and adequate ventilation can safeguard your engineered wood flooring. Regularly check for signs of moisture to address issues early. Investing in a dehumidifier or exhaust fan can also help maintain a balanced environment and extend the flooring’s lifespan.

    Waterproofing Edges

    Edges and seams are the most vulnerable points. Professional installation techniques, such as using waterproof adhesives and sealants, can significantly enhance water resistance. Adding a protective layer of finish to these areas ensures better durability against daily wear and tear.

    Maintenance Requirements

    Engineered wood requires regular cleaning and prompt attention to spills. While this may seem demanding, it’s an opportunity to preserve its stunning appearance for years to come. Using a damp (not wet) mop and wood-friendly cleaners will keep it looking its best without compromising its structure.

    engineered wood flooring for bathrooms

    The Key to Perfectly Installed Engineered Wood Flooring

    Installing engineered wood flooring in a bathroom requires thoughtful planning and precision to ensure both beauty and durability. Follow these essential steps for a flawless result:  

    Select a Moisture-Resistant Underlay 

    Invest in a high-quality underlay designed for damp environments. This layer provides crucial insulation and an extra shield against moisture, keeping your flooring protected from underneath.  

    Partner with Expert Installers

    Professional installers bring the expertise needed for seamless placement. They ensure tight-fitting planks and precision alignment, significantly reducing gaps where water might seep in.  

    Seal for Maximum Protection 

    Edges and joints are the most vulnerable areas. Use top-tier waterproof sealants to reinforce these spots and create a strong defence against spills and humidity. 

    Focus on Ventilation 

    Proper airflow is vital before, during, and after installation. Good ventilation helps maintain stable humidity levels, preventing moisture-related issues over time. Consider adding a bathroom fan or improving natural ventilation for lasting results.  

    Incorporate Smart Planning

    A meticulous checklist can guide the process, ensuring nothing is overlooked—from selecting materials to applying the final protective layer. Thoughtful planning leads to a bathroom floor that combines elegance with resilience.  


    • Bonus Tip: Test your chosen underlay and sealants in small areas first to ensure compatibility with your flooring. Taking these extra precautions sets the foundation for a beautiful and long-lasting installation.

    Alternative Flooring Options for Bathrooms

    If engineered wood doesn’t feel like the right fit, consider these alternatives:

    Porcelain Tiles : 
    Offering a wood-look aesthetic with unmatched water resistance, porcelain tiles are a popular choice for bathrooms.

    Luxury Vinyl Planks : 
    Waterproof and cost-effective, these planks mimic the appearance of wood while being exceptionally durable.

    Feature Engineered Wood Porcelain Tiles Luxury Vinyl Planks
    Water Resistance Moderate High High
    Aesthetic Appeal Authentic wood look Mimics wood Mimics wood
    Cost Medium to High High Low to medium
    Maintenance Moderate Low Low

    These alternatives could be a good choice if you have doubts about engineered wood flooring, but to know better, you can reach out to the advice centre at The Flooring Masters to get expert advice as to which flooring will be the right choice for your bathroom.

    When Engineered Wood Flooring Shines in Bathrooms

    Engineered wood truly excels in certain bathroom setups, providing both style and practicality:

    Guest Bathrooms or Powder Rooms

    These spaces typically experience limited water exposure, making them ideal for engineered wood. With minimal risk of spills or high humidity, the flooring retains its beauty while adding a touch of warmth and sophistication.

    engineered wood flooring for bathrooms

    Homes with Exceptional Ventilation

    Proper airflow is key to reducing humidity levels and ensuring the longevity of engineered wood. Bathrooms equipped with exhaust fans, dehumidifiers, or good natural ventilation provide the perfect environment for this flooring option.

     Low-Traffic Bathrooms

    In homes with multiple bathrooms, those used less frequently are excellent candidates for engineered wood. Less wear and tear mean the flooring will stay pristine longer with minimal maintenance.

    • Pro Tip: Regularly inspect areas prone to moisture, like around sinks and bathtubs, to ensure that your flooring remains in optimal condition. A little preventative care goes a long way in maintaining its shine and durability.

    Elegant, Practical, and Timeless: A Choice Worth Making

    Engineered wood flooring is the perfect mix of beauty, durability, and warmth, making it an excellent choice for bathrooms. It fits a variety of styles, whether you’re going for modern or traditional. With the right care, it will stay looking great and last for years, turning your bathroom into a stylish and functional space.

    Why settle for less? Explore The Flooring Master’s collection of engineered wood flooring, designed for both style and strength. Want to see it for yourself? Order a free sample from us today and start transforming your bathroom into the perfect retreat.

  • Grey Solid Wood Flooring: Pros, Cons, and Design Tips

    Grey Solid Wood Flooring: Pros, Cons, and Design Tips

    The charm of grey solid wood flooring is undeniable. Its sleek, neutral tones have captured the imagination of homeowners and interior designers alike. Whether it’s creating a modern sanctuary or a minimalist retreat, grey flooring offers a contemporary base that allows for creative expression.

    But here’s the catch: grey is also a polarising choice. While it has become a sought-after trend, questions linger. Will it stand the test of time, or is it a design choice that could feel dated in a few years?

    This guide dives deep into grey solid wood flooring—exploring its strengths, drawbacks, and practical considerations to help you decide if it’s the perfect fit for your home. By the end, you’ll have the insights needed to make a confident, informed choice.

    What Makes Grey Solid Wood Flooring Special?

    Timeless Elegance

    Grey flooring’s neutral yet bold aesthetic brings an element of sophistication to any room. Its ability to seamlessly blend into various colour palettes makes it a design favourite for everything from chic urban lofts to tranquil suburban homes.

    Durability and Refinishing Options

    Unlike carpets or laminate, solid wood floors are built to last. Grey solid wood flooring can be refinished multiple times, allowing homeowners to adapt its look over decades. This makes it a flexible and future-proof option for those concerned about design longevity.

    grey solid wood flooring

    Understated Versatility

    Grey flooring’s adaptability allows it to serve as a bridge between styles—balancing the warmth of traditional decor with the clean lines of modern interiors. It’s as at home in a minimalist studio as it is in a rustic cabin.

    The Downsides of Grey Flooring: What No One Talks About

     Trend Fatigue

    Grey may be in high demand now, but trends evolve. What feels stylish today could become passé tomorrow, potentially leaving homeowners stuck with flooring that looks outdated. While refinishing is an option, the cost and effort involved aren’t negligible.

     Cleaning Challenges

    Grey tones, especially lighter shades, have a knack for exposing every speck of dust, dirt, and pet hair. This means regular upkeep is essential to keep the floors looking immaculate. If you have an active household or pets, this could quickly become a chore.

     Maintenance and Wear

    Over time, grey wood flooring can show wear in high-traffic areas more noticeably than darker wood tones. Scratches and scuffs might require more frequent touch-ups, especially in rooms with heavy use.

    Limited Design Freedom

    While grey’s neutrality is a strength, it can also act as a constraint. Warm tones in furniture or decor can clash with cooler grey shades, making it challenging to achieve a cohesive look in some spaces.

    Choosing the Right Shade and Finish

    Shade Comparison Table

    Aspect Light Grey Dark Grey
    Room Size Enhances small spaces; adds light Adds depth to large rooms
    Lighting Best in rooms with natural light Works in rooms with controlled lighting
    Ambiance Creates an airy, open feel Brings sophistication and drama
    Cleaning Needs Shows more dirt and scratches Conceals imperfections better
    Compatibility Pairs well with modern, bright decor Complements bold, dark interiors

    grey solid wood flooring

    Finish Comparison Table

    Finish Type Matt Glossy Distressed
    Look Natural, understated Sleek, polished Rustic, aged
    Maintenance Low-maintenance Requires frequent cleaning Hides imperfections
    Best For Minimalist or casual settings Contemporary or luxe interiors Vintage or rustic styles

    Why Grey May or May Not Suit Your Space

    Grey flooring’s appeal isn’t universal—it’s all about the context of your space.

    Living Rooms

    Grey adds a serene, modern vibe to living rooms, making it a popular choice for creating an elegant yet understated aesthetic. It works well with various design themes, from minimalist to contemporary. However, if your living room experiences heavy foot traffic, scratches and dirt may become more noticeable, especially in lighter shades. A slightly distressed or darker finish can help mitigate this issue while maintaining the visual appeal.

    Kitchens and Bathrooms

    In kitchens, grey flooring complements sleek, modern cabinetry and metallic appliances, creating a polished, cohesive look. However, kitchens are prone to spills and stains, which can be more apparent in grey tones. Bathrooms pose an even greater challenge due to moisture, which can warp solid wood. While grey adds sophistication, it’s crucial to assess whether you’re ready for the high maintenance or opt for moisture-resistant alternatives like engineered wood.

    Bedrooms

    Bedrooms benefit from grey flooring’s ability to create a calm, restful atmosphere. Light greys, in particular, can make small bedrooms appear more spacious, while darker greys add depth and cosiness. However, grey tones can feel cold if not paired with warm textiles or adequate lighting. Rugs throws, and curtains in warmer hues can balance this effect, making the space feel more inviting.

     Entryways and Hallways

    Grey flooring in entryways offers a striking first impression and pairs well with neutral or bold wall colours. However, these areas are highly prone to dirt and scuffs from foot traffic. Protective measures like area rugs and mats can help maintain the flooring’s appearance, especially in high-use spaces.

    Grey Flooring – Love It, Choose Wisely

    Grey solid wood flooring offers a compelling blend of style, versatility, and durability. But it’s not without its challenges. Balancing these factors with your personal needs and long-term goals is crucial for a choice you’ll love for years to come.

    Ready to see if grey solid flooring is right for your space? Explore our premium collection and order a free sample today to find the perfect match for your home. 

  • Why Choose Grey Herringbone Engineered Wood Flooring?

    Why Choose Grey Herringbone Engineered Wood Flooring?

    If you’ve ever flicked through an interior design magazine or scrolled endlessly on Pinterest, chances are you’ve spotted the undeniable charm of grey herringbone-engineered wood flooring. It’s stylish, versatile, and undeniably modern—but does it live up to the hype? Whether you’re renovating your home or simply exploring new design trends, the decision to choose this particular flooring style is a big one.

    Grey herringbone engineered wood flooring blends the timeless appeal of the herringbone pattern with the practical advantages of engineered wood. The intricate, zig-zag design captures attention, offering an instant visual upgrade for any space. But is it the right fit for every home? Does the modern, cool-toned grey work across various room types and décor styles?

    What makes grey herringbone flooring so appealing is its ability to combine traditional and contemporary styles. The grey tones offer a fresh, neutral base, while the herringbone pattern adds a touch of elegance that makes even the most mundane rooms feel like a designer showcase. We’ll also take a closer look at how grey herringbone stacks up against other flooring options and whether it’s a trend that will continue to be stylish for years to come. Stay with us as we guide you through everything you need to know about this beautiful, yet sometimes misunderstood flooring option.

    grey herringbone engineered wood flooring

    The Pros and Cons: A Balanced Perspective

    Advantages:

    1. Timeless Design:

    Herringbone has been a staple of classic interiors for centuries, and the grey palette gives it a modern twist. This enduring style has evolved, remaining relevant across different design eras. 

    The grey tones allow it to blend seamlessly into contemporary spaces while maintaining its traditional charm. Its versatility ensures it suits various interior styles, from modern minimalism to more traditional, cosy settings.

    2. Durable and Low Maintenance:

    Easy to clean and resistant to wear, it’s perfect for busy households. The engineered wood structure adds extra resilience, meaning it can withstand heavy foot traffic, pet activity, and daily wear without losing its beauty. 

    Regular cleaning is simple, requiring only occasional sweeping and mopping to maintain its finish. Additionally, its resistance to scratches and dents makes it ideal for high-traffic areas.

    3. Illusion of Space: 

    The pattern creates depth, making smaller rooms appear larger and more inviting. It draws the eye in, enhancing the perception of space, particularly in tight or awkwardly shaped rooms. 

    This makes it a go-to choice for smaller apartments or spaces that need an open feel. The geometric design adds visual interest, making even compact areas feel expansive.

    4. Increases Property Value: 

    Unique, high-quality flooring can make your home more attractive to potential buyers. Herringbone is often associated with luxury and craftsmanship, and its appeal can increase the overall value of your home. 

    With its enduring style, it can also contribute to making your home more desirable for years to come. Many buyers appreciate the long-lasting investment it represents.

    Drawbacks:

    1. Complex Installation:

    Unlike traditional planks, herringbone requires skilled installation, which can increase costs. The intricate design demands precision and expertise, and this complexity may lead to higher labour costs. 

    If not done properly, the results can be disappointing, with uneven alignment or gaps. This can lead to additional costs in repairs or reinstallation if needed.

    grey herringbone engineered wood flooring

    2. Trendy Risks:

    While grey is in vogue now, it may feel dated as trends evolve. Though grey has become a popular choice in modern interiors, its association with current trends means it may not hold its appeal long-term. 

    You could be left with a floor that feels less relevant as design trends shift. As trends change, the neutrality of grey could become less of an asset and more of a drawback.

    3.Cost Implications: 

    Premium patterns and high-quality materials often come at higher price points. The cost of grey herringbone engineered wood flooring can be significantly higher than standard wooden flooring options. 

    Additionally, choosing high-end brands or sustainably sourced materials may further elevate the price, making it a bigger investment. However, this price often reflects the durability and longevity of the product.

    4.Requires Careful Furniture Placement: 

    The pattern can clash with busy or mismatched furniture layouts. Because of its bold and intricate design, it’s important to ensure your furniture complements the floor, as poorly matched pieces can overwhelm the space. 

    Minimalist or neutral furniture works best to allow the floor to remain the focal point of the room. Careful consideration of furniture and decor ensures the overall look remains cohesive and elegant.

    grey herringbone engineered wood flooring

    Is Grey Herringbone Flooring Right for Your Space?

    Every room has its quirks, and flooring isn’t a one-size-fits-all choice.

    For Small or Dimly Lit Rooms

    Opt for lighter grey shades to reflect light and enhance the feeling of space. Lighter tones pair beautifully with pale walls and minimalist furniture. These shades work especially well in smaller spaces, creating an open, airy atmosphere that makes the room feel larger. 

    The soft hues also allow you to play with a variety of textures, such as plush rugs or fabric-based furniture, without overwhelming the space.

    For Larger Areas

    Darker tones can add a sense of drama and cosiness without overwhelming the room. Match them with bold wall colours or metallic accents for a striking effect. Deep greys offer a grounding effect, making larger spaces feel more intimate and inviting. 

    They also create the perfect backdrop for statement furniture pieces or artwork, allowing these elements to stand out while maintaining a cohesive aesthetic.

    Style Integration

    Consider how the pattern interacts with your furniture and wall colours—herringbone works best in spaces where it’s allowed to shine as a focal point. Avoid overly patterned rugs that might clash with the flooring. To ensure balance, opt for neutral or solid-colour textiles to let the herringbone design take centre stage. 

    Also, the geometric nature of the pattern pairs beautifully with minimalist or contemporary décor, but it can also complement more eclectic settings when paired with the right accessories.

    Grey Herringbone vs. Other Flooring Options

    Why choose herringbone over straight planks or chevron designs?

    Aesthetic Appeal: Herringbone offers a sense of luxury and detail that straight planks simply can’t match. The intricate design is particularly suited to creating a premium feel in entryways or dining rooms.

    Design Complexity: Chevron has a similar pattern but requires more precise cuts, making it even trickier to install. Straight planks, on the other hand, are easier but lack the visual drama.

    Longevity: Straight planks might age well due to their simplicity, but herringbone’s classic appeal ensures it remains eye-catching, even with evolving trends.

    grey herringbone engineered wood flooring

    Feature Grey Herringbone Straight Planks Chevron
    Aesthetic Appeal Luxurious and intricate Simple and understated Bold and precise
    Ease of Installation Requires skilled labour DIY-friendly Highly complex, requires precision
    Cost Medium to high Budget-friendly High due to precision cuts
    Trend Longevity Classic yet modern Always in style Statement-making but niche
    Room Impact Adds depth and movement Subtle and cohesive Dramatic and angular

    Common Pitfalls to Avoid When Choosing Grey Herringbone Flooring

    When selecting grey herringbone flooring, there are several common mistakes to avoid to ensure you make the right choice for your home.

    • Underestimating Installation Challenges: Herringbone isn’t a beginner DIY project. Enlist professionals to avoid uneven patterns or gaps, which can ruin the overall look.
    • Overlooking Room Needs: The wrong shade or pattern can clash with your room’s lighting or layout, making the space feel disjointed rather than cohesive.
    • Skipping Samples: Grey tones vary widely, so always test samples in your space before committing. A colour that looks stunning under showroom lighting may feel dull or overwhelming in your home.
    • Ignoring Maintenance: Although durable, engineered wood still requires proper care to maintain its finish.

    Final Thoughts: Is Grey Herringbone Flooring for You?

    Grey herringbone engineered wood flooring offers a unique blend of style, practicality, and elegance. While it’s not without its challenges—installation complexity and trend longevity being the main ones—its ability to transform a space is hard to ignore.

    If you’re ready to elevate your interiors, explore The Flooring Masters’ collection of high-quality grey herringbone engineered wood flooring options and order a free sample to check whether this flooring looks good in your home. With the right planning, this stunning flooring can become the centrepiece of your dream home.