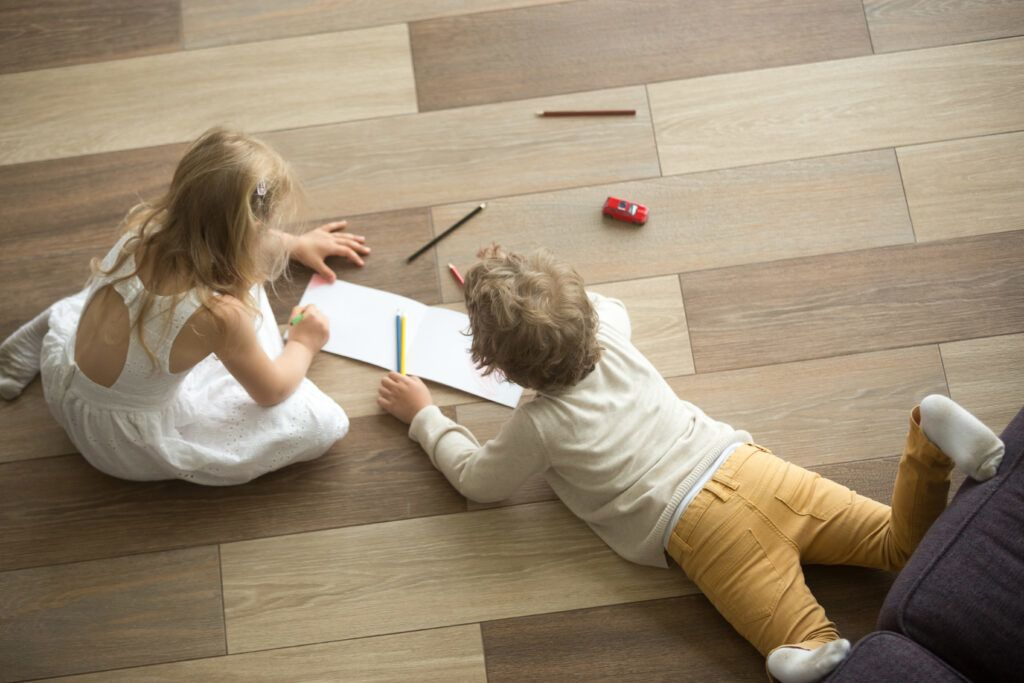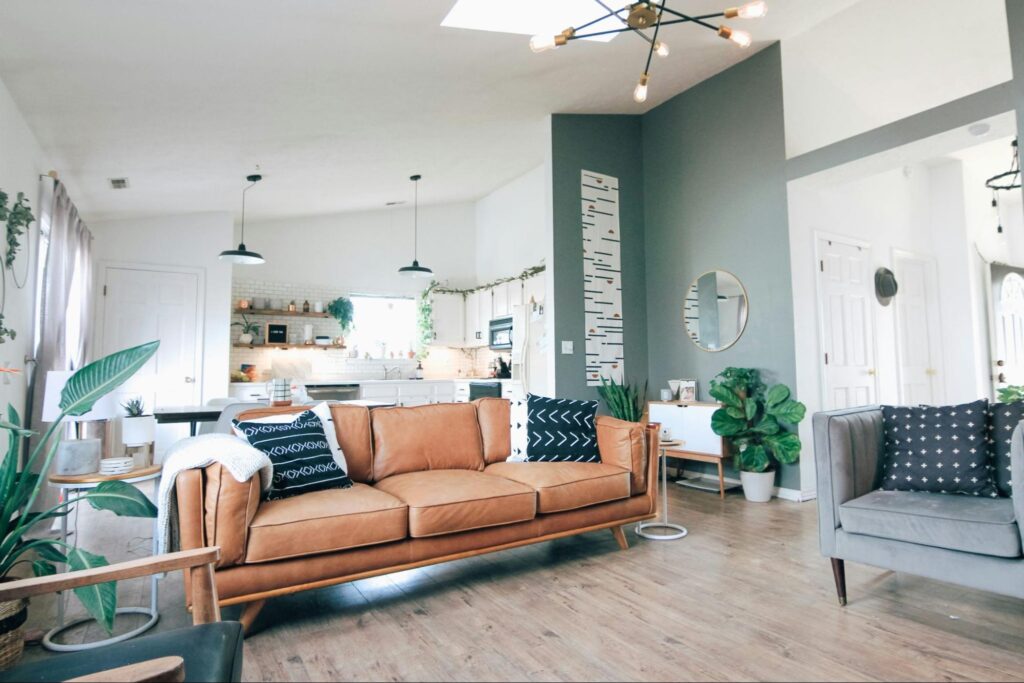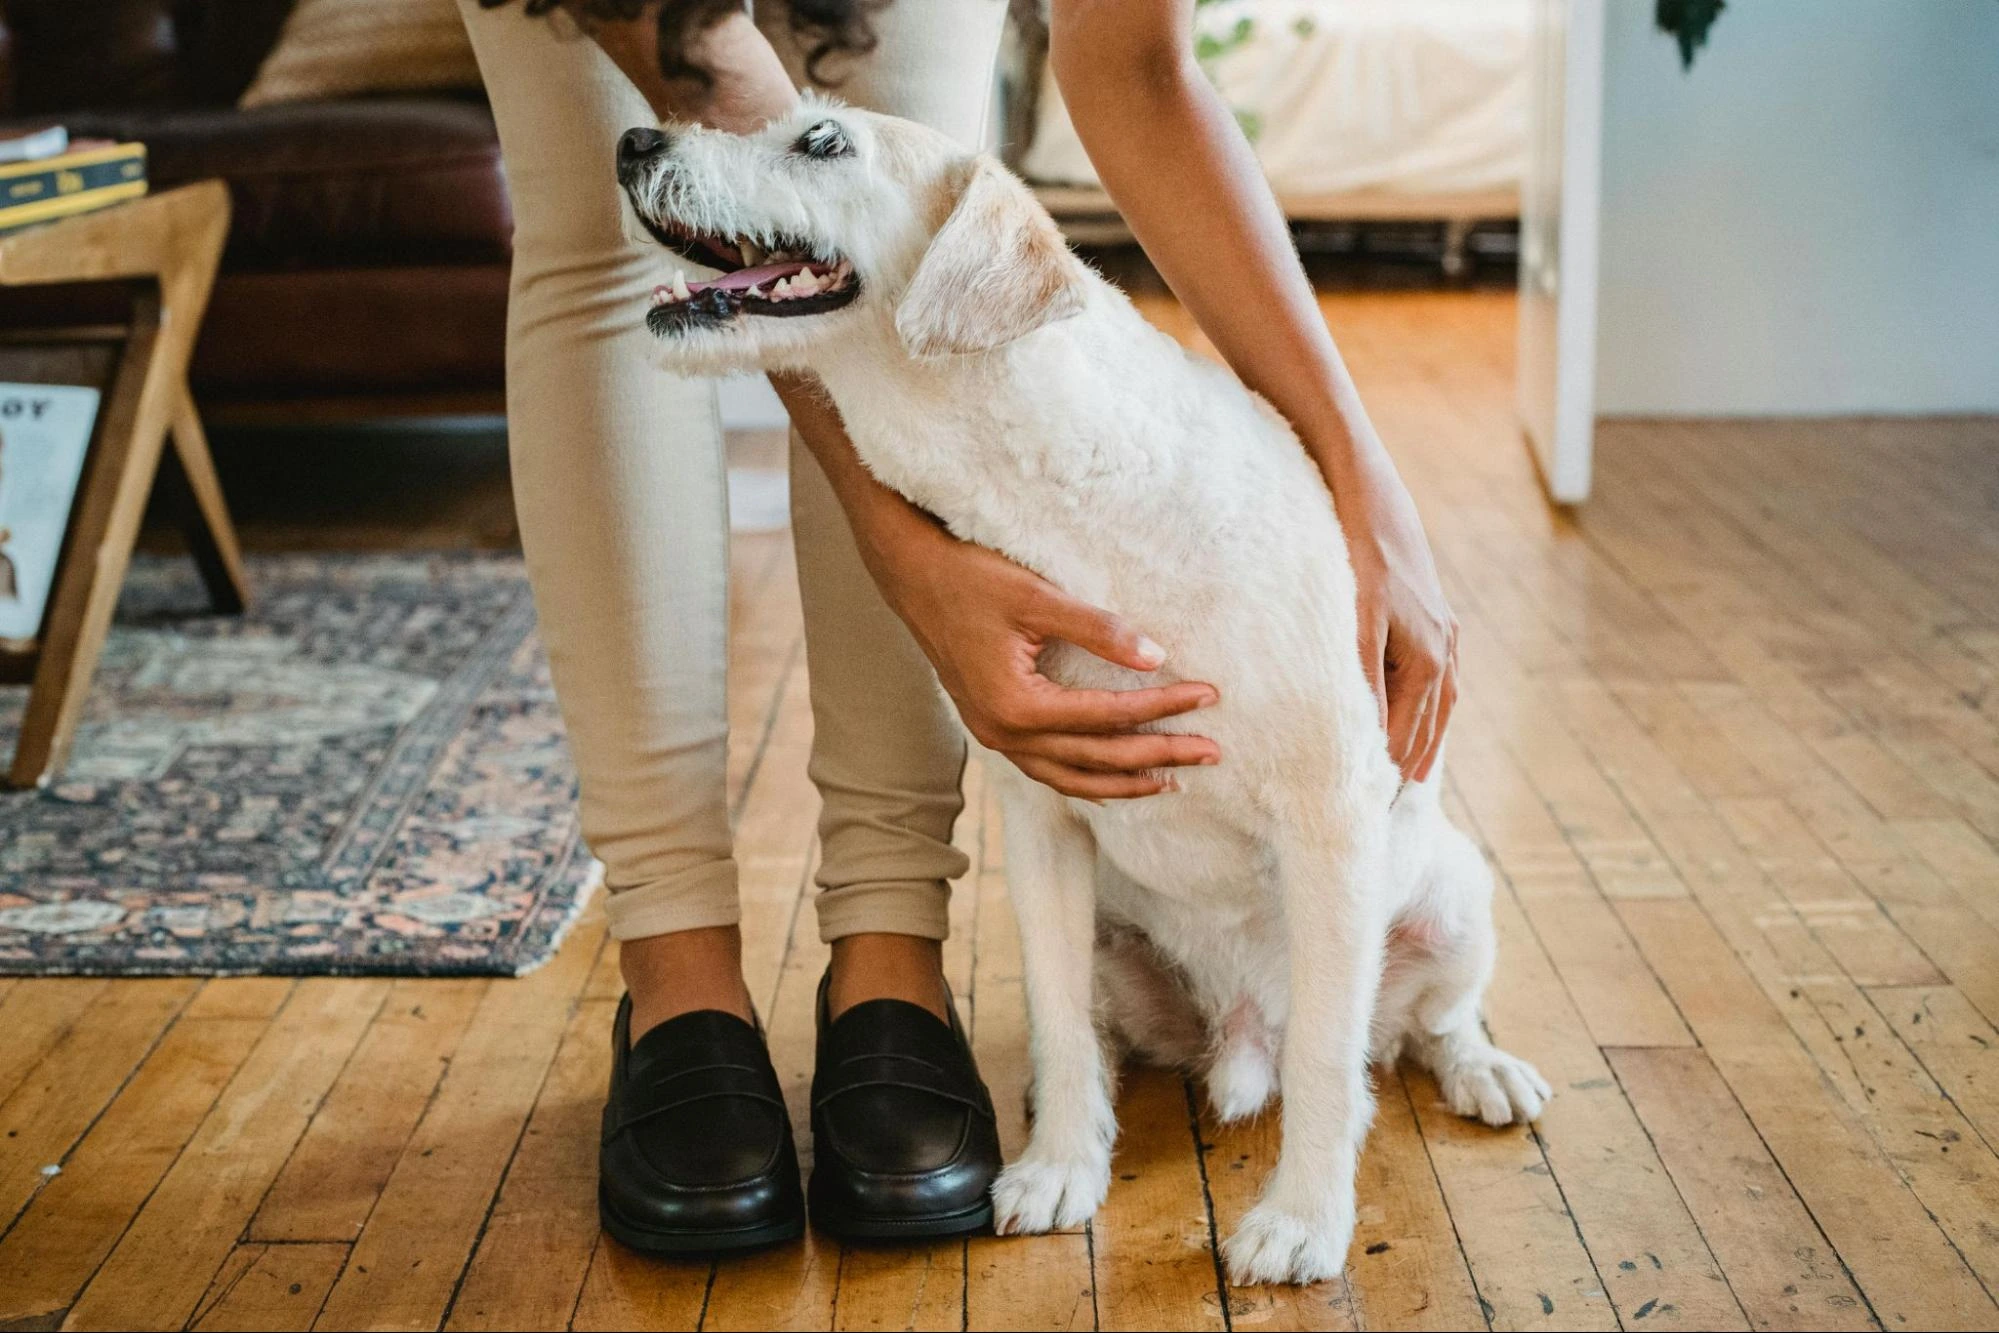
As a pet owner, you know the struggles all too well—scratched floors from enthusiastic paws, muddy prints tracking through your home, and the occasional accident that tests your patience and your flooring. These everyday challenges can turn the quest for the perfect flooring into a daunting task.
Weather and lifestyle choices add their own set of demands while selecting the right flooring option for your home. You need a solution that not only stands up to the wear and tear of furry friends but also complements your home’s aesthetic.
In this guide, we’ll delve into the best flooring options that balance durability with style, ensuring that your home remains practical and visually appealing. Relax, and read further to discover flooring solutions designed to handle life with dogs, so you can enjoy a beautiful space without compromising on functionality.
What to Consider When Choosing Flooring for Dogs
1. Durability: Why Scratch and Wear Resistance Matters
If you have a dog, you know that floors endure a lot of wear and tear. From playful scratches to the occasional mishap, you need flooring that stands up to the daily hustle. Look for materials that resist scratches and dents. This way, your floors will keep looking great, no matter how active your dog is.
2. Water Resistance: The Importance of Waterproof Materials
Dogs can be unpredictable, especially when it comes to spills and wet paws. Choosing flooring that can handle water is essential. Waterproof or water-resistant options will help prevent any damage from accidents, keeping your floors in top shape and making clean-up a breeze.
3. Ease of Cleaning: Time-Saving Benefits
Keeping your home clean is a big part of pet ownership. Flooring that’s easy to wipe or mop will save you time and effort. Opt for surfaces that handle pet hair, dirt, and occasional spills with minimal fuss, so you can spend more time enjoying your pet and less time cleaning up.
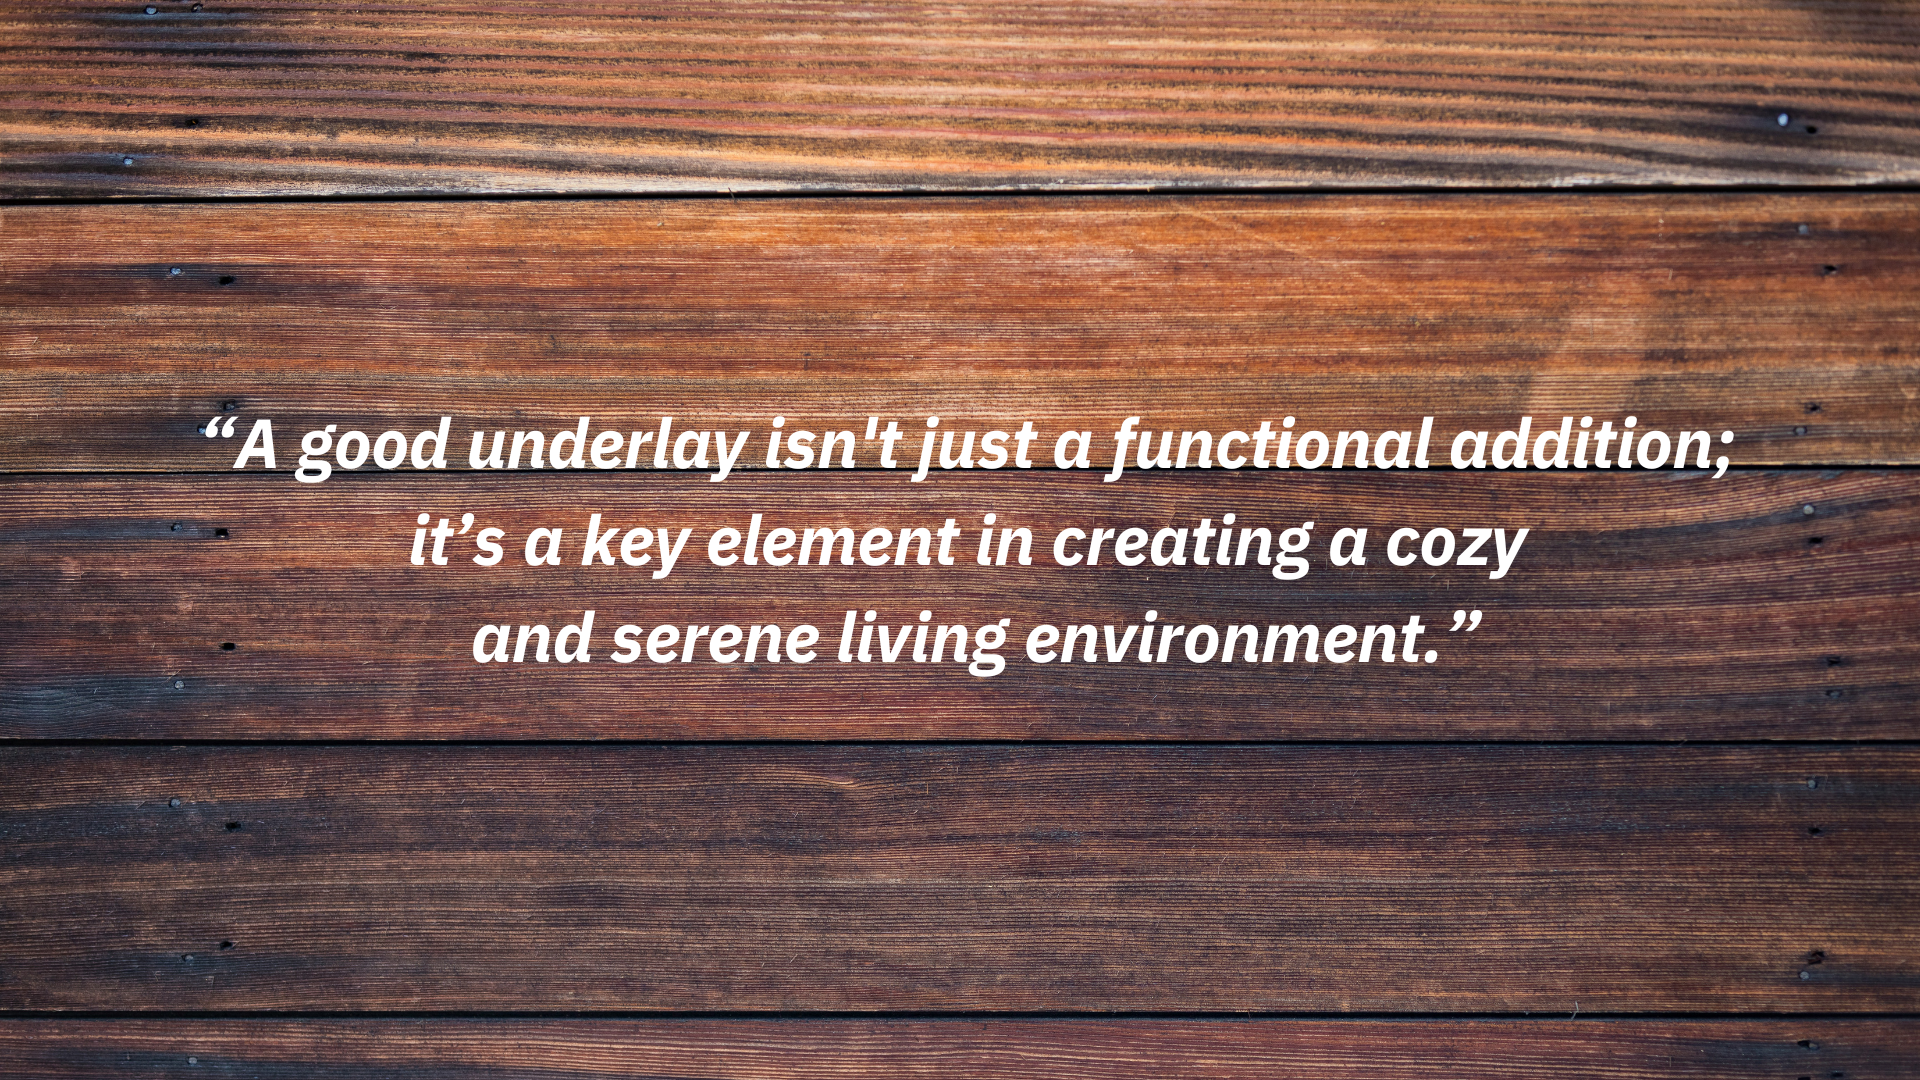
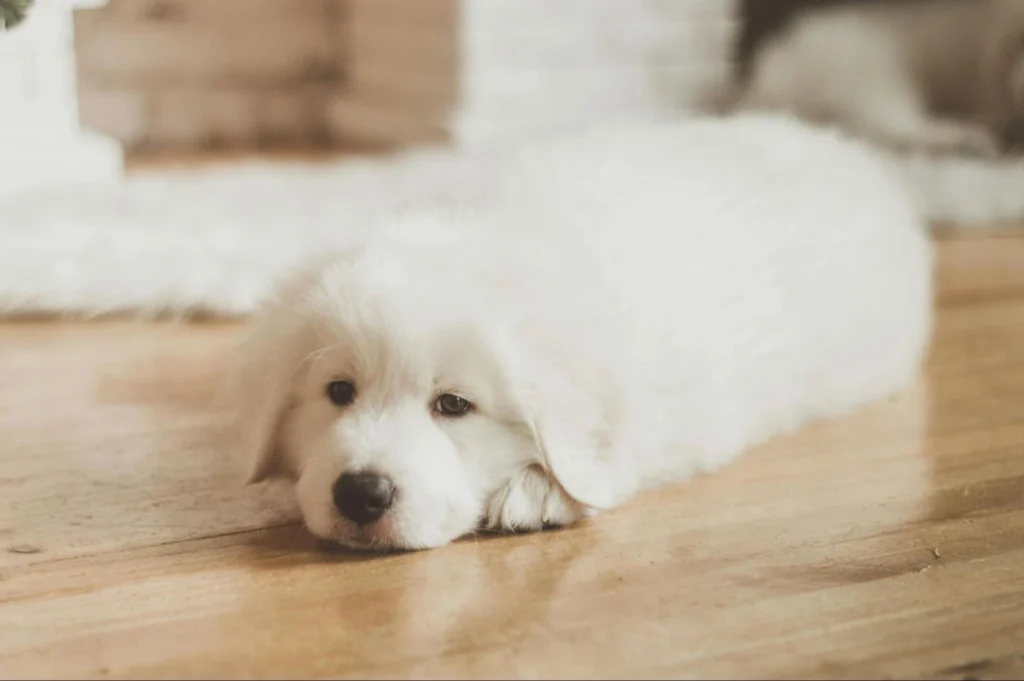
4. Comfort for Pets: Ensuring Safety and Comfort
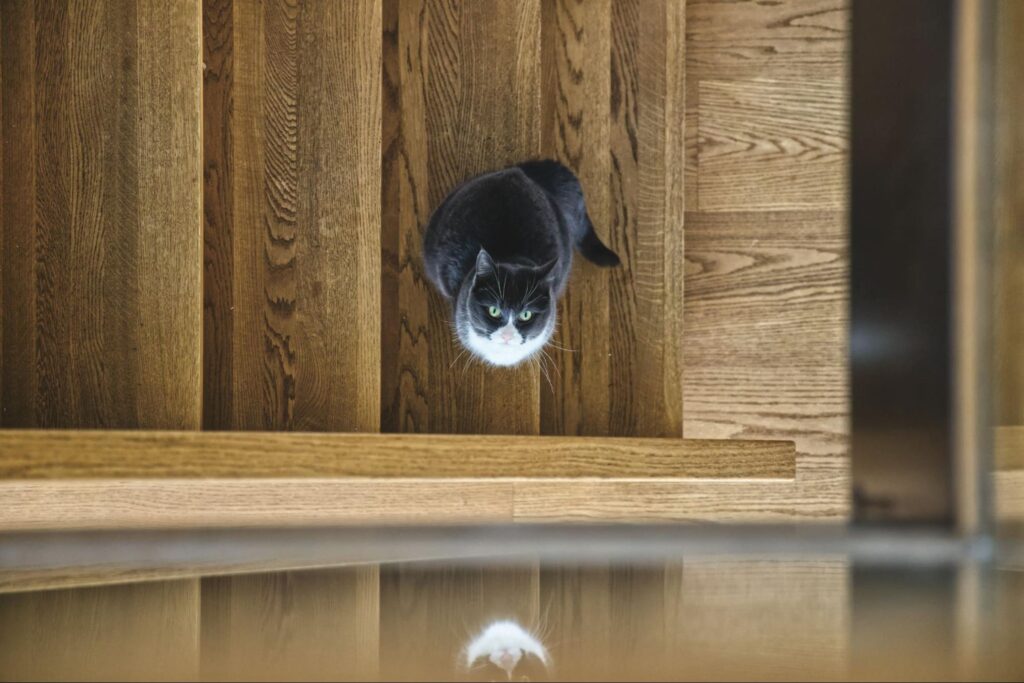
Your dog’s comfort is important, too. Non-slip surfaces can prevent slips and falls, which is especially beneficial for older dogs or those with mobility issues. Choose flooring that offers good traction and cushioning to create a safer and more comfortable space for your furry friend.
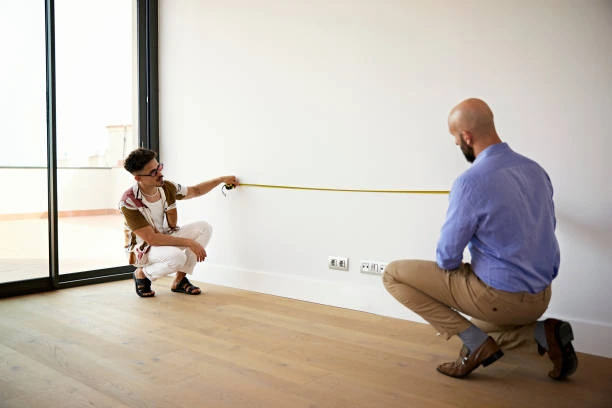
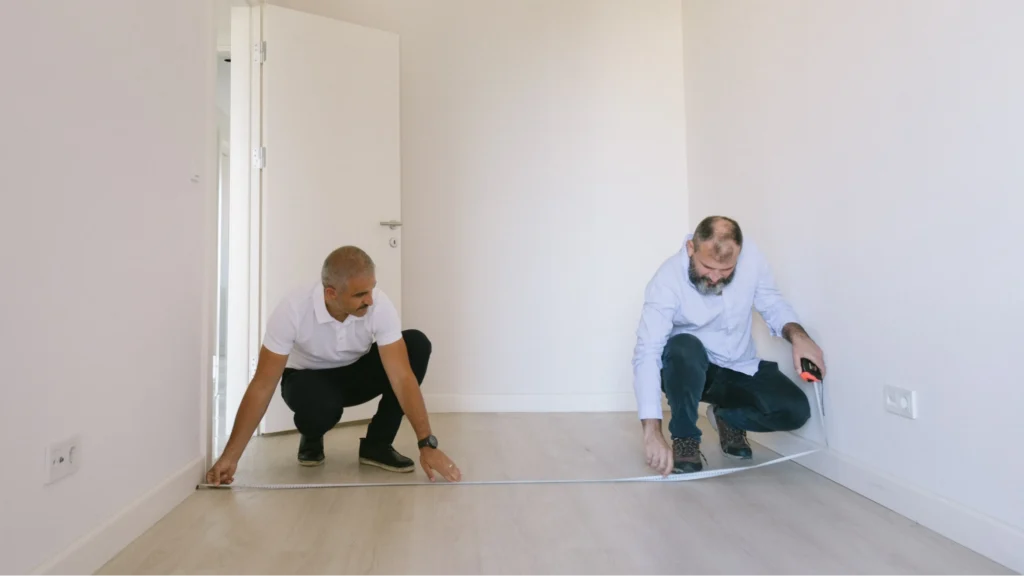
At The Flooring Masters, we give a wide range of flooring options to choose from. You can easily find out from our website. But to understand which flooring is the best choice if you have dogs at home, read further.
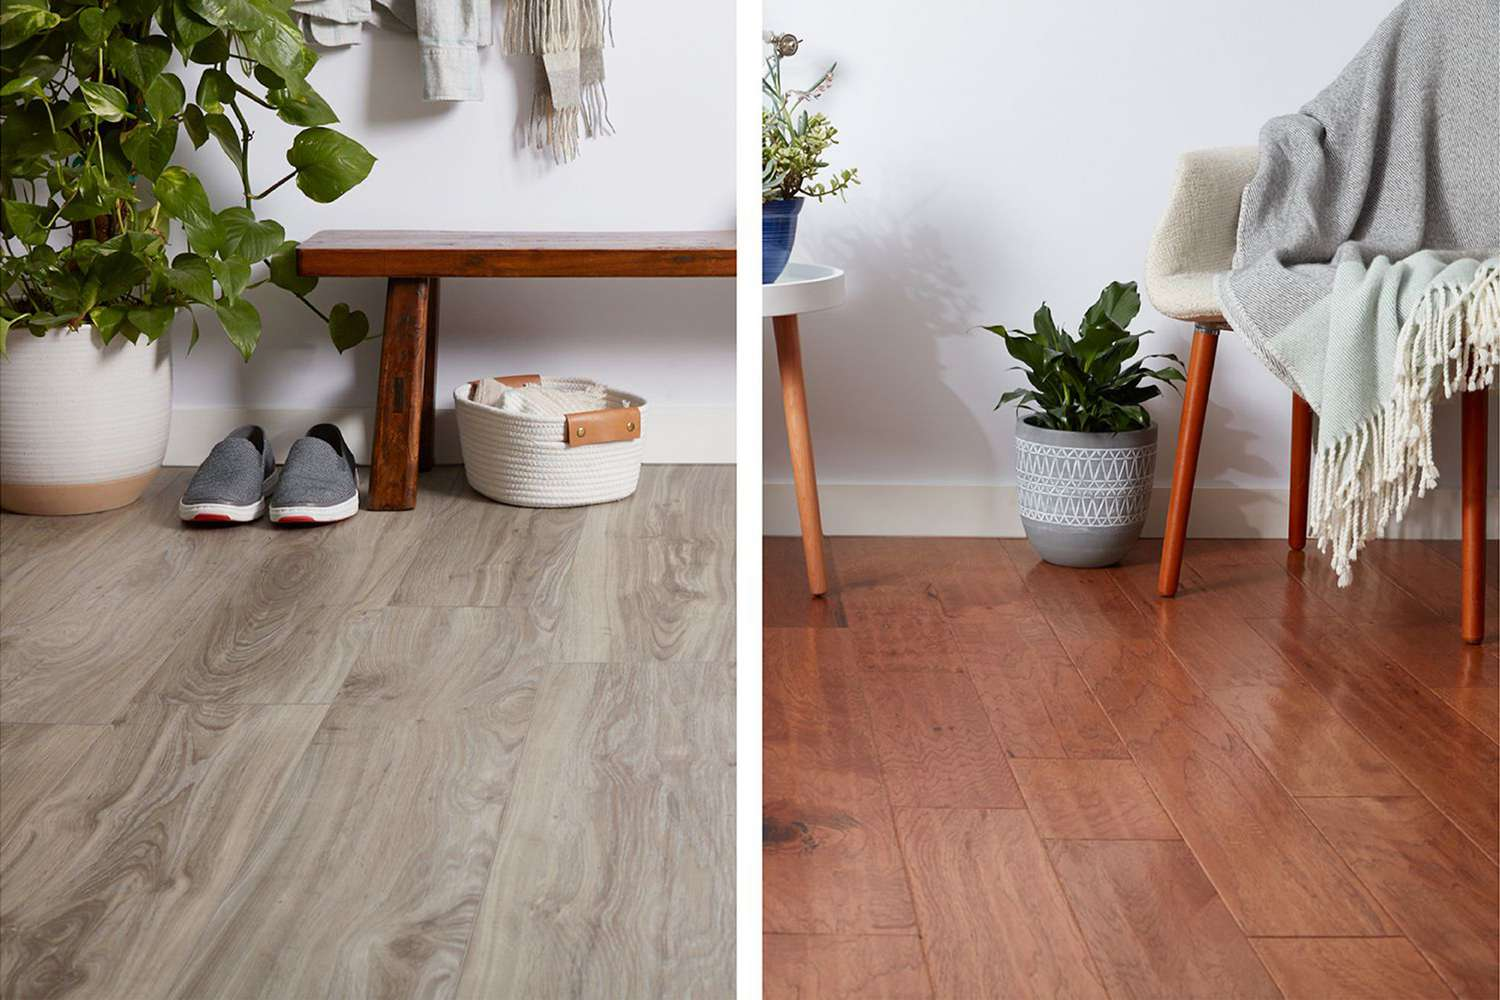
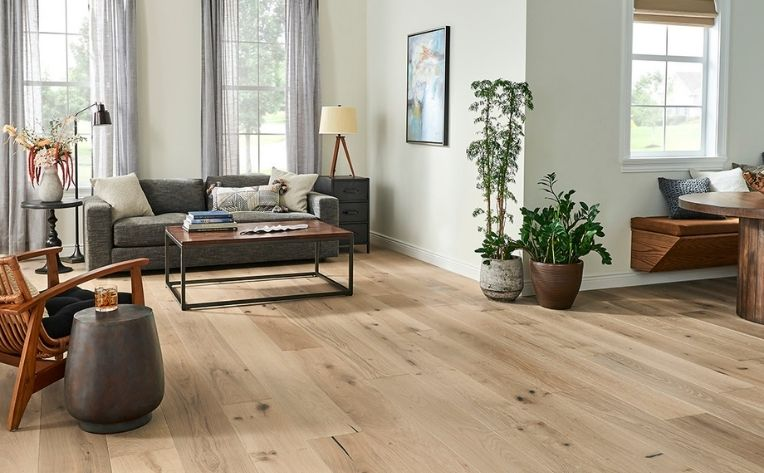
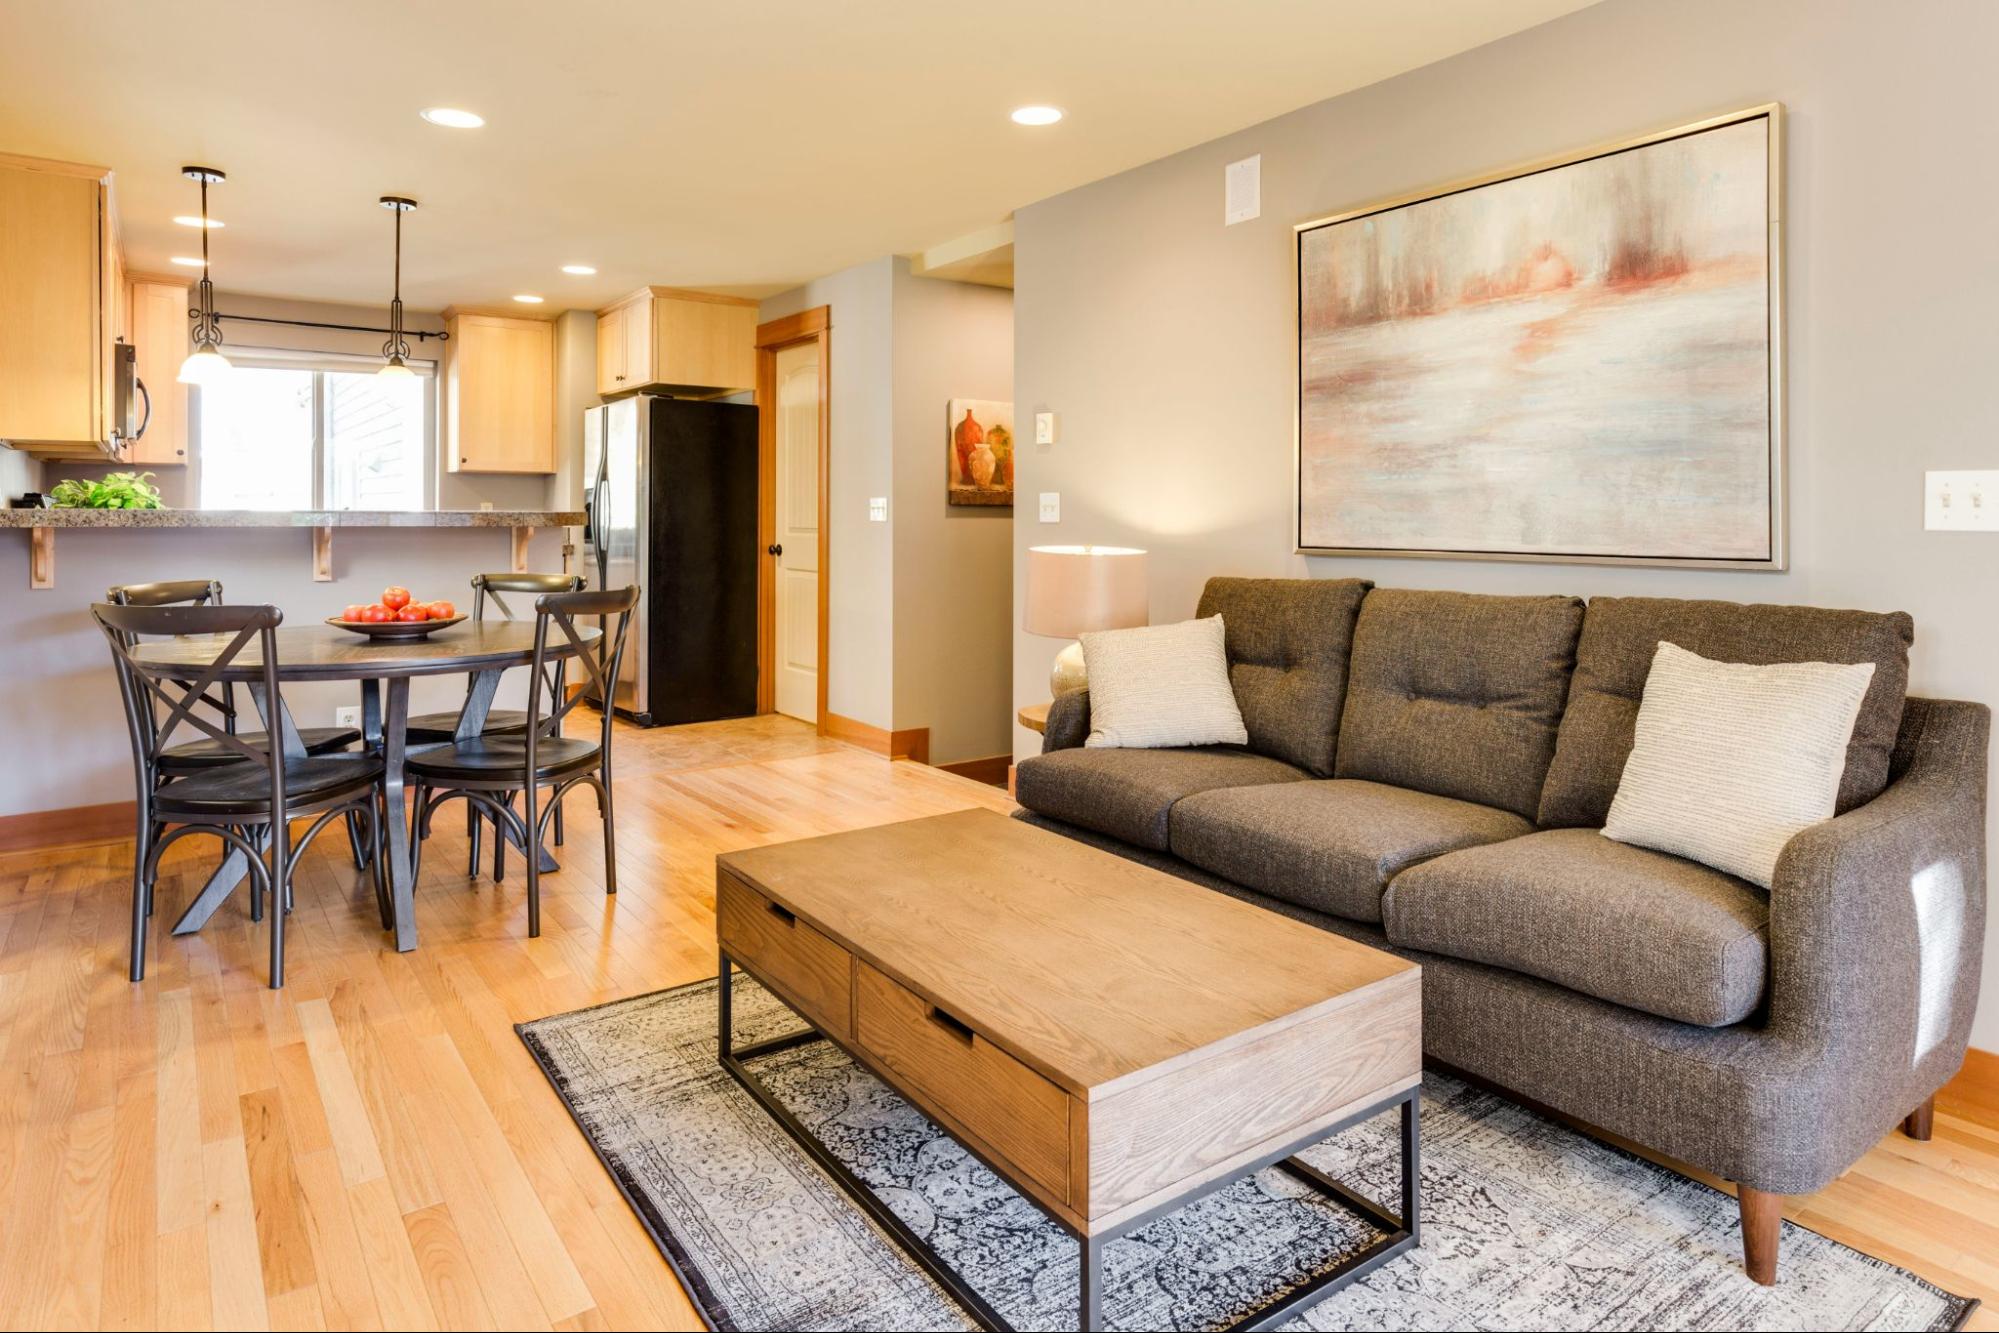
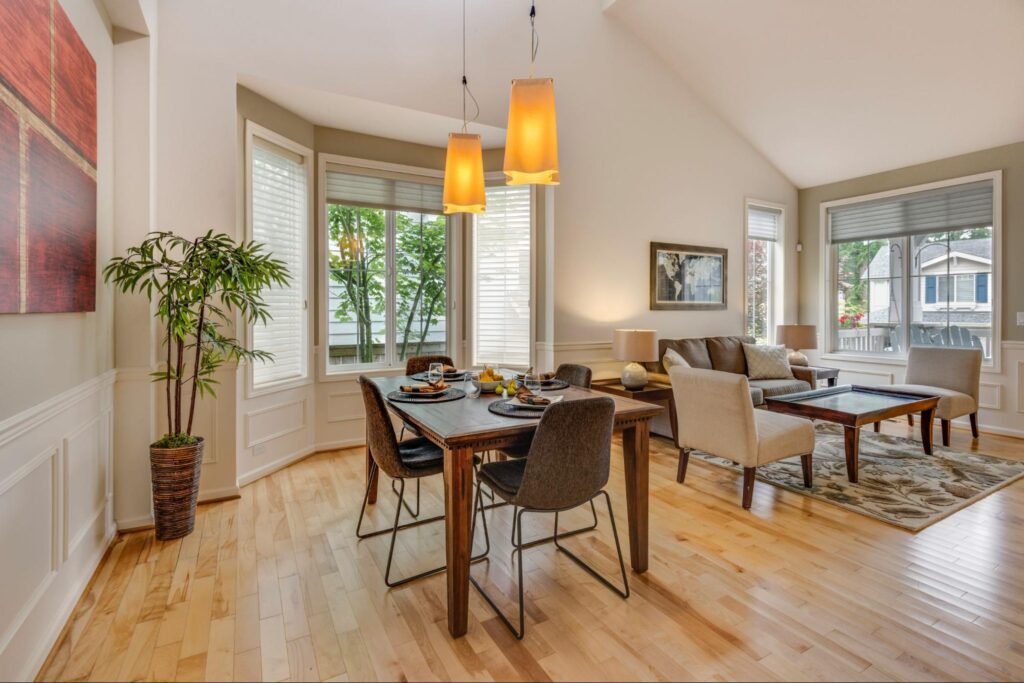
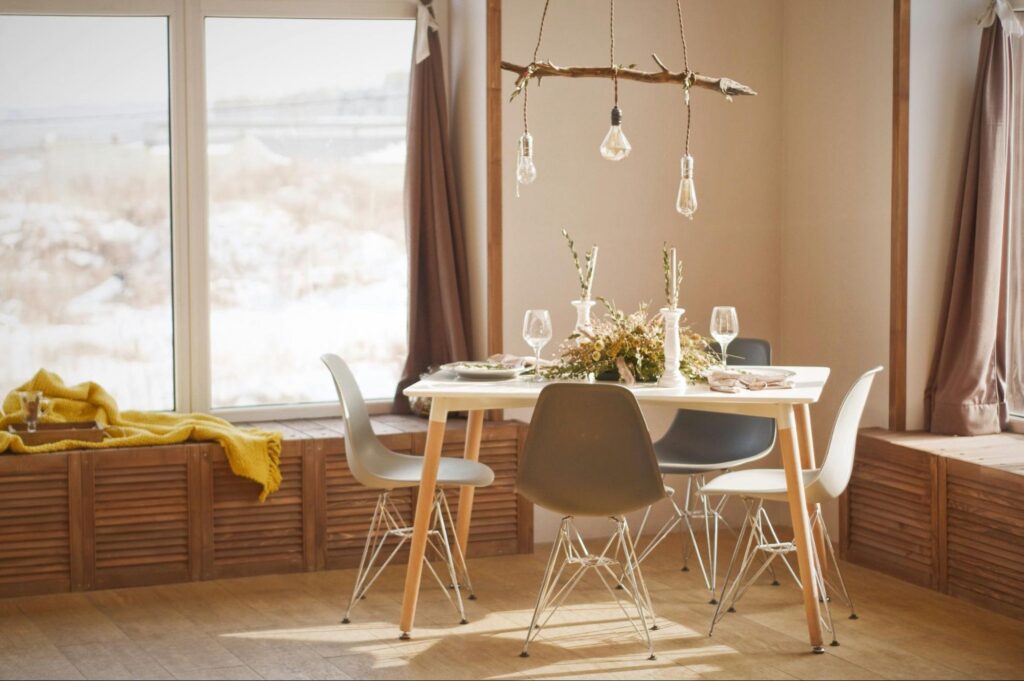
The Best Flooring Choices for Dog-Loving Homes

Selecting the right flooring for a home with dogs involves balancing practicality with aesthetics. Here’s a rundown of some of the best flooring options for dog owners in the UK.
| Flooring Type | Pros | Cons | Best for |
|---|---|---|---|
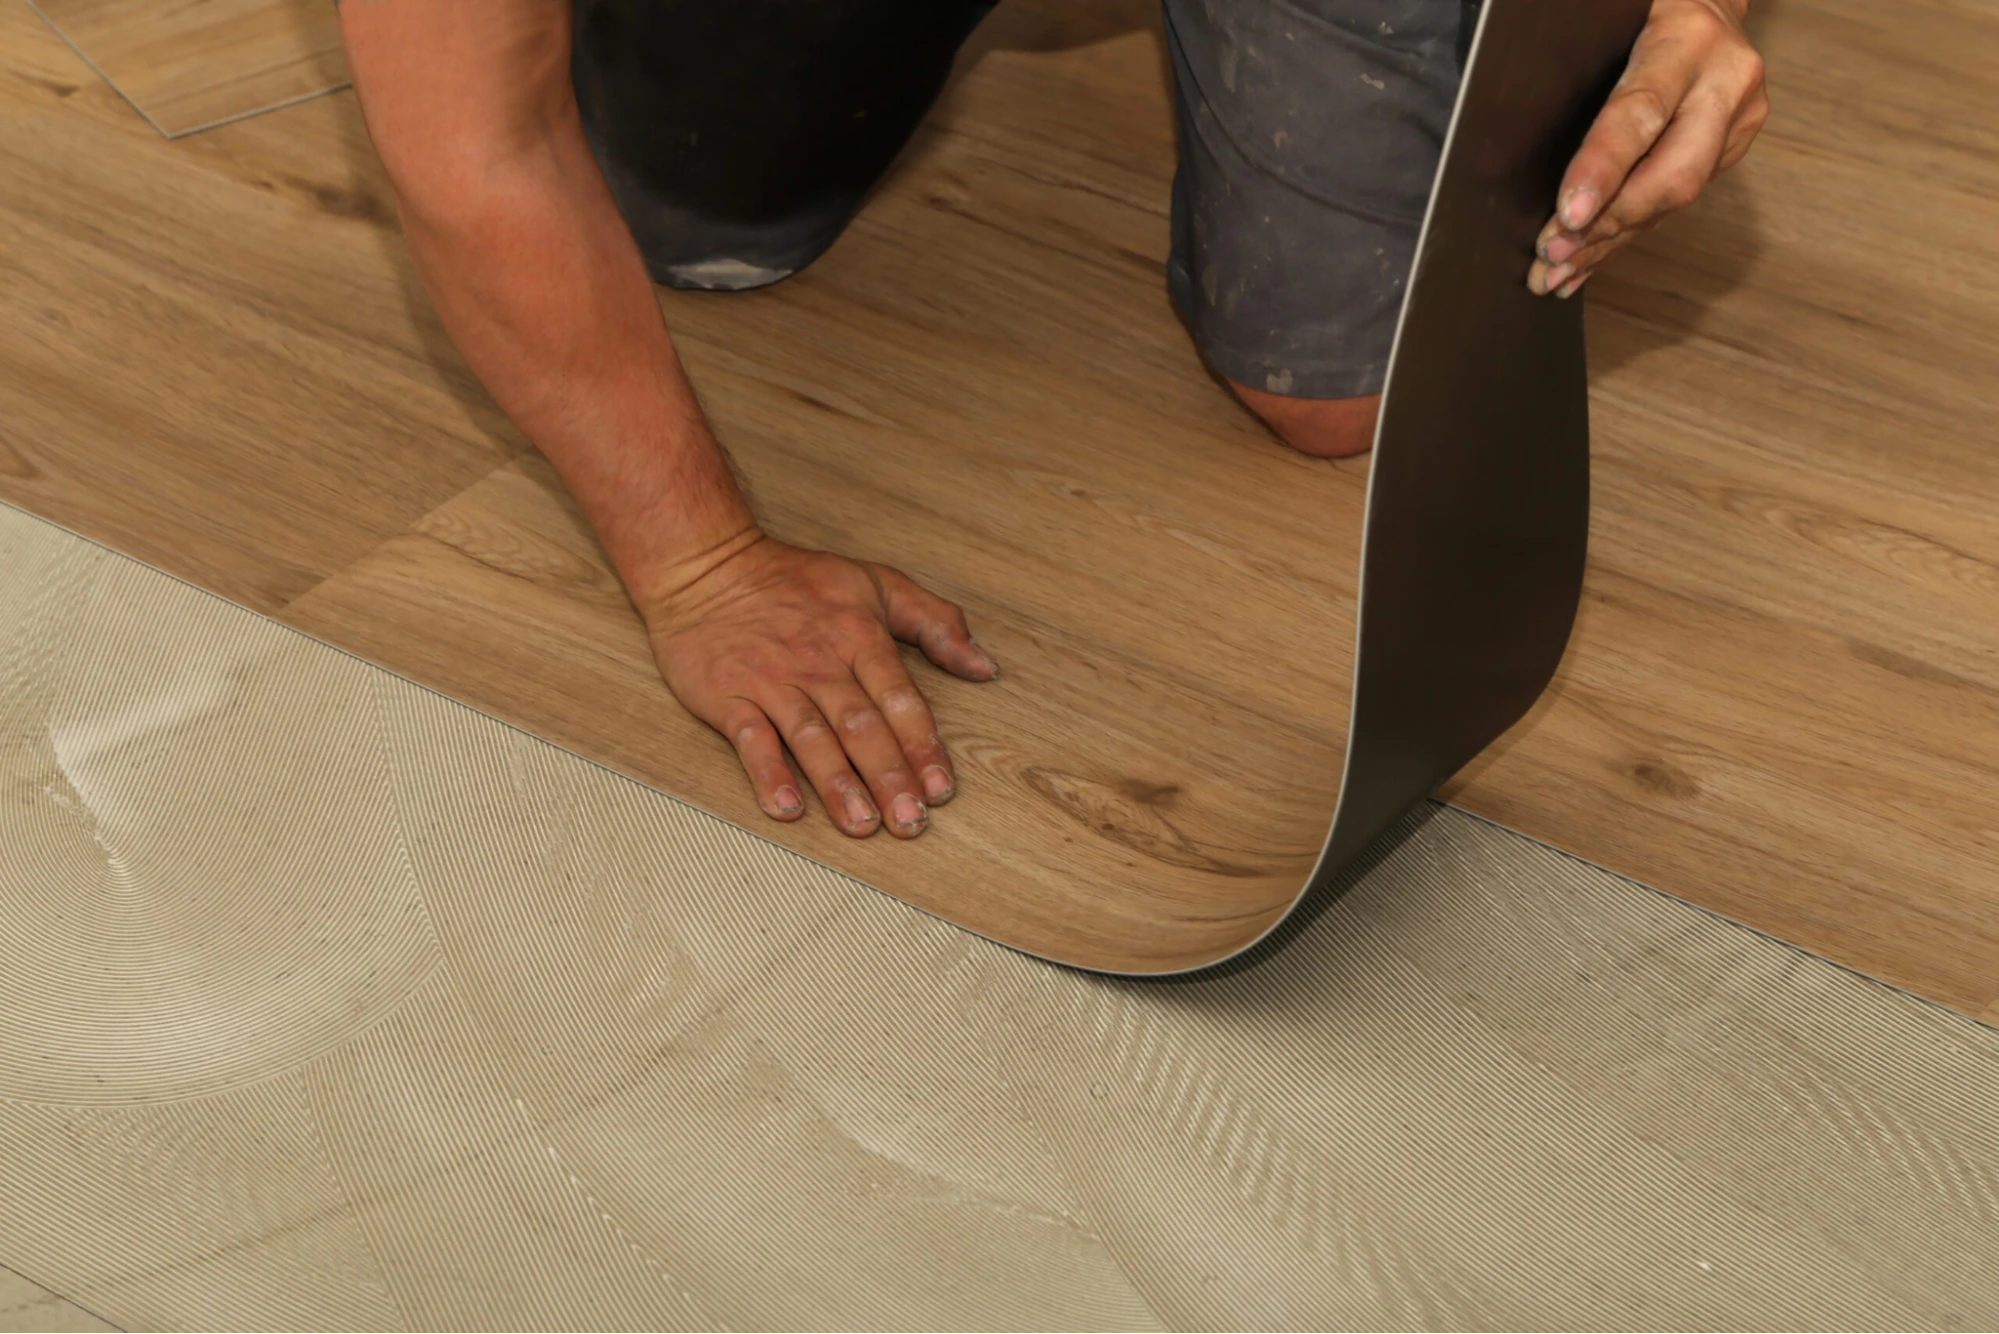
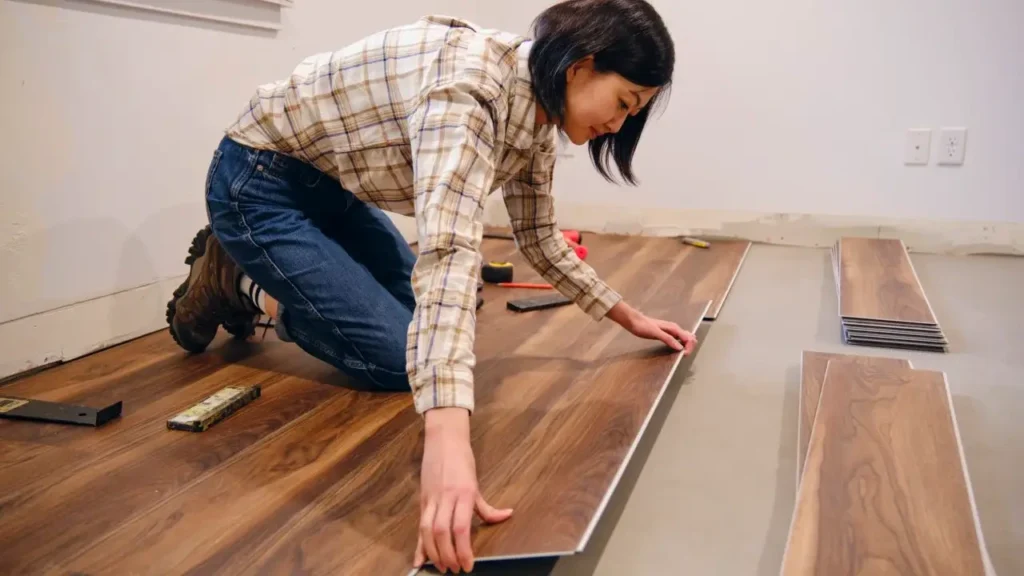
| Luxury Vinyl Tiles (LVT) | Scratch-resistant | Waterproof | Affordable | Mimics wood and stone finishes |
Less luxurious feel than hardwood | Active dogs, homes with messy pups |
| Laminate | Resistant to scratches and scuffs | Easy to clean | More affordable than wood |
Slippery if not textured | Budget-conscious dog owners seeking practicality |
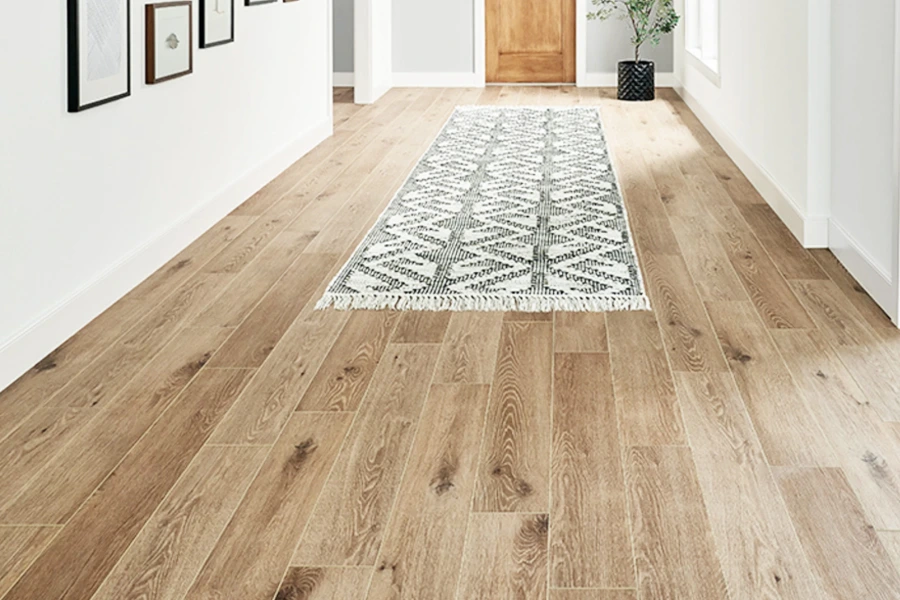
| Engineered Wood | Better resistance than hardwood | Visually appealing |
Can still scratch and stain over time | Those wanting a wood aesthetic with less maintenance |
| Pet-Friendly Carpets | Softer for pets | Modern carpets offer stain resistance |
Requires more cleaning | Avoid looped fibres |
Those wanting a wood aesthetic with less maintenance |
Each flooring type has its own set of benefits and drawbacks, so consider your specific needs and preferences when making a decision. Whether you need something durable, easy to clean, or simply comfortable for your pet, there’s a flooring option that fits your lifestyle.
At The Flooring Masters, you’ll find an extensive selection of flooring choices that complement your style while meeting the demands of your four-legged friends. We also provide free samples to help you find a suitable option for your flooring.
Which Flooring Options to Avoid?
During the selection process, it’s just as important to know which options to steer clear of. Certain types of flooring might look appealing but can pose problems when shared with dogs. Here’s a closer look at what floors to avoid, to ensure a more comfortable and practical environment for both you and your furry friend.
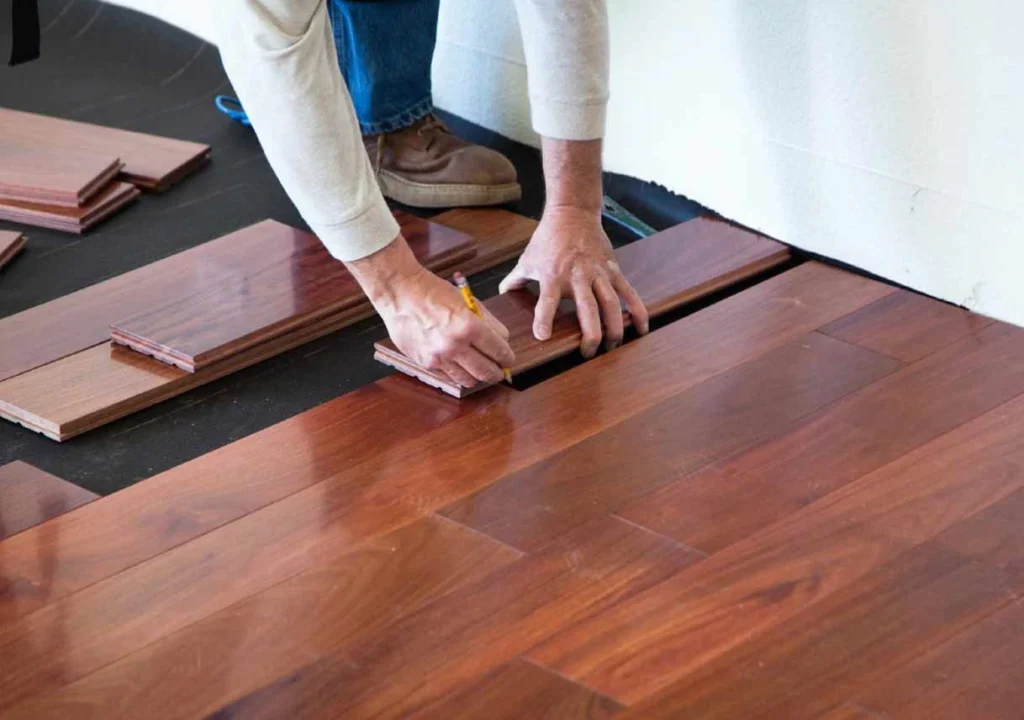
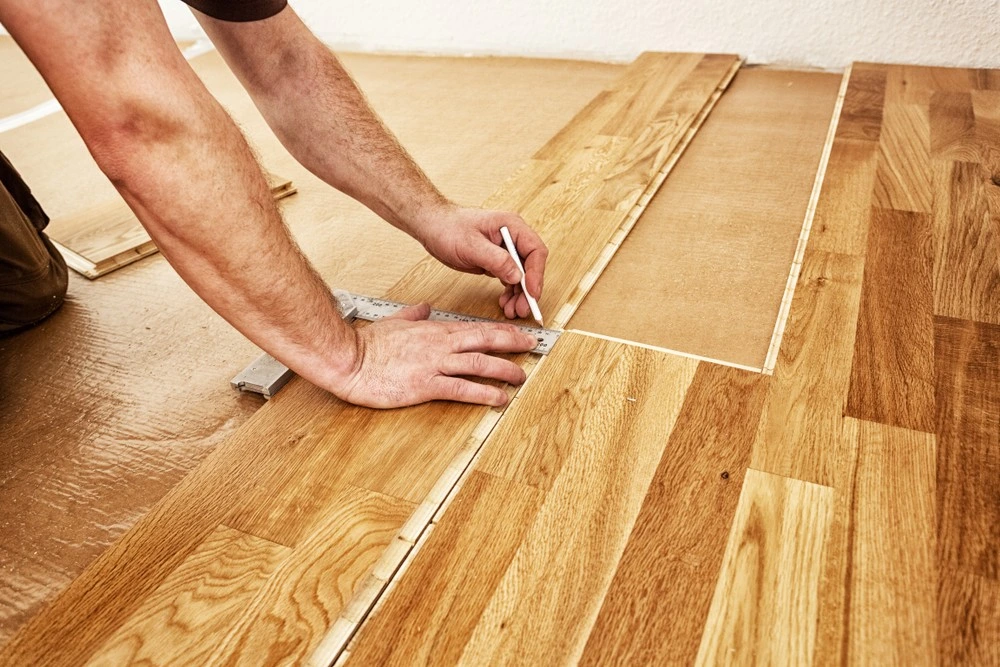
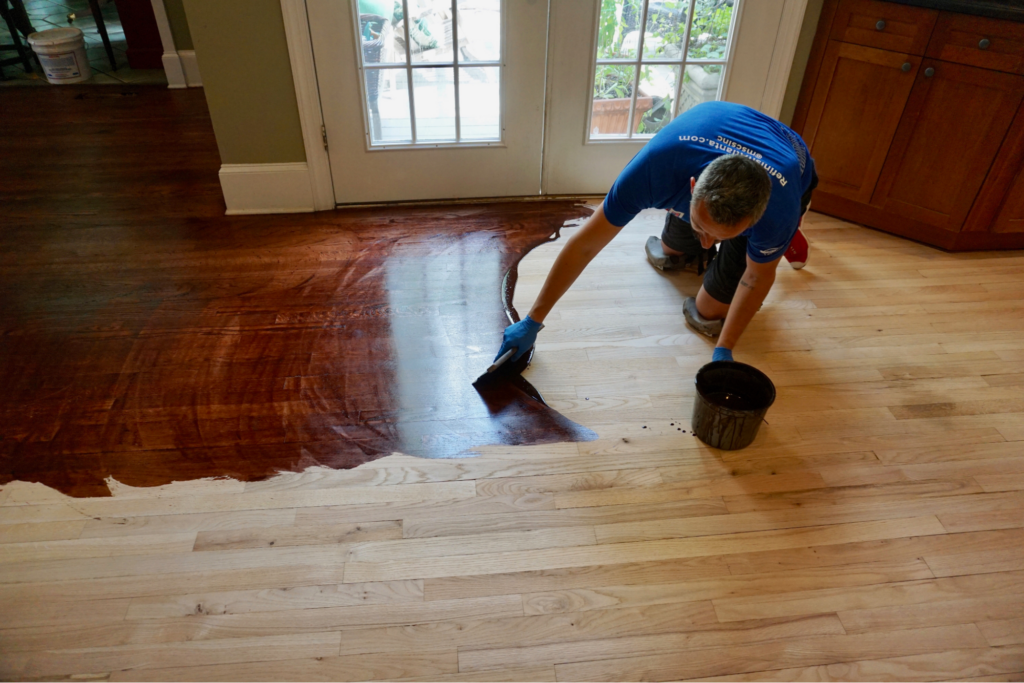
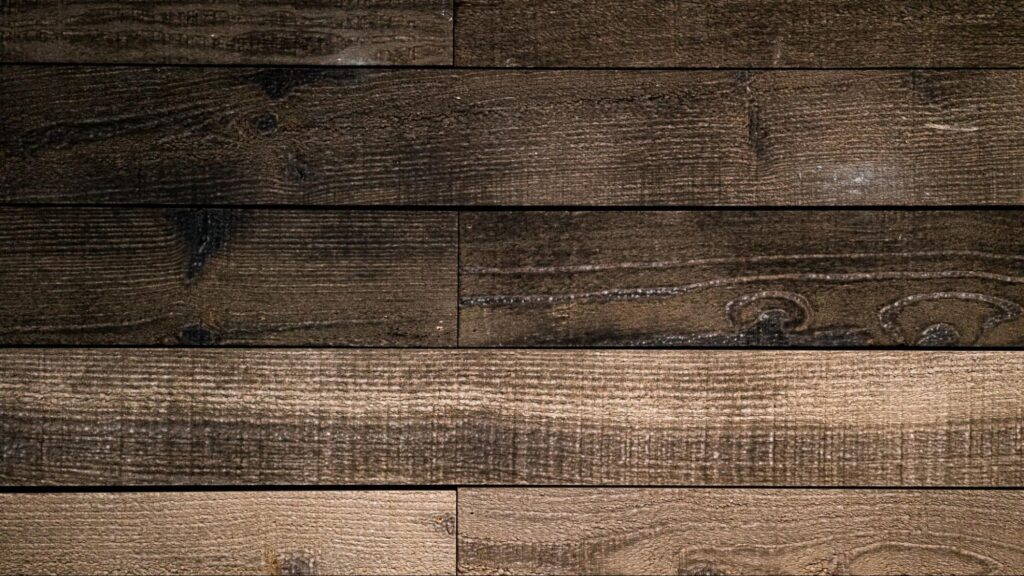
Solid Hardwood Flooring
Solid hardwood flooring shows elegance and timeless appeal, but it’s not the most practical choice for homes with dogs. This type of flooring is highly susceptible to scratches, dents, and stains from accidents. Even with careful maintenance, solid hardwood can quickly show signs of wear in a pet-heavy household.
Additionally, spills and accidents can seep into the wood, causing long-term damage and requiring costly repairs. If you love the look of wood but need something more durable, consider alternatives that offer similar aesthetics with added resilience.
Loop Carpets
Loop carpets may seem like a cosy option, but they can create problems for pet owners. The loops in these carpets can catch on pets’ claws, leading to potential discomfort and damage for your dog, as well as wear and tear on the carpet itself.
Furthermore, looped fibres can make cleaning pet hair and debris more challenging, which adds to the maintenance effort. For a more pet-friendly flooring solution, opt for carpets with cut pile fibres or those specifically designed to be durable and easy to clean.
Keeping these pitfalls in mind will help you avoid costly mistakes and ensure you select flooring that stands up to the demands of a pet-friendly home.
Some Pet-Friendly Flooring Trends You Should Know About
These innovative options not only enhance the look of your home but also improve functionality and safety for your furry friends. Some of these are:
Non-Slip Flooring
- One of the standout trends in pet-friendly flooring is the rise of non-slip surfaces. Textured and non-slip flooring is designed to provide better traction, which is especially beneficial for senior dogs or those with mobility issues.
- By reducing the risk of slips and falls, non-slip flooring helps create a safer environment for pets navigating around the house.
- Both laminate and luxury vinyl tiles (LVT) have embraced this trend, offering options that combine practical slip resistance with stylish designs. These floors are not only easier on your pet’s paws but also contribute to overall home safety.
Sustainable Flooring Options
- Eco-friendly flooring is gaining popularity for its combination of sustainability and pet-friendliness. Green flooring materials, such as bamboo, recycled wood, and natural linoleum, are becoming more accessible and offer several advantages.
- These sustainable options are crafted to be durable, easy to clean, and resistant to damage from pets. They also contribute to a healthier indoor environment by reducing the use of harmful chemicals.
- By choosing sustainable flooring, you’re not only making a responsible choice for the planet but also investing in materials that can handle the demands of a lively household.
Finding the Best Fit for You and Your Dog
Selecting the right flooring requires considering your dog’s breed, activity level, and any specific needs they might have. Each flooring option has its own set of benefits and limitations, so reflect on what aspects are most important for your home. Whether you prioritize durability, ease of cleaning, or comfort for your pet, finding the right flooring can enhance both your home’s aesthetics and functionality.
If you’re still uncertain about which flooring option is best for your home, take advantage of the free samples and expert advice available at The Flooring Masters. Our team is ready to help you find the perfect flooring that combines style, durability, and comfort for both you and your furry friend.