
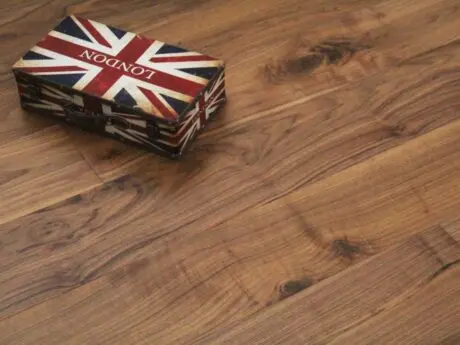
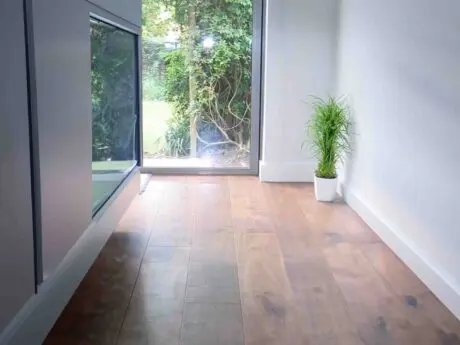
Engineered wood flooring is an excellent choice for those looking to combine style, durability, and warmth in their homes. Its timeless appeal and practicality make it a popular option. However, laying it on a concrete subfloor can feel daunting.
The good news? With the proper steps and preparation, it can be a straightforward process. This guide will walk you through everything you need to know to achieve professional-looking results.
Essential Tools and Materials Checklist
Before you begin, it’s crucial to have the right tools and materials at hand. Here’s what you’ll need:
Tools:
- Adhesive trowel
- Moisture meter
- Saw (manual or electric)
- Measuring tape
- Spirit level
- Rubber mallet
Materials:
- Moisture barrier
- Flooring adhesive
- Engineered wood planks
- Spacers
Tip: Having all your tools and materials ready before starting ensures a smoother process with fewer interruptions.

Step 1: Preparing the Concrete Subfloor
The key to a successful installation lies in the preparation of the subfloor. Follow these steps to ensure a solid foundation:
- Cleaning the Surface: Begin by thoroughly cleaning the concrete subfloor. Remove any dirt, dust, or debris to create a smooth surface for the flooring.
- Levelling the Floor: Check for any uneven spots using a spirit level. If you find any dips or bumps, use a self-levelling compound to even them out.
- Moisture Control: Concrete can retain moisture, which may damage your flooring. Use a moisture meter to test the subfloor and ensure it is dry. If necessary, let it dry out or use a damp-proof membrane.
Step 2: Getting the Flooring Ready
Proper preparation of the flooring is just as necessary as preparing the subfloor:
- Acclimation: Allow the engineered wood planks to acclimate to the room’s environment for at least 48 hours. This helps them adjust to the temperature and humidity, reducing the risk of warping.
- Storage Tips: Store the planks flat in the room where they will be installed to maintain optimal conditions.
Step 3: Installing a Moisture Barrier
A moisture barrier is essential to protect your flooring from moisture seepage. Here’s how to do it:
- Roll out the moisture barrier across the entire subfloor, ensuring it overlaps at the seams.
- Secure it in place using adhesive or tape, ensuring no gaps.
This layer acts as a shield, safeguarding your investment against potential damage.
Step 4: Choosing the Right Installation Method
Regarding engineered wood flooring, there are three main installation methods: glue-down, floating, and nail-down. For concrete subfloors, the glue-down method is often the best choice.
- Applying Adhesive: Spread flooring adhesive evenly using a notched trowel. Work in small sections to prevent drying before laying the planks.
- Laying the Planks: Start with the first row, ensuring it is straight. Use spacers to maintain an expansion gap along the edges.
- Staggering the Planks: Stagger the joints of the planks for a natural and aesthetically pleasing look. Press each plank firmly into the adhesive and use a rubber mallet to secure them.
Step 5: Adding the Finishing Touches
With the central installation complete, it’s time to polish the overall look:
- Trims and Skirting Boards: Install trims or skirting boards to cover the expansion gaps and give your flooring a finished appearance.
- Final Checks: Inspect the flooring to ensure all planks are aligned correctly in place.
Caring for Your New Floor
To keep your engineered wood flooring looking its best:
- Cleaning Tips: Use a soft broom or vacuum cleaner to remove dirt and dust. Avoid excessive water and opt for a damp mop when necessary.
- Protecting Against Wear and Tear: Place felt pads under furniture and use rugs in high-traffic areas to prevent scratches.

Common Mistakes to Watch Out For
Even the most careful DIYers can encounter challenges. Here are some common pitfalls and how to avoid them:
- Skipping Moisture Tests: Always test the subfloor for moisture to prevent long-term damage.
- Improper Adhesive Application: Apply adhesive evenly to ensure planks stick correctly.
- Rushing the Process: Take time to align each plank for a flawless finish.
Quick Fixes: If you make a mistake, such as misaligning a plank, act quickly before the adhesive sets.
Conclusion: Your Path to Beautiful Floors
Concrete doesn’t have to be a hurdle; it can be the foundation for stunning engineered wood flooring that adds character and charm to your space. With the proper preparation and a careful, step-by-step approach, you can achieve a professional finish lasting for years.
If you’re unsure about any step or need help selecting the best materials, don’t hesitate to get expert advice. Visit The Flooring Masters for premium flooring options, tailored recommendations, and guidance to ensure your project is successful.
Leave a Reply