Category: Uncategorized

  • How To Clean Engineered Wood Floors: Essential Cleaning Hacks

    How To Clean Engineered Wood Floors: Essential Cleaning Hacks

    You’ve invested in beautiful engineered wood floors, but now you’re faced with a daunting question: how to clean engineered wood floors?

    With conflicting advice swirling around, it’s easy to feel overwhelmed.  Should you mop? Vacuum? Use vinegar? Or perhaps just tiptoe around your house in a panic?

    As experienced professionals in the flooring industry, we’ve created the definitive guide on how to clean engineered wood floors. Whether you’re dealing with muddy paw prints, spilled tea, or just the usual dust and grime, we’ve got you covered. By the end of this article, you’ll know all about:

    • Daily maintenance tricks to keep your floors pristine
    • The do’s and don’ts of cleaning products (hint: step away from the vinegar!)
    • Expert mopping techniques for a perfect clean
    • How to tackle stubborn stains and spills
    • Tips for protecting your floors from damage
    • Solutions to common engineered wood floor problems

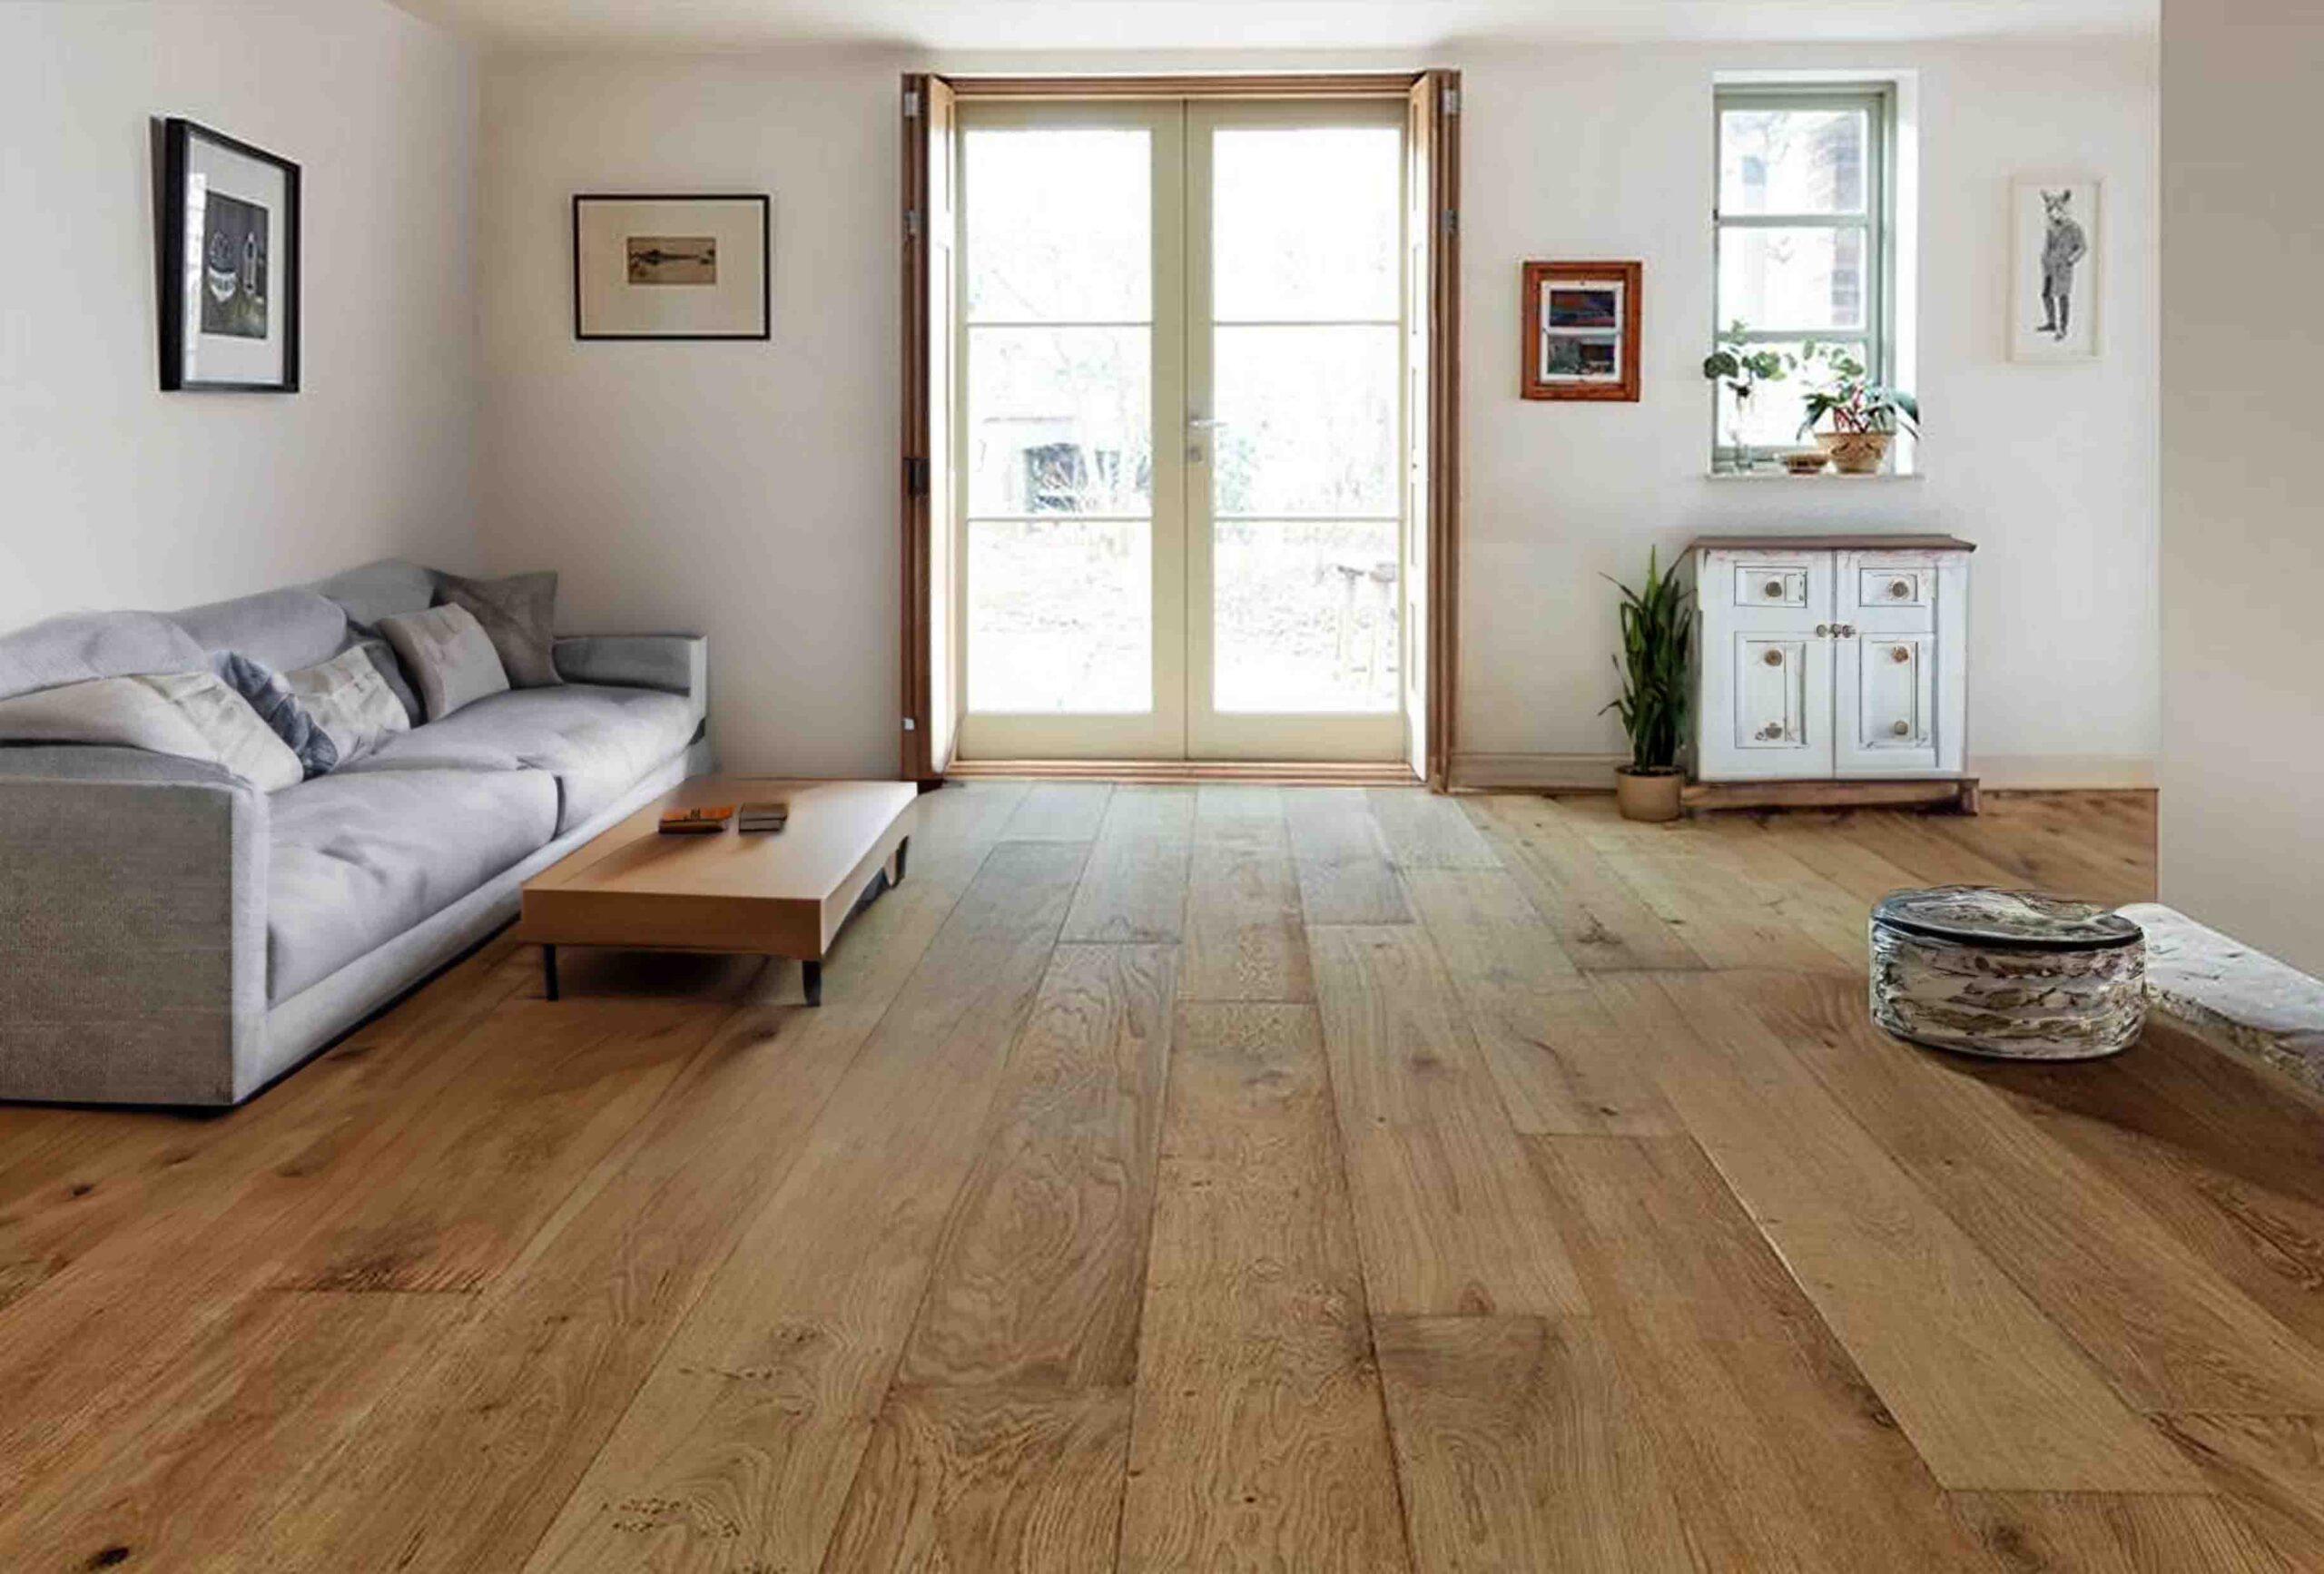
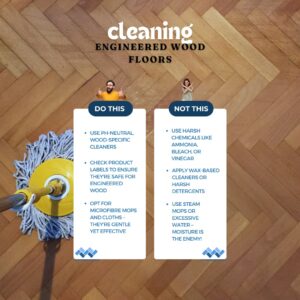
    Understanding Your Engineered Wood Floors

    Before we jump into cleaning techniques, it’s crucial to understand what we’re working with. Engineered wood flooring is a clever sandwich of materials: a top layer of real wood (the part you see and walk on) bonded to multiple layers of high-quality plywood or HDF (High-Density Fibreboard).

    This construction makes engineered wood flooring more stable and resistant to moisture than solid hardwood.

    However, it’s not invincible. The top layer can still be scratched, dented, or damaged by excessive moisture or harsh chemicals. That’s why proper cleaning and maintenance are essential.

    How To Clean Engineered Wood Floors
    Daily Maintenance: Your First Line of Defence

    The secret to keeping your engineered wood floors looking fabulous? Regular maintenance. Here’s your daily game plan:

    Sweep or Vacuum

    Make this your daily ritual. Use a soft-bristled broom or a vacuum with a soft brush attachment designed for hard floors. This prevents dirt and grit from scratching your floor’s surface.

    Tip: Avoid vacuums with beater bars or hard plastic attachments – they’re too rough for wood floors.

    Use Doormats

    Place mats at all external entrances. They’re your first defence against dirt, grit, and moisture. For extra protection, consider a ‘no shoes’ policy indoors.

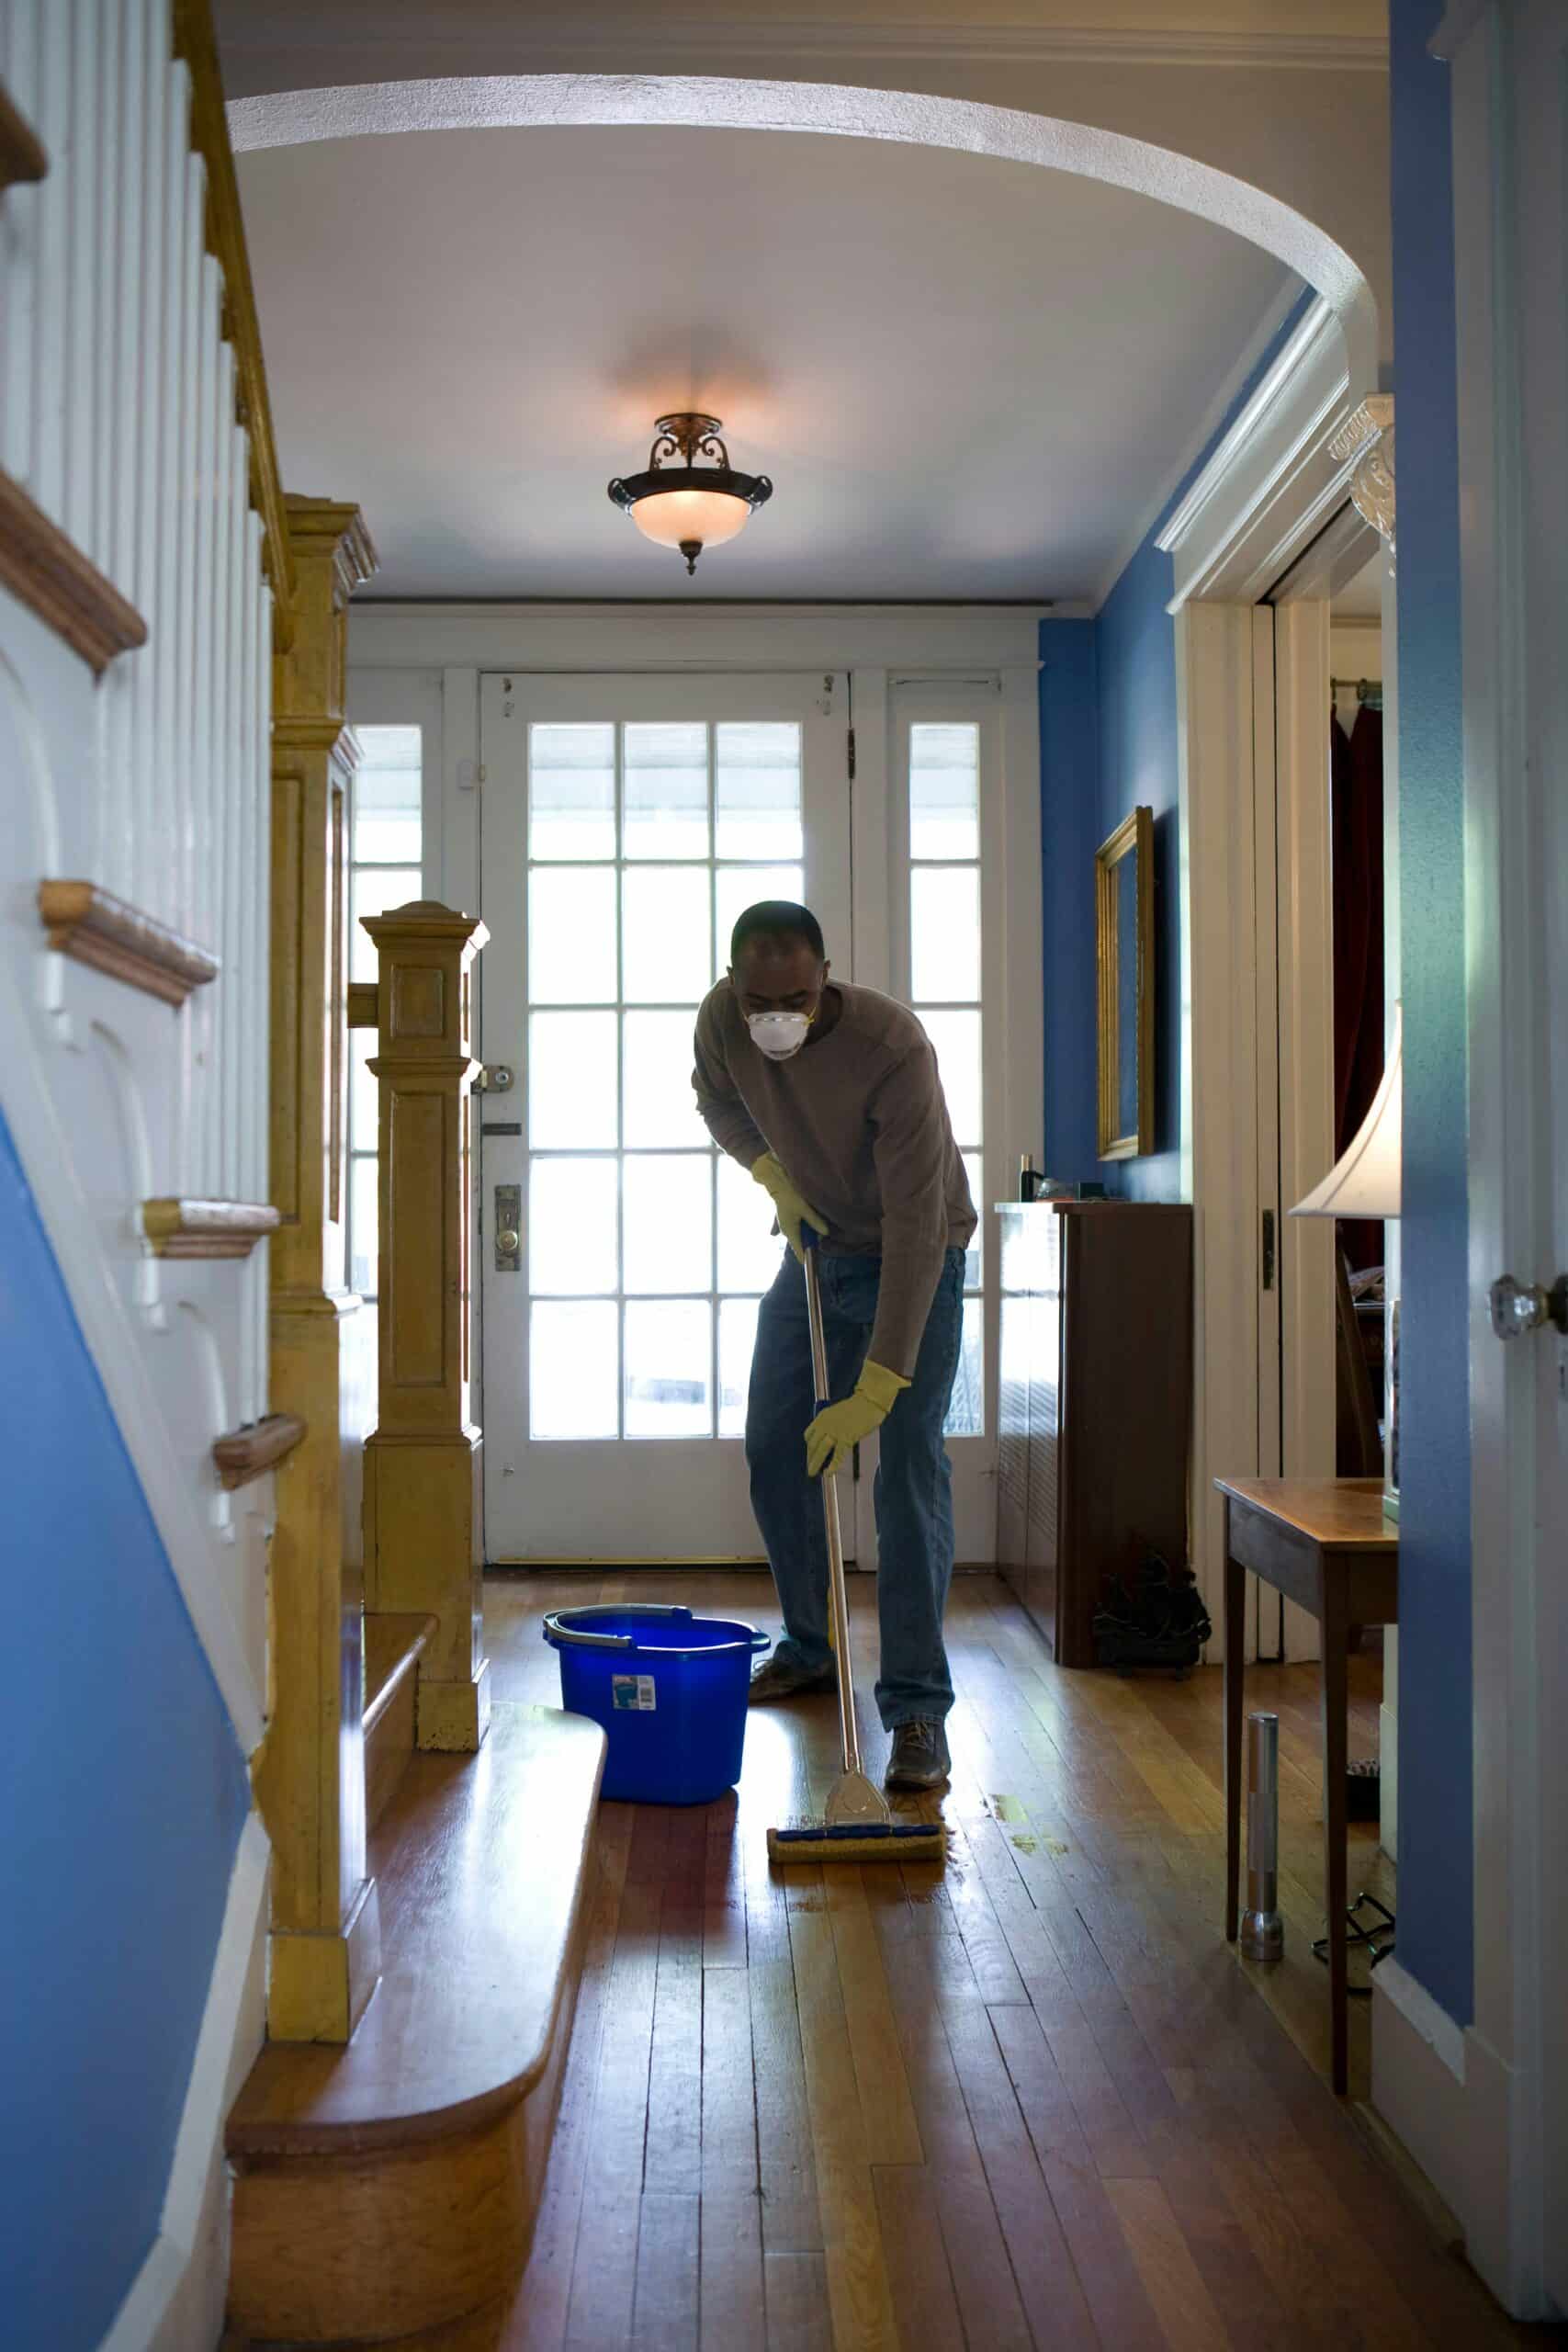
    Wipe Up Spills Immediately

    Whether it’s spilled tea or muddy paw prints, clean it up straight away. Standing liquid is your floor’s worst enemy.

    By incorporating these simple steps into your daily routine, you’ll significantly reduce the need for deep cleaning and extend the life of your floors.

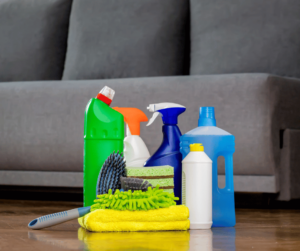
    The Do’s and Don’ts of Cleaning Products

    Choosing the right cleaning products is crucial for maintaining your engineered wood floors. Here’s what you need to know.

    Best Cleaners for Engineered Wood Floors in the UK

    From our experience, the following floor cleaners are quite reliable:

    1. Bona Wood Floor Cleaner
    2. Osmo Wash and Care
    3. Dr. Schutz Wood Floor Deep Clean

    Remember, less is more when it comes to cleaning products. Always follow the manufacturer’s instructions and, when in doubt, test the product on an inconspicuous area first.

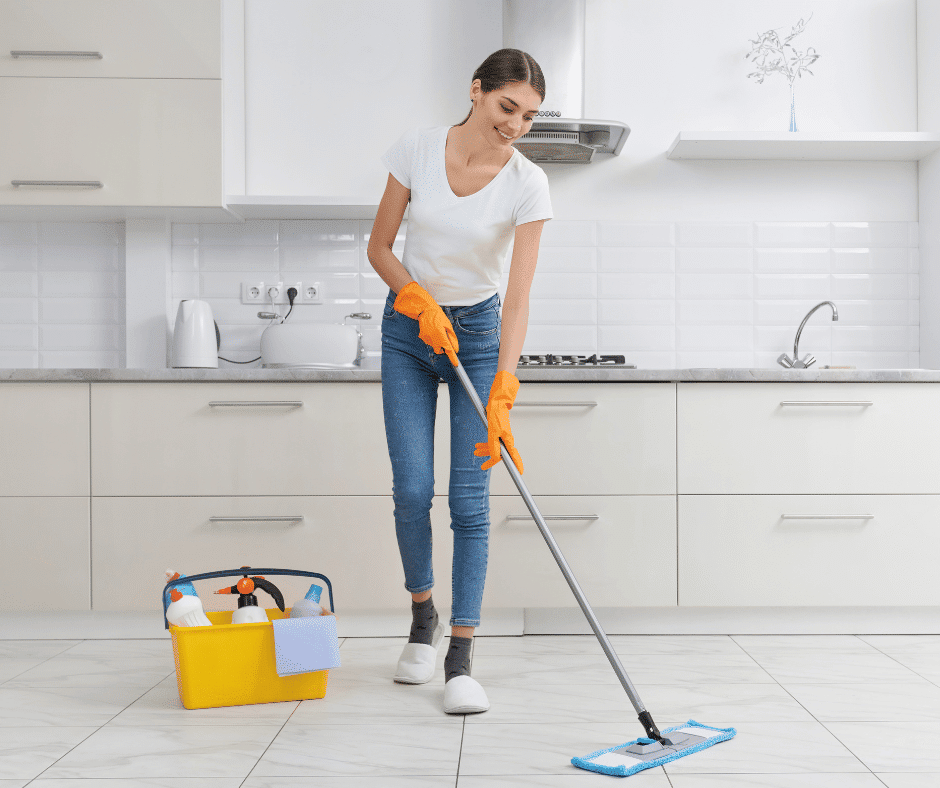
    Mopping Techniques for a Perfect Clean of Engineered Wood Floors

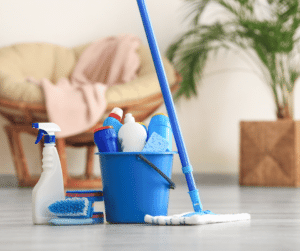
    When it’s time for a more thorough clean, proper mopping technique is key. Here’s how to do it right:

    Start with a clean floor

    Always sweep or vacuum first to remove loose dirt and debris.

    Choose the right mop

    A microfibre mop is ideal. Avoid string mops or sponge mops that can leave excess water on the floor.

    Prepare your cleaning solution

    Mix according to the product instructions. Never use more than recommended – it won’t clean better, it’ll just leave residue.

    Wring out the mop thoroughly

    Your mop should be damp, not wet. Excess water can seep into the seams and damage your floor.

    Mop in the direction of the wood grain

    This helps prevent streaking and ensures a thorough clean.

    Use the two-bucket method

    One bucket for your cleaning solution, another with clean water for rinsing. This prevents you from spreading dirty water back onto your clean floor.

    Change the water when it gets dirty

    Don’t keep cleaning with dirty water!

    Dry the floor

    Use a clean, dry microfibre cloth to remove any remaining moisture.

    Remember, less is more when it comes to water. A damp mop is all you need for regular cleaning.

    Dealing with Spills and Stains 

    Accidents happen, but quick action can prevent lasting damage. Here’s how to handle common spills and stains:

    Water-based spills (juice, wine, pet accidents)

    • Blot up as much liquid as possible with a clean, dry cloth.
    • Clean the area with a damp (not wet) cloth and a suitable wood floor cleaner.
    • Dry thoroughly with a clean cloth.

    Oil-based stains (grease, lipstick)

    • Blot up excess with a clean, dry cloth. Don’t rub – it can spread the stain.
    • Use a small amount of mineral spirits on a cloth to gently remove the stain.
    • Clean the area with a wood floor cleaner and dry thoroughly.

    Scuff marks

    • Gently rub the area with a tennis ball or a clean pencil eraser.
    • For stubborn marks, use a small amount of baking soda on a damp cloth.

    Remember, always test any cleaning method on an inconspicuous area first.

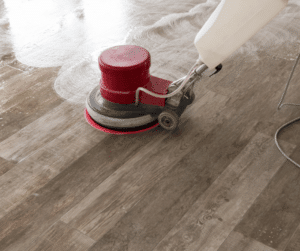
    Deep Cleaning: When and How

    While daily maintenance goes a long way, your engineered wood floors will benefit from a deep clean every few months. Here’s how to do it:

    Clear the room

    Remove all furniture and rugs.

    Vacuum thoroughly

    Use a soft brush attachment to remove all dust and debris.

    Prepare your cleaning solution

    Use a wood-safe disinfecting cleaner, following the manufacturer’s instructions.

    Mop carefully

    Use the two-bucket method described earlier, being careful not to over-wet the floor.

    Rinse

    Go over the floor with a clean, damp mop to remove any residue.

    Dry thoroughly

    Use clean, dry microfibre cloths to ensure no moisture is left on the floor.

    Allow time to dry

    Give the floor plenty of time to dry completely before replacing furniture and rugs.

    Remember, deep cleaning should be done sparingly – too much can wear down your floor’s finish over time.

    Protecting Your Investment

    Prevention is better than cure when it comes to floor care. Here are some tips to protect your engineered wood floors:

    Use furniture pads

    Place felt pads under the legs of all furniture to prevent scratches when moving items.

    Mind your pets

    Keep your furry friends’ nails trimmed to prevent scratches.

    Use rugs strategically

    Place rugs in high-traffic areas and ensure they have non-slip backings that won’t damage the floor.

    Control humidity

    Use a dehumidifier in damp weather to prevent excessive moisture.

    Avoid direct sunlight

    Use curtains or blinds to protect your floors from fading due to UV exposure.

    Thinking of upgrading your floors? The Flooring Masters offers engineered wood flooring with enhanced durability and scratch-resistant finishes. These features can make maintenance easier and keep your floors looking beautiful for longer.

    Troubleshooting Common Issues With Cleaning Engineered Wood Floors

    Even with the best care, issues can arise. Here’s how to handle some common problems:

    Scratches

    For light scratches, try using a wood floor repair kit that matches your floor colour. For deeper scratches, you may need professional help.

    Dull finish

    If your floor is looking lacklustre, try using a wood floor polish. Be sure to choose one suitable for engineered wood.

    Gaps between boards

    Small gaps can occur due to seasonal changes in humidity. If they persist or widen, consult a professional.

    Cupping or crowning

    These issues are usually caused by moisture problems and require professional assessment.

    Ideally, to keep your engineered wood flooring as good as new, it is important to address these issues promptly. However, prevention is always better than cure. Let’s recap the essential care tips and explore how choosing the right flooring from the start can make all the difference.

    Care, Clean And Invest In Flooring That Lasts

    Caring for your engineered wood floors doesn’t have to be a daunting task. With regular maintenance, the right cleaning products, and proper techniques, you can keep your floors looking beautiful for years to come.

    Remember the key points:

    • Daily sweeping or vacuuming is crucial
    • Use wood-specific, pH-neutral cleaners
    • Keep water use to a minimum
    • Clean up spills immediately
    • Protect your floors from scratches and sun damage

    Your floors are a significant part of your home – treat them with care, and they’ll reward you with lasting beauty and durability.

    And the most important part: starting with high-quality engineered wood flooring makes the job much easier.

    The Flooring Masters, for example, offers:

    • High-quality engineered wood flooring options
    • Enhanced durability and scratch-resistant finishes
    • Expert guidance for choosing the best flooring for your lifestyle
    • Professional installation services

    Order free samples today to see what we are talking about. And don’t hesitate to contact our expert team to help you choose the best flooring for your lifestyle and maintenance preferences.

  • How To Lay Engineered Wood Flooring: A Beginner’s Guide

    So, you’ve decided to give your home a facelift and lay engineered wood flooring. Great choice!

    But now you’re faced with the task of installing it. Don’t worry – we’ve got you covered. This guide will show you the exact process of how to lay engineered wood flooring, from prepping your space to adding those final touches.

    We’ll explore different installation methods, share pro tips, and help you avoid common pitfalls. Whether you’re a DIY enthusiast or a complete beginner, you’ll find everything you need to know right here.

    What You’ll Learn:

    • Essential materials and tools for installation
    • How to prepare your space, including acclimatisation and subfloor preparation
    • Three main installation methods: floating floor, glue-down, and nail-down
    • Tips and best practices for a professional finish
    • How to add the finishing touches to your new floor

    Let’s get started.


    Materials and Tools: Getting Ready for Installation

    Before we roll up our sleeves, let’s make sure you have everything you need. Here’s a comprehensive list of materials and tools you will need to lay engineered wood flooring.

    – Engineered wood flooring planks

    – Underlay 

    – Damp-proof membrane (for moisture protection)

    – Adhesive (for glue-down method)

    – Spacers (for expansion gaps)

    – Moisture metre

    – Spirit level

    – Skirting board and beading

    – Flooring installation kit (includes tapping block, pull bar, and mallet)

    – Measuring tape

    – Pencil

    – Saw (circular or jigsaw)

    – Safety gear (goggles, knee pads, dust mask)

    – Hammer or flooring nailer (for nail-down method)

    – Trowel (for glue-down method)

    – Chalk line

    – Wood floor cleaner

    Now that you’ve gathered all your supplies, let’s move on to the crucial preparation steps that will set you up for success.

    Preparation: Setting the Stage for Success


    how to fit engineered wood flooring

    Proper preparation is key to a successful installation. Let’s break it down into three main areas:

    Acclimatisation – Let Your Flooring Get Comfy

    With your space properly prepared, it’s time to dive into the installation methods. The method you choose will depend on your subfloor type and personal preference.

    Acclimatising your engineered wood flooring is crucial. It prevents issues like warping or gapping after installation. Here’s how to do it right:

    Keep Boxes Closed: 

    Place the unopened boxes of flooring in the room where you’ll be installing them. This allows the timber to adjust to the room’s temperature and humidity gradually.

    Duration: 

    Give it at least 48 hours. In rooms with significant humidity or temperature changes, extend this period up to a week. Patience is key here – rushing this step can lead to problems down the line.

    Underfloor Heating? 

    If you have underfloor heating, you’ll need to take extra care. Turn off the heating for 48 hours before acclimatisation, and keep it off during this process. Once installed, gradually increase the temperature over a week, no more than 1-2 degrees Celsius per day.

    Check the Environment: 

    Ideal conditions for installation are between 18-22°C with a relative humidity of 45-60%. Use a hygrometer to check these levels.

    Measure Twice, Cut Once

    Before you start laying planks, you need to know how much flooring you actually need. Here’s how to figure it out:

    Measure Your Room: 

    Get the length and width of your room in metres. Multiply these together to get the square meterage. Don’t forget to measure any alcoves or recesses separately.

    Account for Waste: 

    Add about 10% to your total to account for cuts and waste. If you’re installing diagonally or in a herringbone pattern, increase this to 15%.

    Plan Your Layout: 

    Sketch out your room and plan how you’ll lay the planks. This can help you minimise waste and avoid ending up with very narrow planks at the edges of the room.

    Consider the Direction: 

    Generally, planks look best when laid parallel to the longest wall or in the same direction as the main light source in the room.

    Subfloor Preparation – Creating the Perfect Foundation

    A properly prepared subfloor is essential for a smooth and durable installation. Follow these steps to ensure your subfloor is ready:

    Clean It Up: 

    Grab your broom and hoover and give that subfloor a thorough clean. Remove any dirt, dust, or debris. A clean surface ensures better adhesion and a smoother finish.


    laying engineered wood flooring: cleaning is important

    Moisture Check: 

    Use your moisture meter to check for any dampness. The moisture content should be below 12% for wooden subfloors and below 3% for concrete subfloors. If you find high moisture levels, you’ll need to tackle that with a damp-proof membrane.

    Level It Out: 

    Nobody wants a wonky floor. Use your spirit level to check for any uneven areas. If you find differences of more than 3mm over a 1m length, you’ll need to level it out. For minor unevenness, use a self-levelling compound. For major issues, you might need to sand down high spots or fill in low spots.

    Check for Squeaks: 

    If you’re working with a wooden subfloor, walk around and listen for any squeaks. Fix these by screwing the subfloor more securely to the joists below.

    With your space properly prepared, it’s time to dive into the installation methods. The method you choose will depend on your subfloor type and personal preference.

    Installation Methods: Choosing Your Approach

    There are three main methods for installing engineered wood flooring. Let’s explore each one:

    #1: Floating Floor – The DIY Favourite

    The floating floor method is popular due to its ease of installation and flexibility. Here’s a detailed guide on how to install a floating engineered wood floor:

    Lay the Underlay: 

    Roll out your underlay across the subfloor. Trim it to fit the room, leaving no gaps. Tape the seams together. The underlay provides cushioning and helps with sound insulation.

    Start at the Longest Wall: 

    Begin laying your planks along the longest, most visible wall. This creates a nice, straight line to work from. Use your chalk line to ensure you’re starting straight.

    Click and Lock: 

    Most engineered wood planks have a click-lock system. Simply angle the tongue of one plank into the groove of another at about 30 degrees, then lower it to lock them together. You should hear a click when it’s properly engaged.

    Mind the Gap: 

    Use your spacers to maintain a consistent expansion gap (usually about 10mm) between the planks and the walls. This gap allows the timber to expand and contract naturally with changes in temperature and humidity. It’s as crucial as minding the gap on the London Underground – you don’t want to get stuck!

    Stagger the Joints: 

    As you lay subsequent rows, stagger the end joints by at least 30cm. This improves the strength of the floor and creates a more natural look.

    Cut to Fit: 

    Use your saw to cut planks as needed to fit around obstacles or at the end of rows. Always wear safety goggles when cutting.

    #2: Glue-Down Method – For Extra Stability

    The glue-down method provides excellent stability and is ideal for both concrete and wooden subfloors. Here’s how to do it:

    Choose Your Adhesive: 

    Select an adhesive suitable for engineered wood flooring. Follow the manufacturer’s instructions for application and drying times.

    Spread the Adhesive: 

    Using a notched trowel, spread your adhesive over a small section of the subfloor. Work in manageable areas so the glue doesn’t dry out before you can lay the planks. The size of the notches in your trowel should match the manufacturer’s recommendations for your specific flooring.

    Lay the Planks: 

    Place your planks onto the adhesive, pressing down firmly to secure them. Use a roller or walk on the planks to ensure good contact with the adhesive.

    Clean as You Go: 

    Wipe away any excess adhesive that squeezes up between the planks immediately. Once dried, this can be difficult to remove without damaging the floor.

    Allow for Drying: 

    Follow the adhesive manufacturer’s instructions for drying time. Avoid walking on the floor or placing furniture until it’s fully dry.

    #3: Nail-Down Method – Perfect for Wooden Subfloors

    The nail-down method is ideal for plywood subfloors and provides a secure installation. Here’s how to install engineered wood flooring using this method:

    Start Your First Row: 

    Align your first row of planks along the most visible wall, remembering to leave that expansion gap. You may need to face-nail this first row.

    Nail It Down: 

    Use a flooring nailer to drive nails at a 45-degree angle through the tongue of each plank. Space the nails about 10-15cm apart, and at least 5cm from the ends of the planks. If you don’t have a nailer, you can use a hammer, but it’ll take longer and require more skill to avoid damaging the planks.

    Keep It Tight: 

    Make sure each plank is snug against its neighbours as you nail it down. Use a tapping block if needed to close any gaps.

    Continue the Pattern:

    As with the floating floor method, stagger your end joints and cut planks as needed to fit the room.

    Whichever method you choose, keep these best practices in mind to ensure a professional-looking result.

    Tips and Best Practices: The Secret to a Professional Finish


    fitting engineered wood flooring

    Check Before You Lay

    Before you install each plank, give it a quick once-over. Look for any damage or defects. If you spot any, set that plank aside – it might be useful for cuts later. This extra step can save you the hassle of having to replace a damaged plank after it’s already installed.

    Mix It Up

    To get a natural look, mix planks from different boxes as you install. This helps distribute any slight colour variations evenly across your floor. It’s a simple step that can make a big difference in the overall appearance of your floor.

    Stagger Those Joints

    Avoid lining up the end joints of your planks. Stagger them by at least 15-20cm for a stronger, better-looking floor. This not only improves the structural integrity of your floor but also creates a more pleasing visual pattern.

    Keep It Random

    Try to avoid creating a repeating pattern with your plank lengths. A random layout looks more natural and appealing. Aim for at least three different plank lengths in your layout.

    Handle With Care

    When installing your planks, be gentle. Avoid hitting the edges too hard with your mallet, as this can damage the locking mechanism. Instead, use steady, even pressure.

    Work Towards the Door

    If possible, start your installation on the opposite side of the room from the door. This way, you’re less likely to trap yourself in a corner or have to walk over your newly installed floor.

    Following these tips will help you achieve a beautiful, long-lasting floor. Now, let’s put the finishing touches on your hard work.

    Finishing Touches: The Icing on the Cake


    You’re almost there! Here’s how to put the perfect finishing touches on your new floor:

    Trim Time: 

    Install your skirting boards and beading around the edges of the room to cover those expansion gaps. This gives your floor a polished, professional look.

    Heavy Furniture: 

    When it’s time to move your furniture back in, use felt pads under the legs to prevent scratches. For really heavy pieces, consider using plywood to spread the weight as you move them. Never drag furniture across your new floor.

    Clean and Protect: 

    Give your new floor a good clean with a wood floor cleaner. If you’ve installed oiled wood flooring, now’s the time to apply a fresh coat of oil for extra protection. This will help maintain the floor’s appearance and durability.

    Regular Maintenance: 

    Establish a regular cleaning routine to keep your new floor looking its best. Sweep or hoover regularly, and use a damp mop with a wood floor cleaner for deeper cleaning. Avoid using excessive water, as it can damage the wood.

    The Winning Formula: Superior Planks + Savvy Installation


    Congratulations! You’ve just installed your very own engineered wood floor. It might have seemed daunting at first, but by following these steps, you’ve created a beautiful new surface that will last for years to come.

    Remember, the key to a successful installation is in the preparation and taking your time. Don’t rush the process – your patience will pay off with a stunning result. From the initial acclimatisation to the final finishing touches, each step is crucial for a flawless outcome.

    If you found this guide helpful, share it with somebody else who may need it. And for all your flooring needs, explore high-quality wooden flooring at The Flooring Masters. You get assistance every step of the way, and also free samples to make your final choice.

    Order Your Free Samples Now